How to Add Users to the Blacklist in Neofin CRM
Managing your blacklist efficiently is essential for compliance, security, and operational clarity. Neofin CRM makes this process straightforward with both manual and bulk import methods. Follow this step-by-step guide to add users to your blacklist.
Step 1: Access the Blacklist Settings
To begin, navigate to the Blacklist section of your CRM:
📍 Path: Settings -> Black List
🔗 URL: /crm/settings/blacklist/
✅ Before You Proceed:
Check that your database structure matches the blacklist file format. If you haven’t configured the format yet, continue to Step 2. Otherwise, you can skip ahead to Step 3.
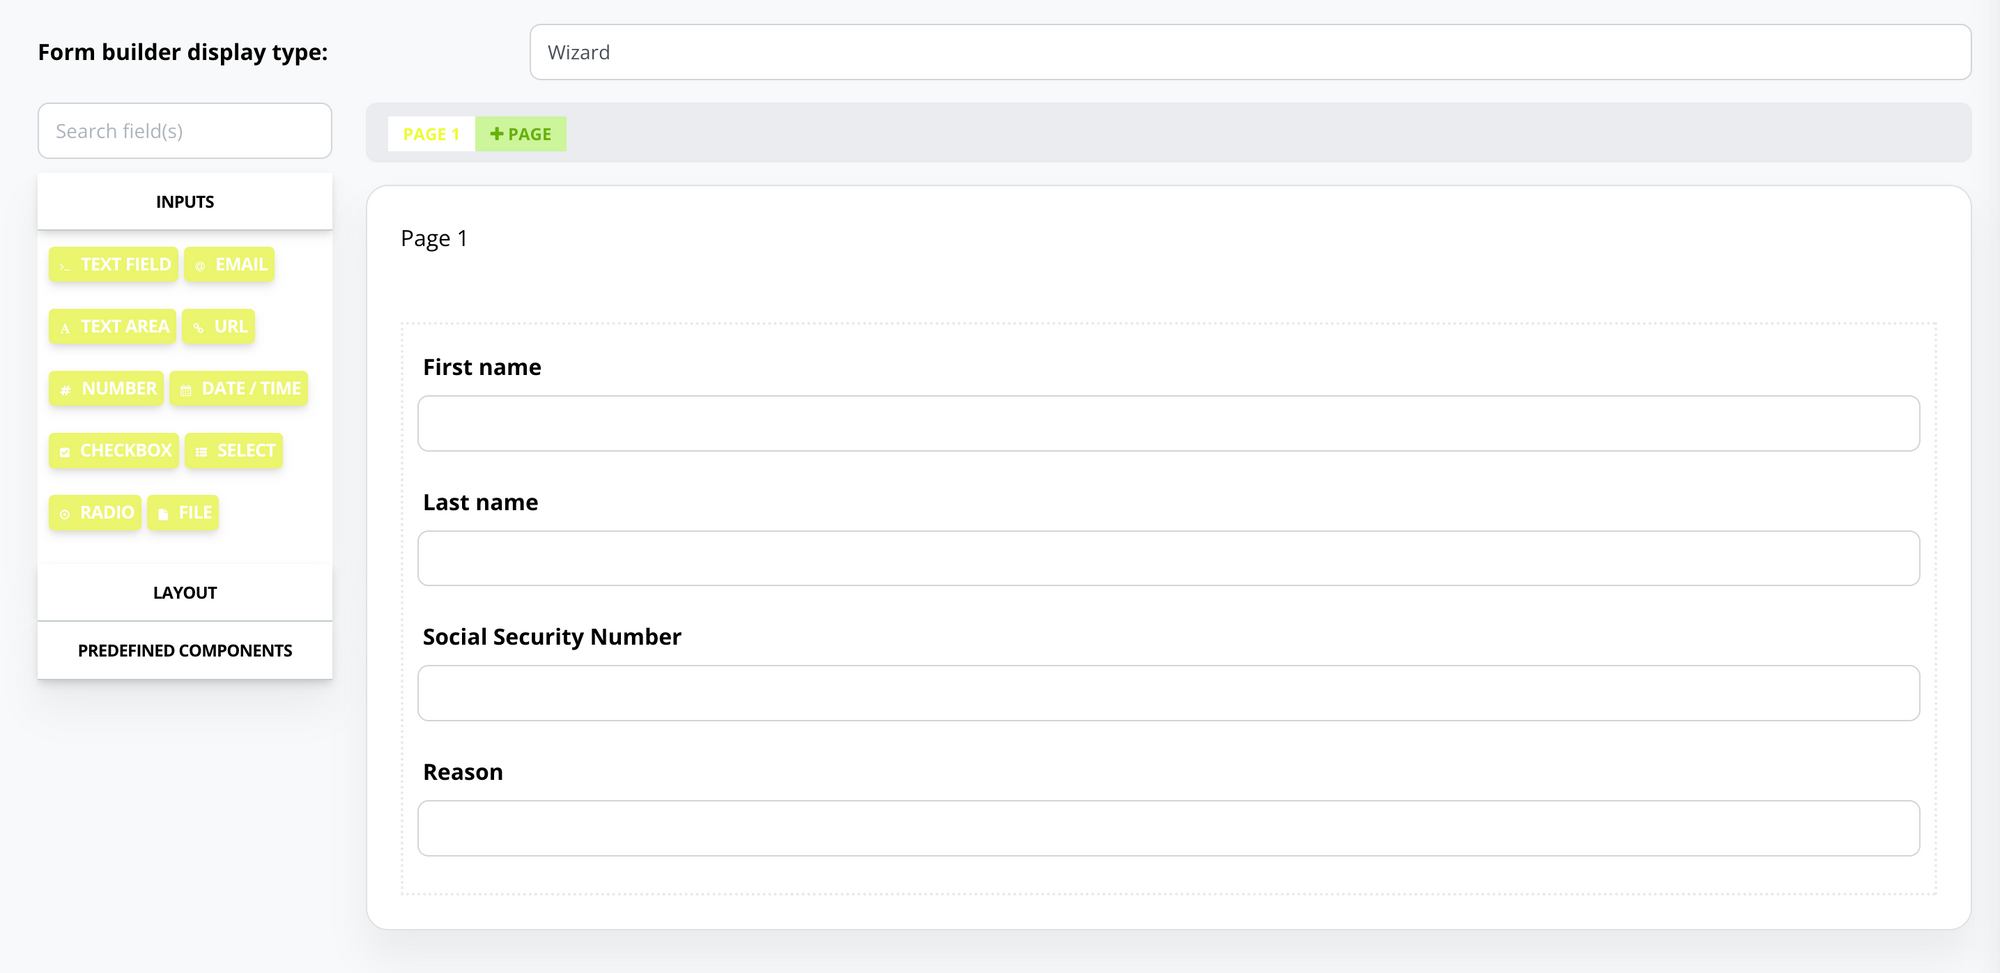
Step 2: Set Up the Blacklist Form Structure
If this is your first time using the blacklist, you’ll need to define its structure using the form editor.
📍 Path: Settings -> Form Editor -> Black List
🔗 URL: /crm/settings/form_editor/blacklist/
Example Fields:
- First Name
- Last Name
Make sure to save the form once it’s configured. This structure will be used for both single and bulk blacklist entries.
Step 3: Add Individuals to the Blacklist
Neofin CRM offers two ways to add users to your blacklist: individually or in bulk.
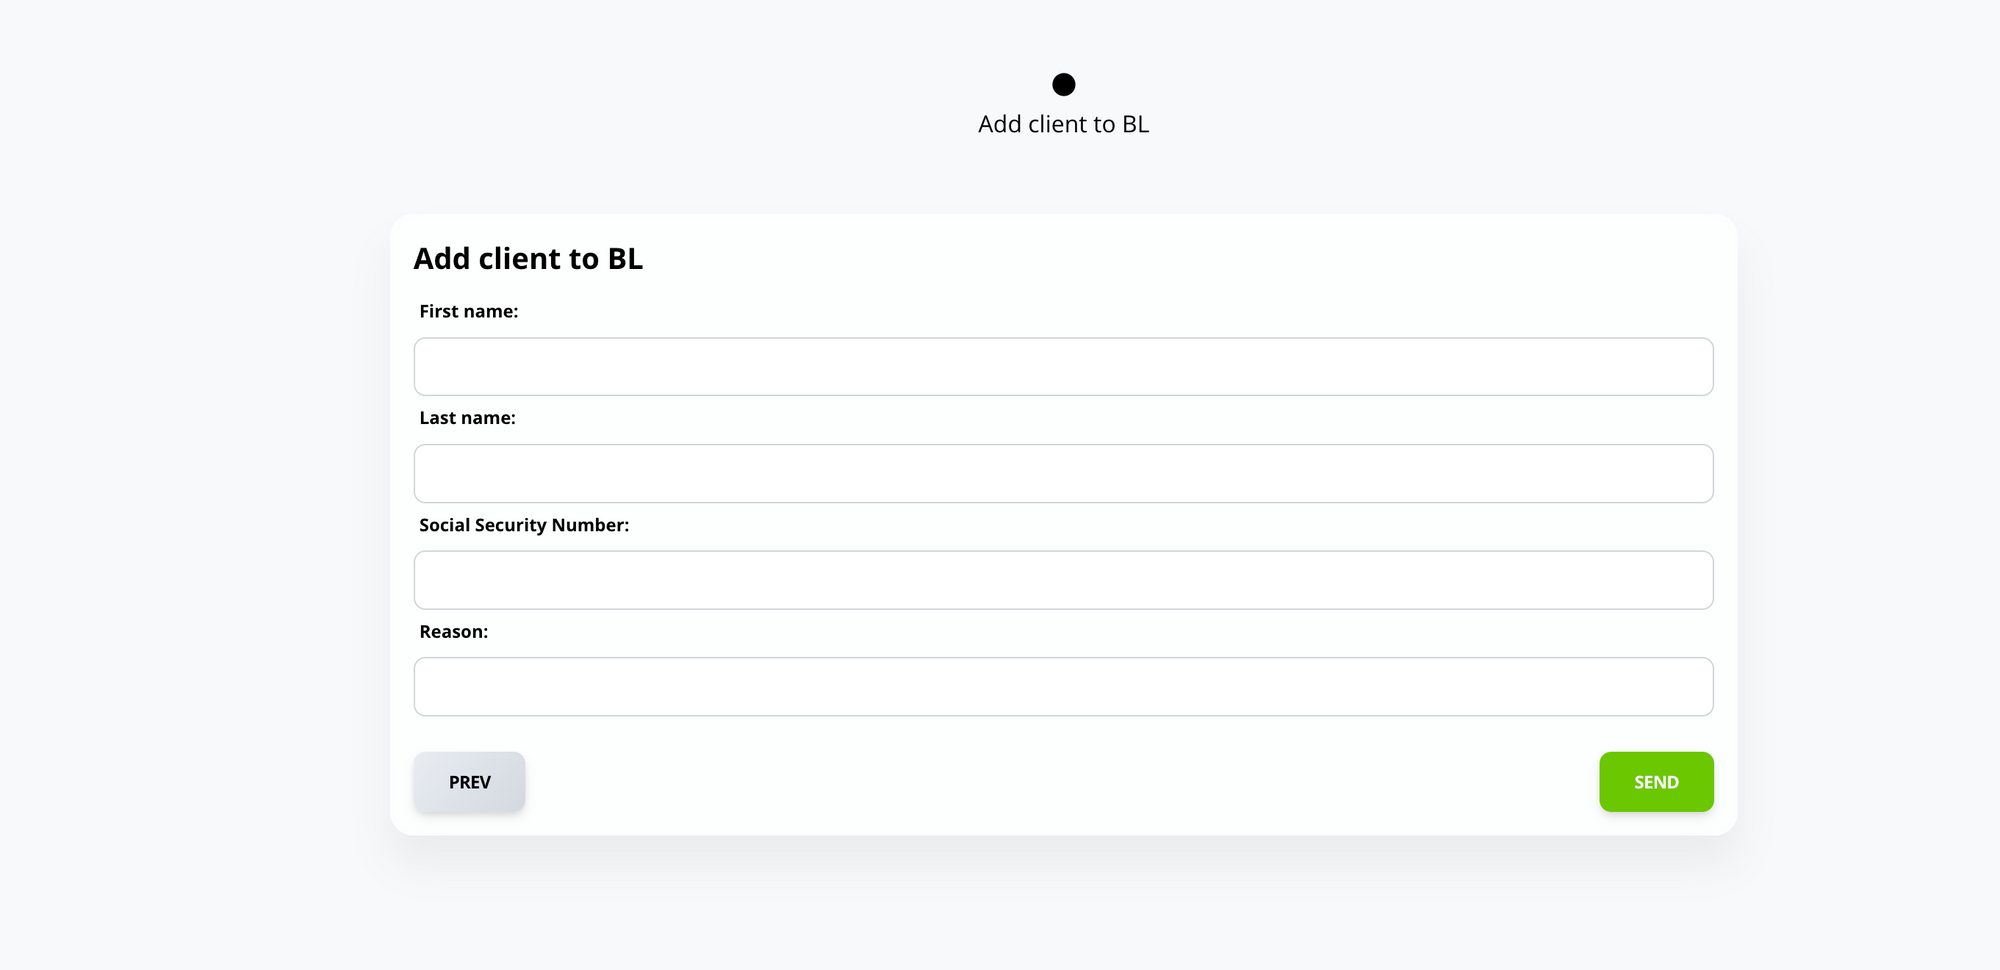
Option A: Add a Single Person
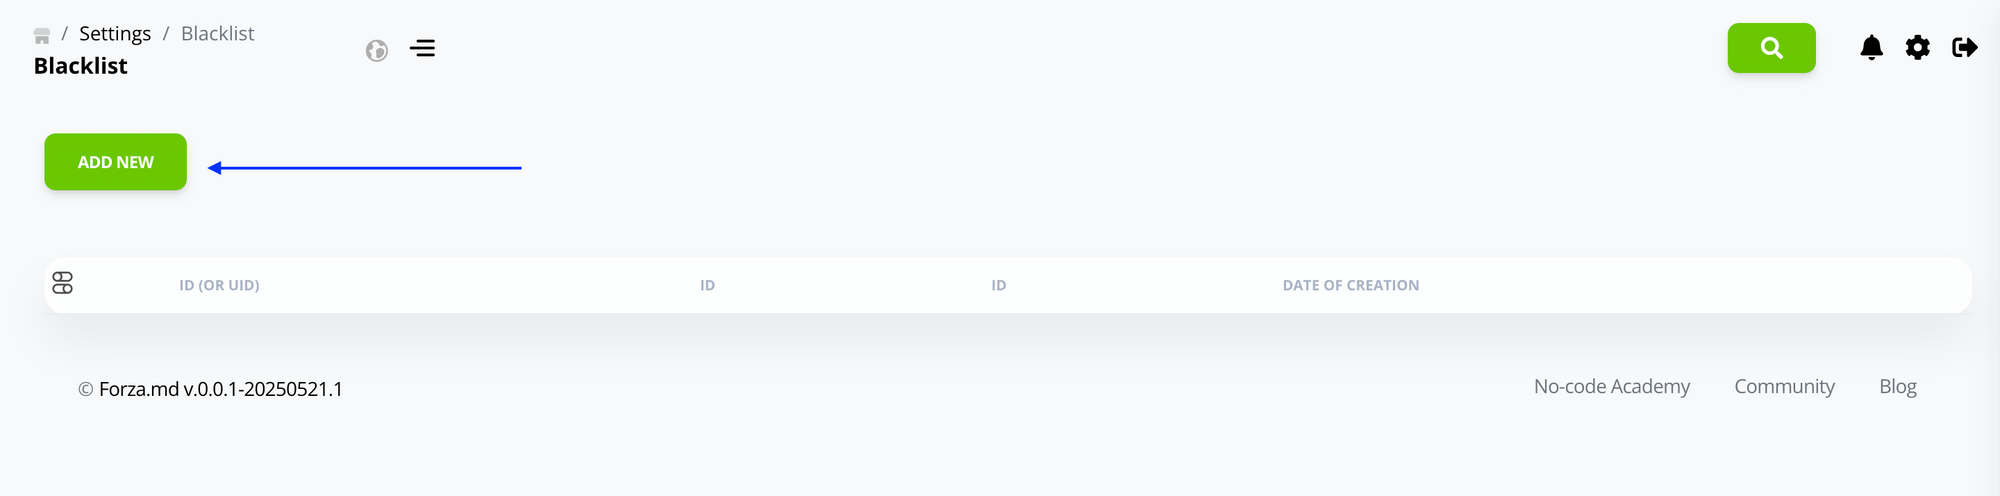
- Navigate to:
Settings -> Black List -> Import - Click the Add button.
- Fill in the individual’s information.
- Click Save.
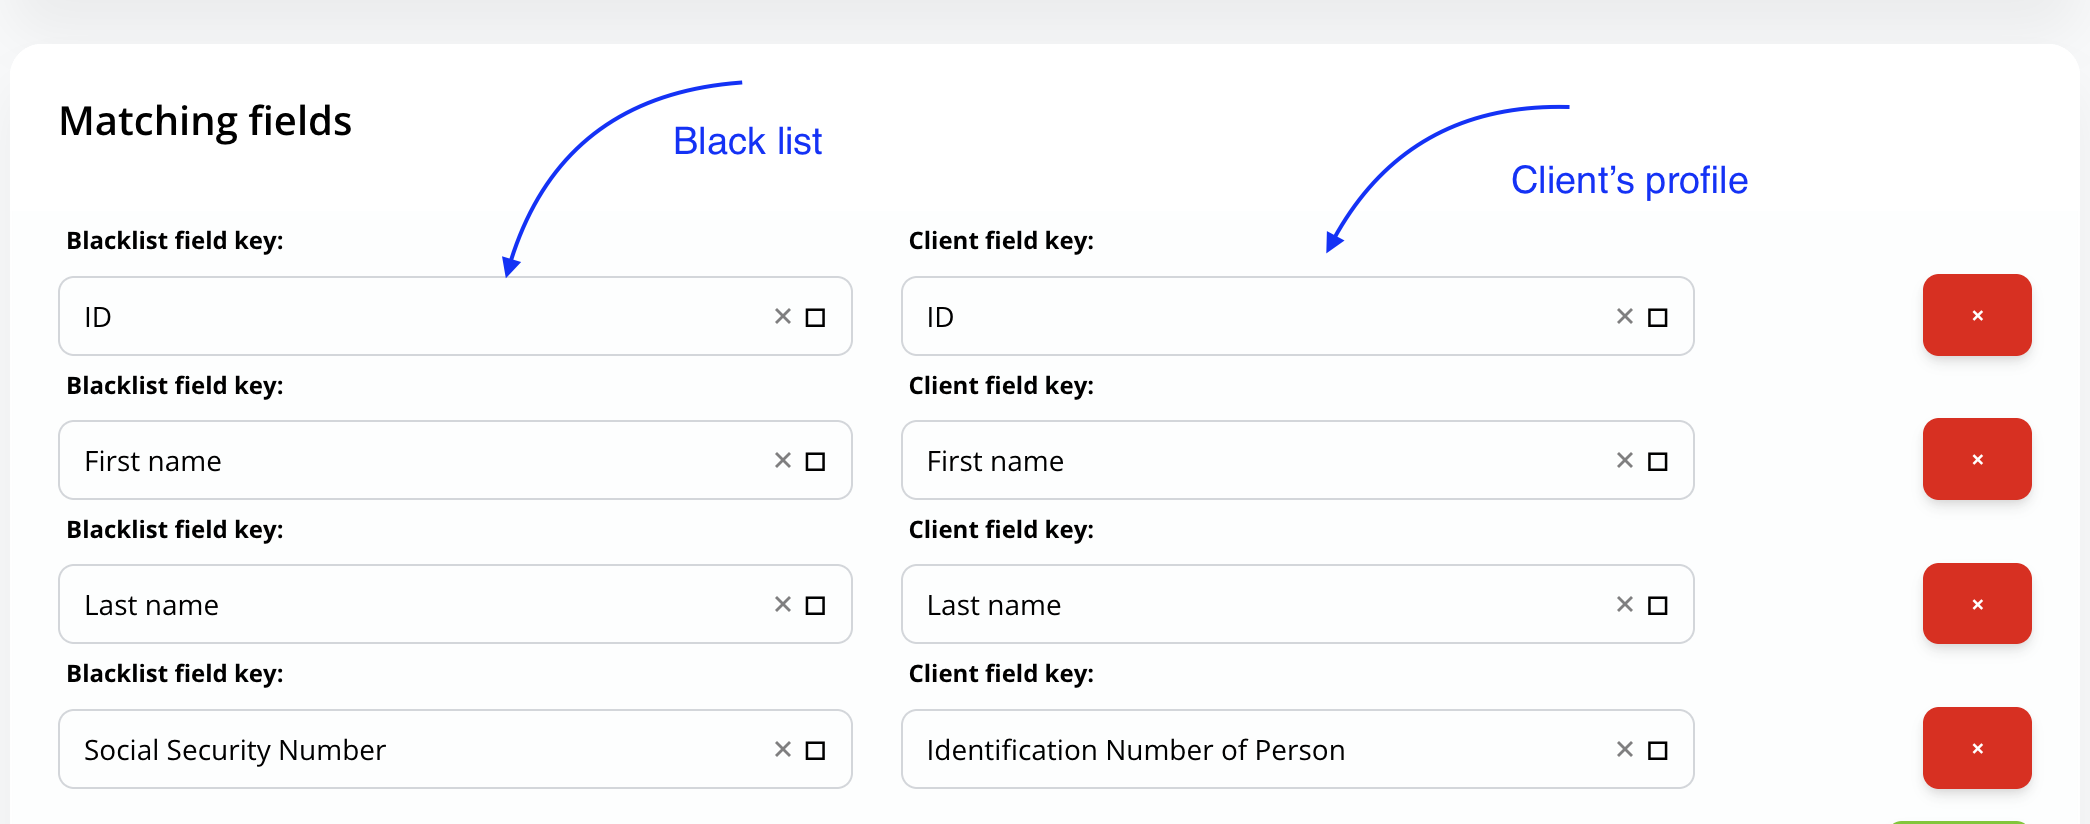
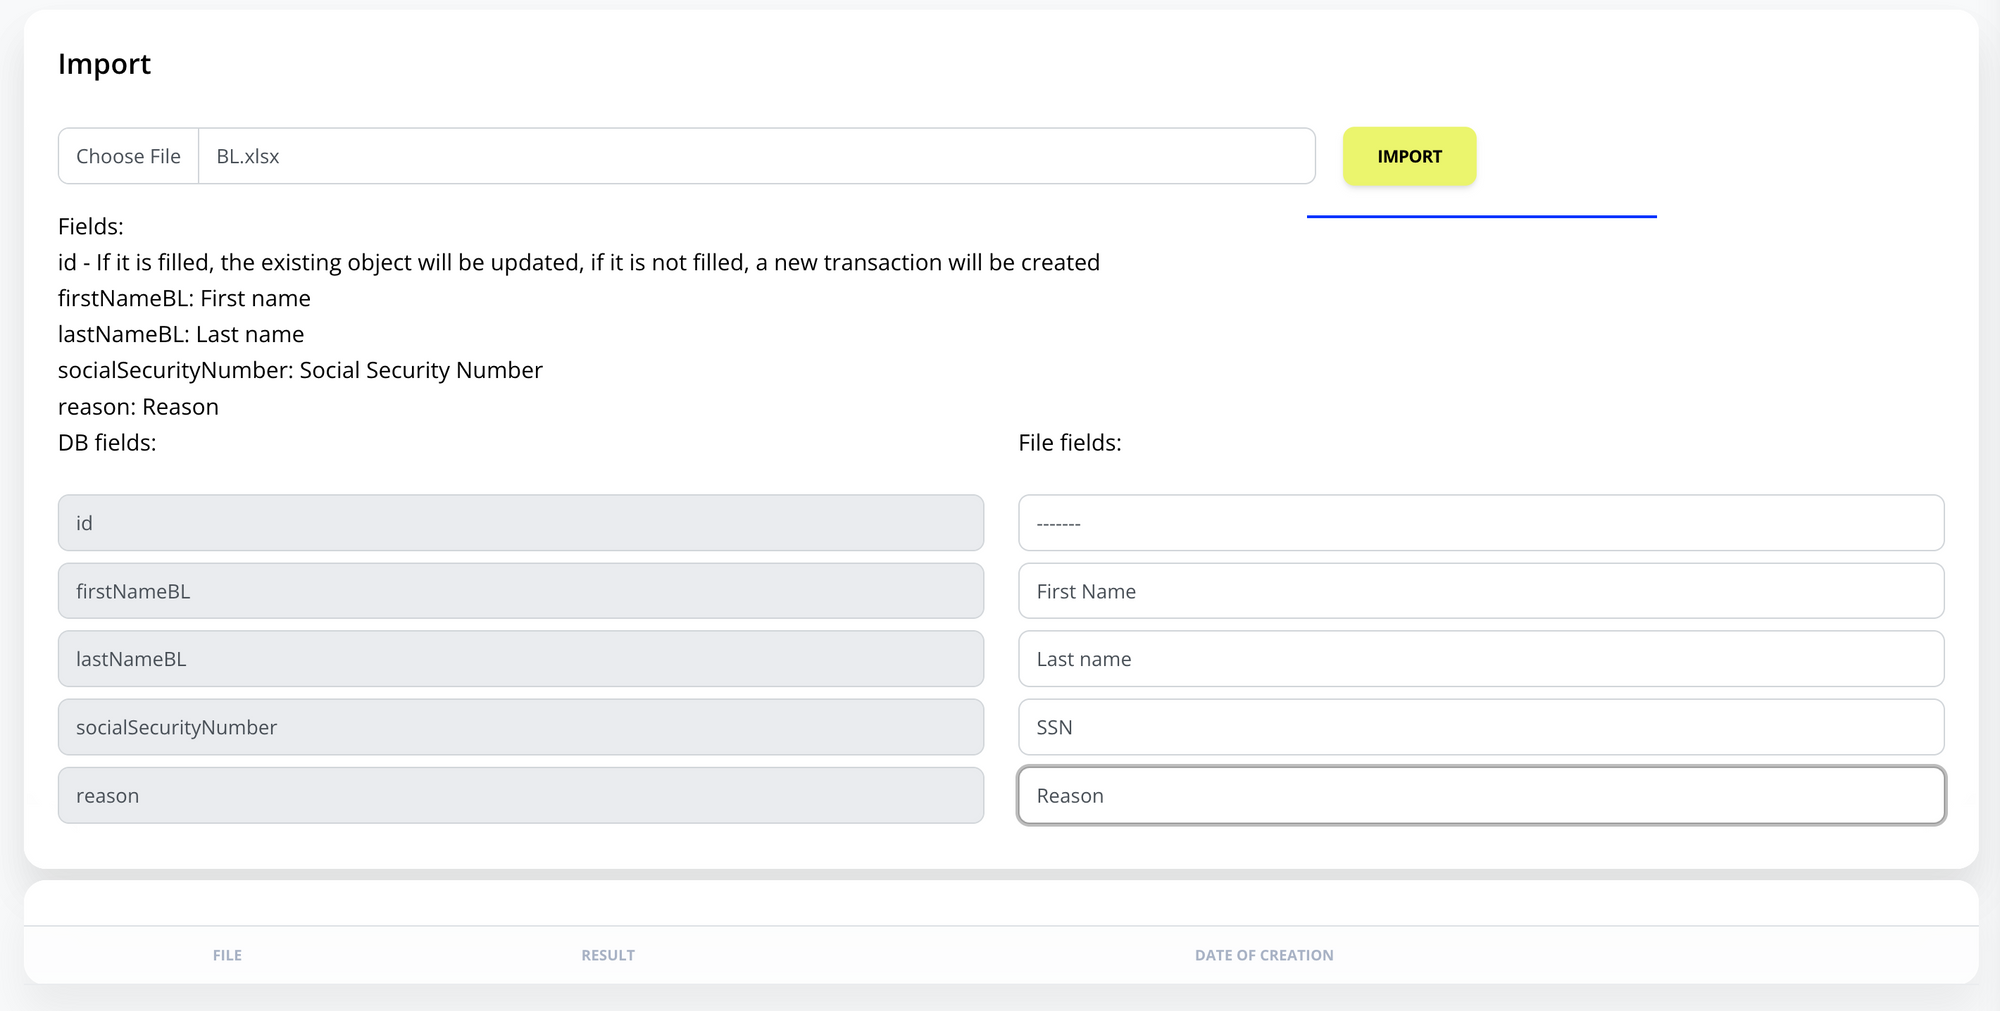
Option B: Bulk Import Users
- Navigate to:
Settings -> Black List -> Import - Upload your file (xlsx or other supported formats).
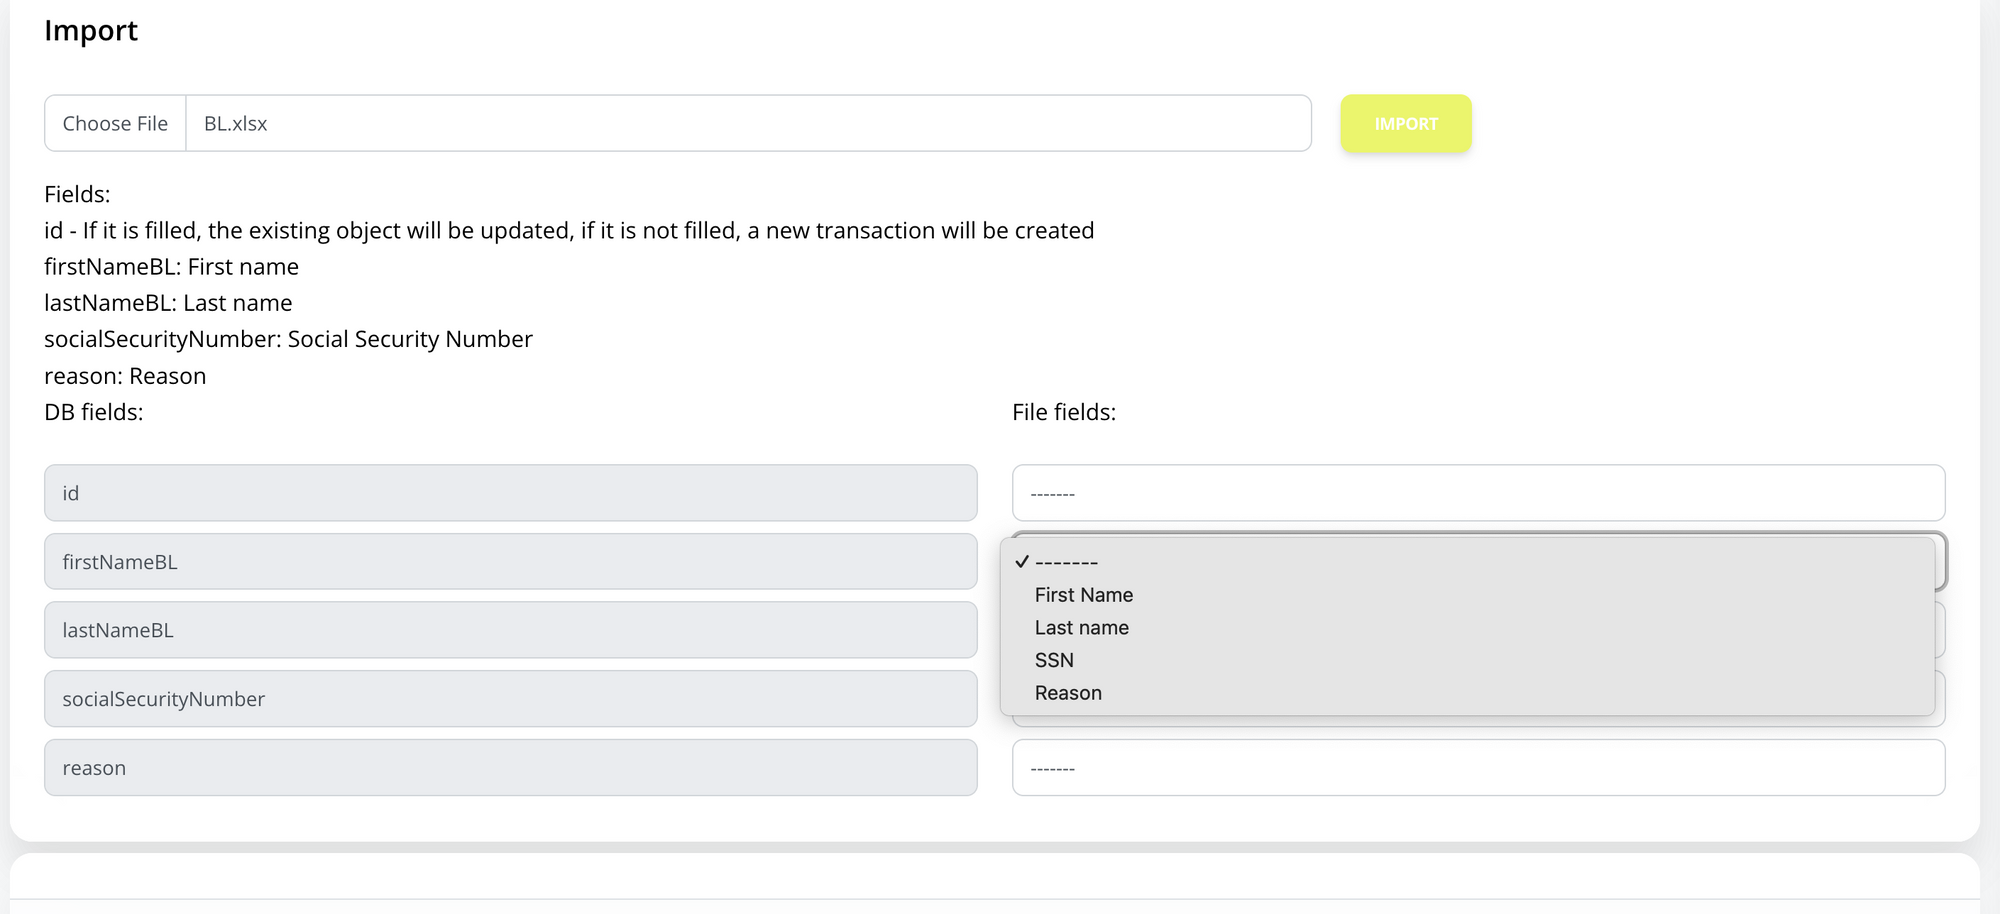
- Match the fields with your previously configured form (e.g., First Name, Last Name).
- Hit the Import Button twice

5. Click Save.
✅ Best Practices
- Double-check your file structure before importing.
- Ensure that mandatory fields are filled to avoid errors.
- Keep your blacklist current for optimal CRM performance and regulatory compliance.
Start managing your blacklist smarter with Neofin CRM. If you need help with file formats or setup, reach out to our support team anytime.