Administration
In this section you can manage the users of your Application.
The system has no restrictions on the number of users. If required, you can add as many users as you need and assign a certain permission level to each of them in the system.
Initially, after deploying the Application, you will see the full functionality of the system with all possible sections in the left-hand menu.
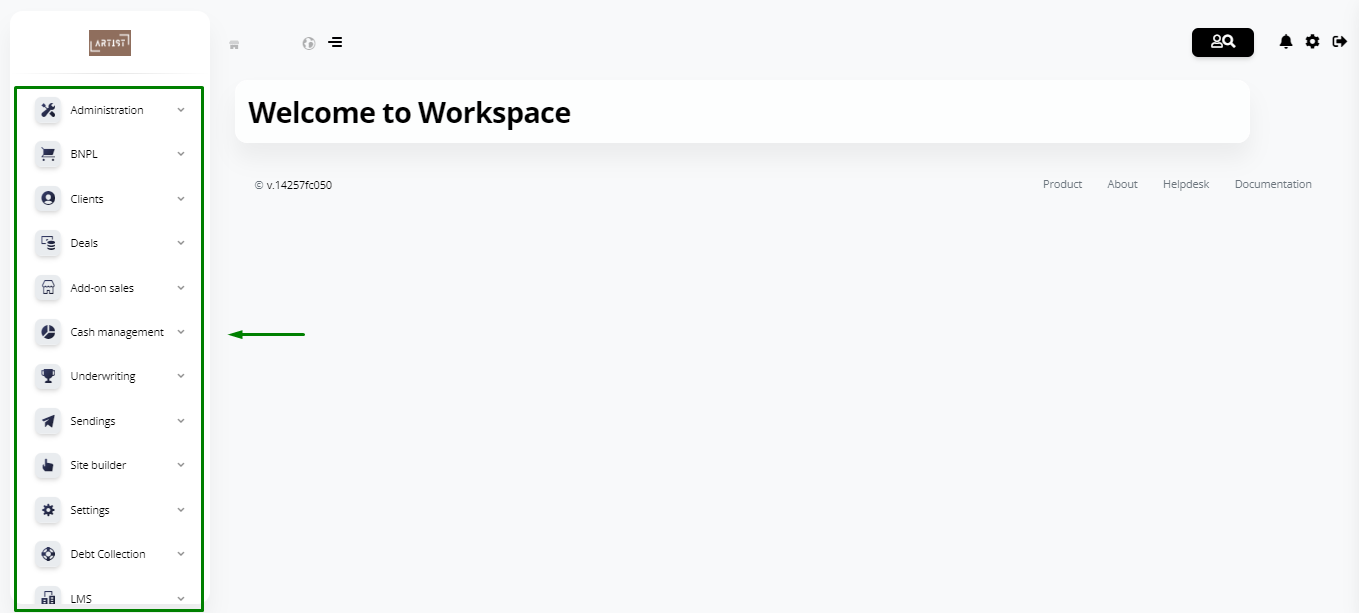
However, for a specific manager or group of managers, you can assign specific sections to be displayed in their system.
Adding a manager
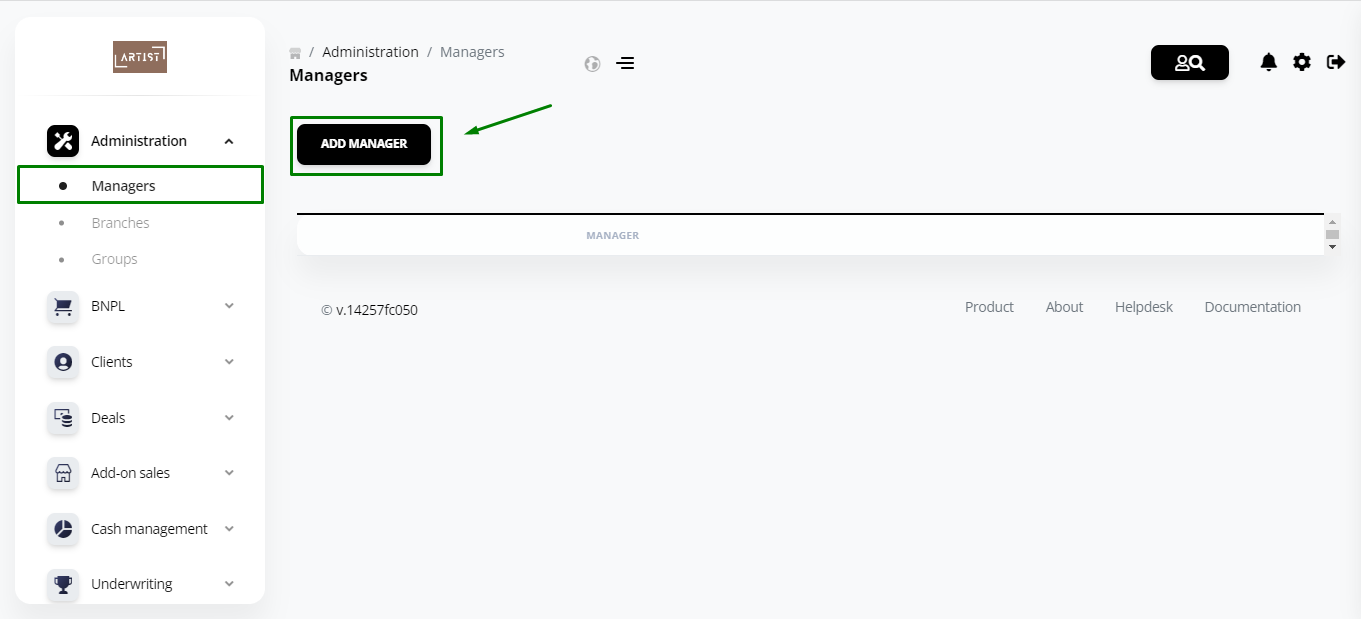
1. Go to Administration – Managers.
2. Click the Add manager button.
3. Enter email address and click Send.
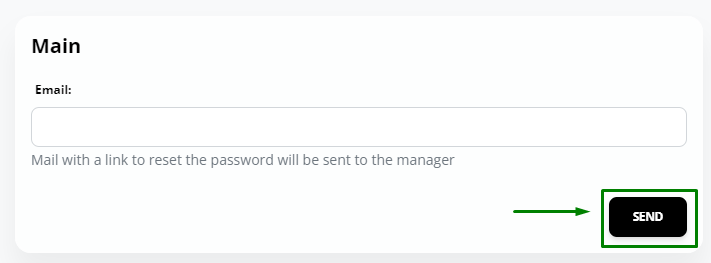
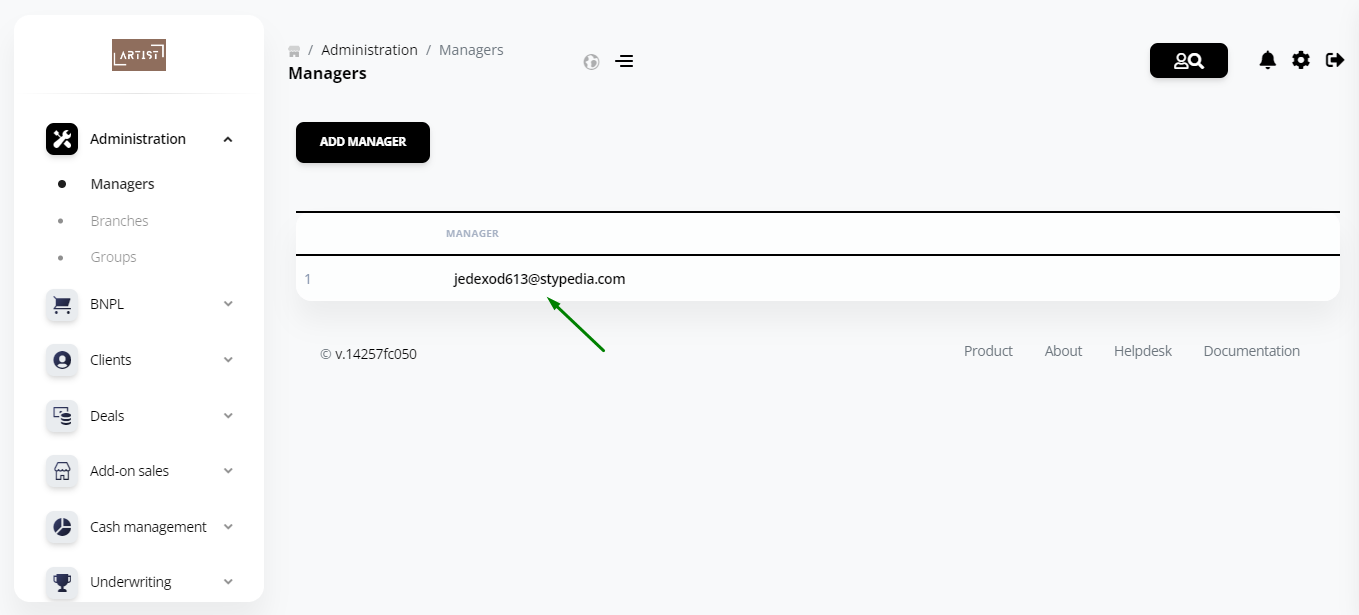
4. The added manager will then appear in the list.
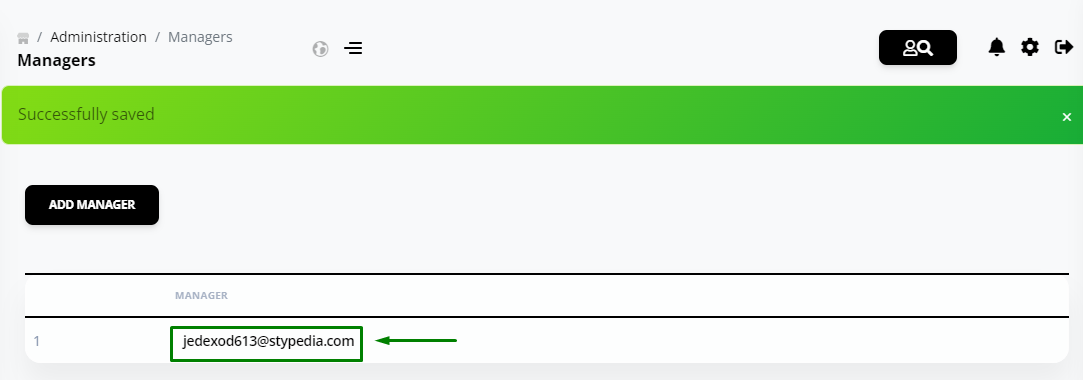
You will receive an email with a link to activate the user and create a password.
Configuring manager rights
Click a specific manager.
You will see the settings page.
Branch – here you can select the manager’s access to a specific branch.
If you leave this field empty, the manager will not see the data on loans, clients, etc.
If applications are submitted online in your project, then you need to select online in this field.

Permission – here you specify the system sections to which you want to give access permission. Actually, it’s a list of sections in the left system menu.

For each section, you can configure a permission level that allows you to:
- view
- create
- edit
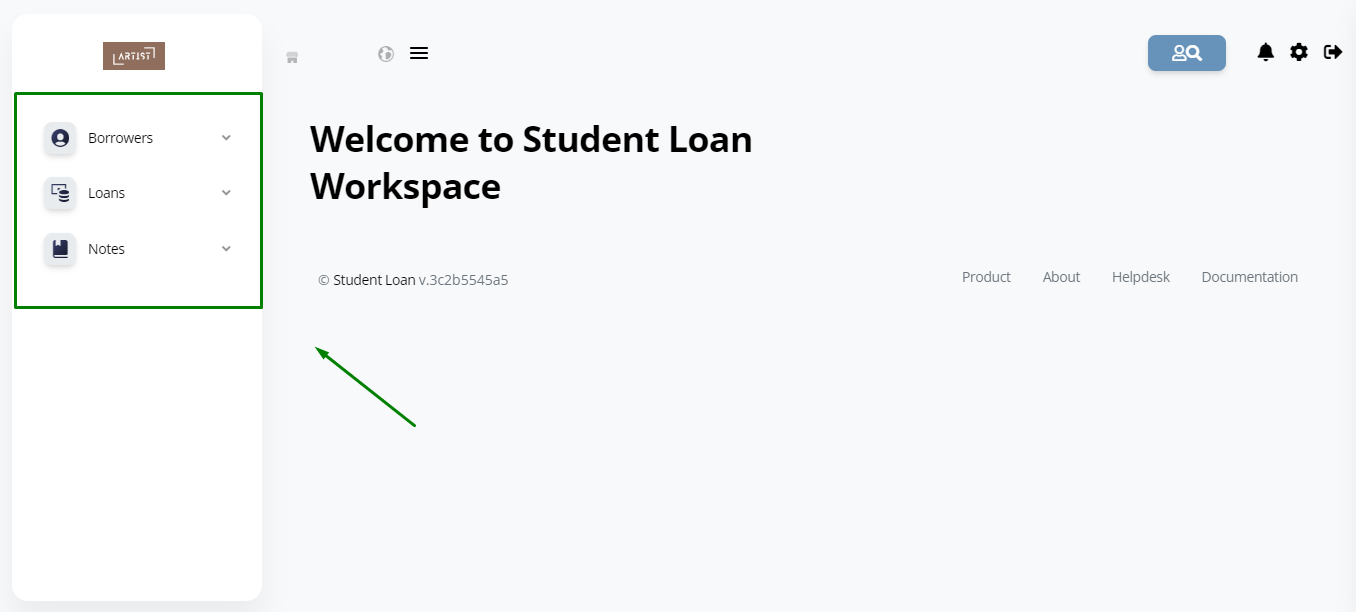
For example, if manager has access only to the Clients and Loan sections, his/her system account will look like this:
You can configure access either for a specific manager or for a group of managers.
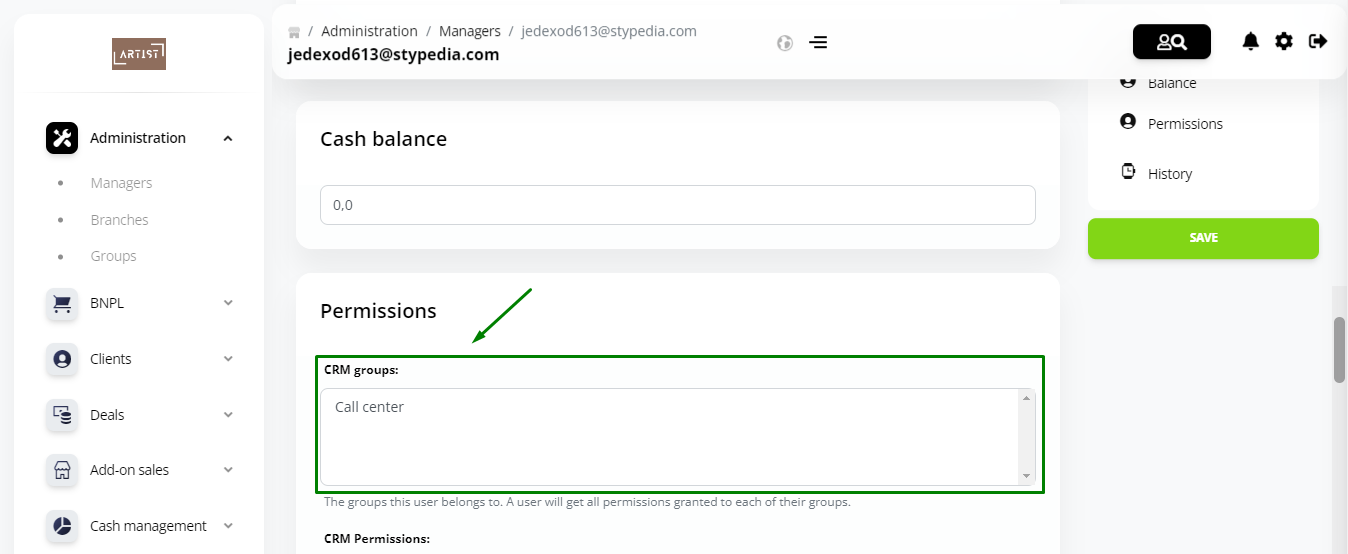
To grant access for a group of managers, select it from the list in CRM Groups. If there is an empty field, you need to create a group first.

Adding a group
Go to Administration – Groups and click Create group.
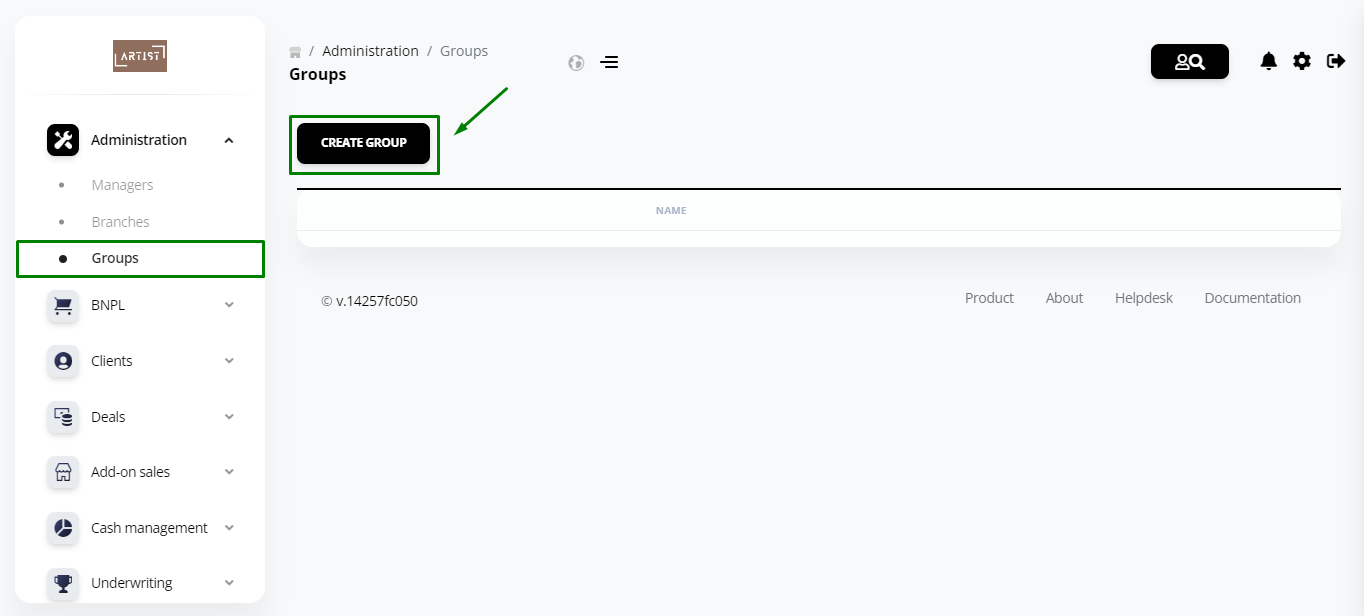
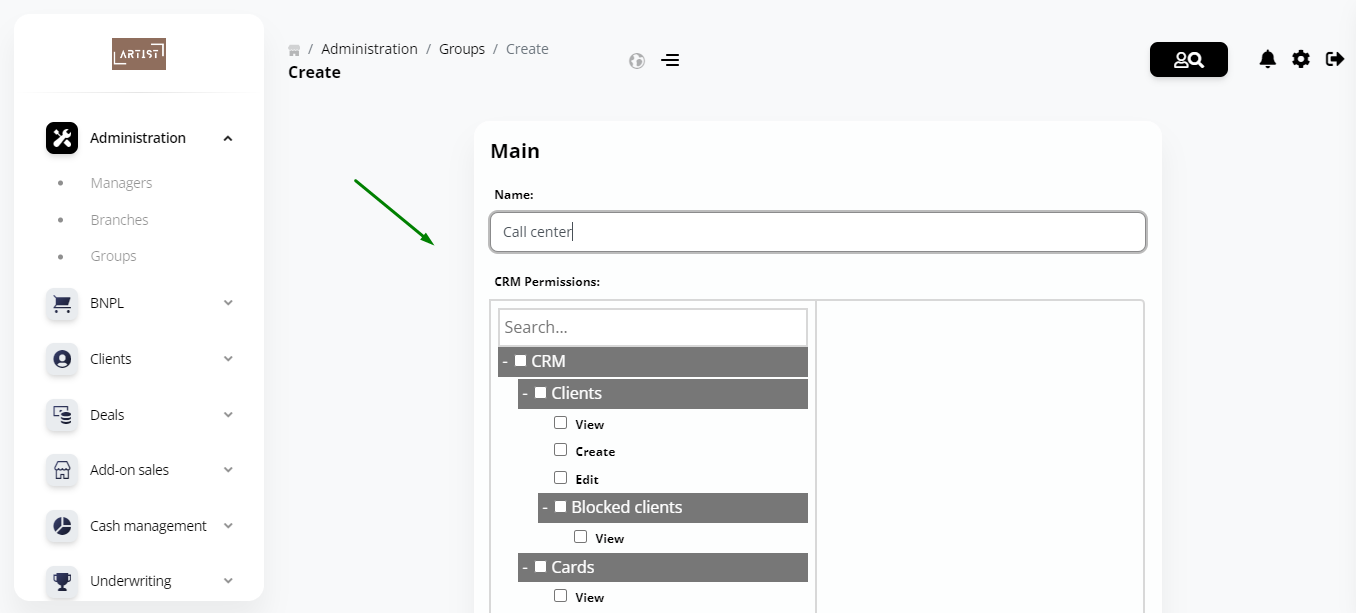
Specify a name and configure the permission level for the managers within this group.
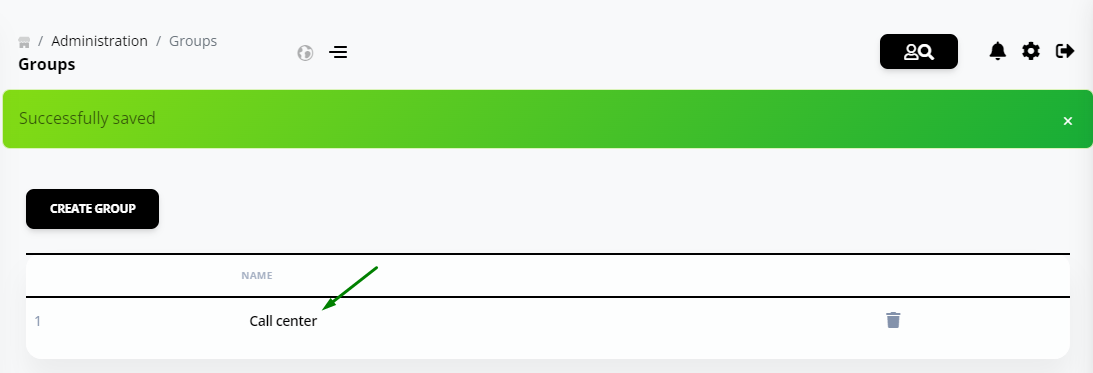
Click Send. Then you will see the new group in the general list.
Once you have created a group, it will also appear in the list on the specific manager’s page in the CRM groups field. If you want to give the manager the same permission level as for a specific group, click the group name and then click Save.
Adding a branch
If you are going to issue loans only online, there is no need to add a branch.
If you are going to issue loans in an offline branch, then go to the Administration - Branches and click Add branch.
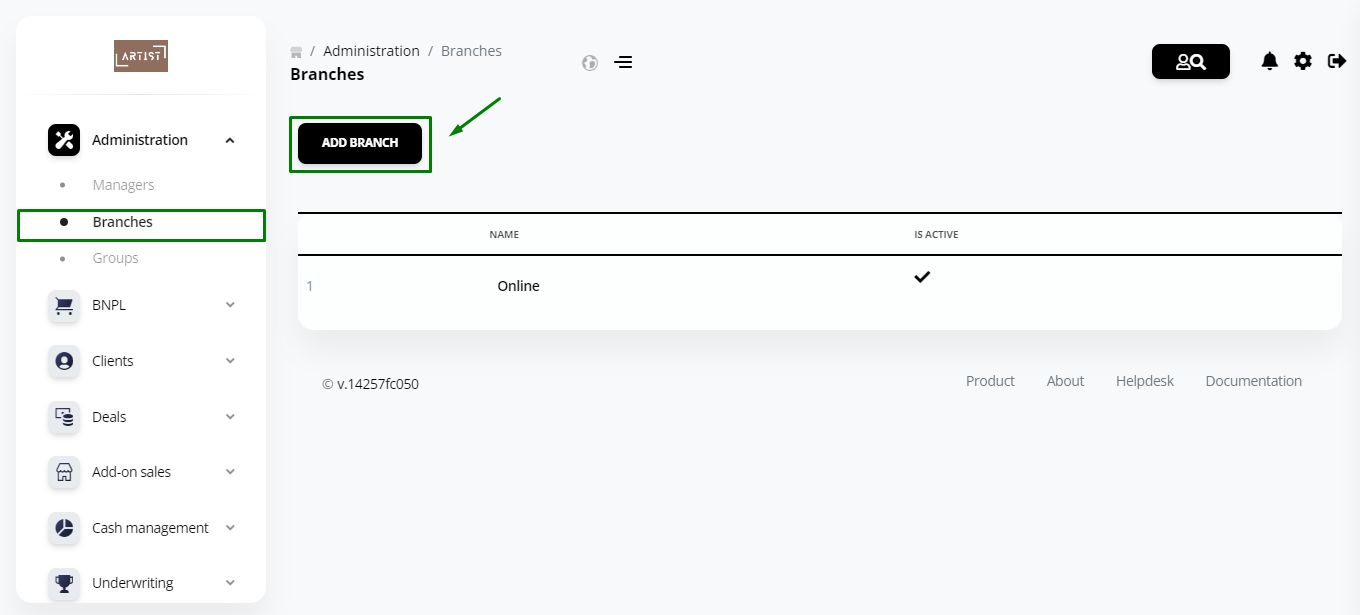
Specify a name and click Send. Then you will see it in the general list.

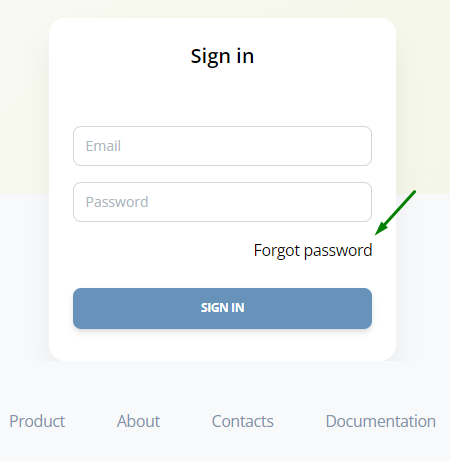
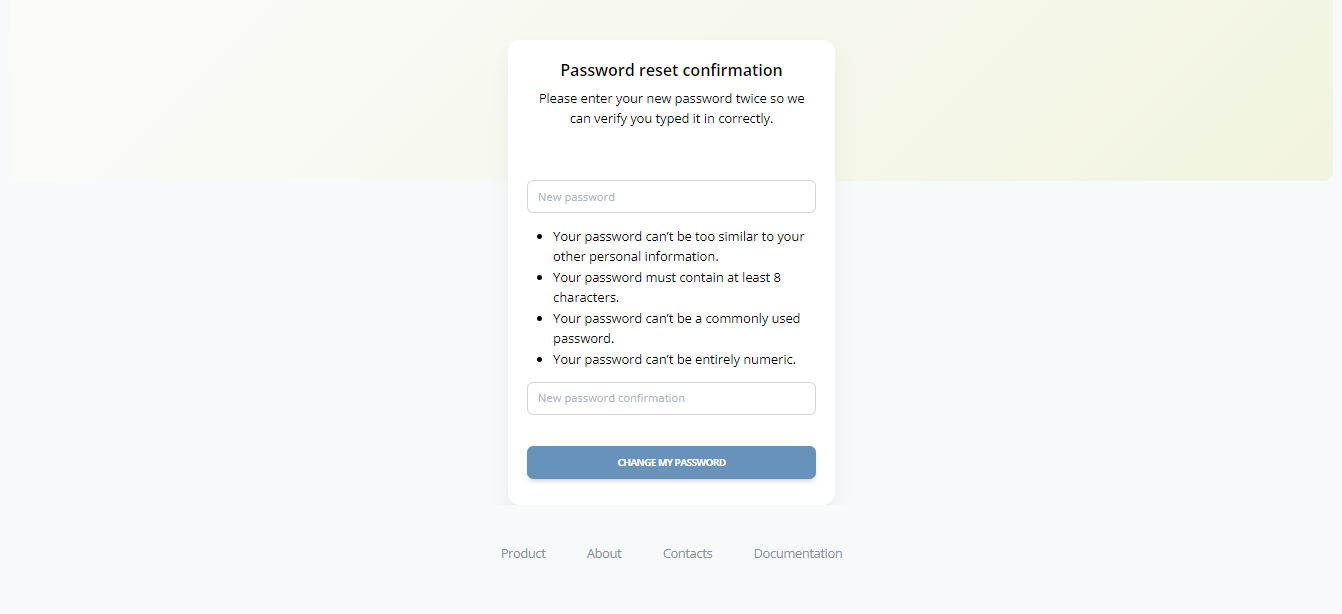
Password recovery
If the you have forgotten the login password, you can easily recover it. Click Forgot password on the login page, then enter your email address and click Reset my password.
A password recovery link will be sent to the email address you entered.