App Management
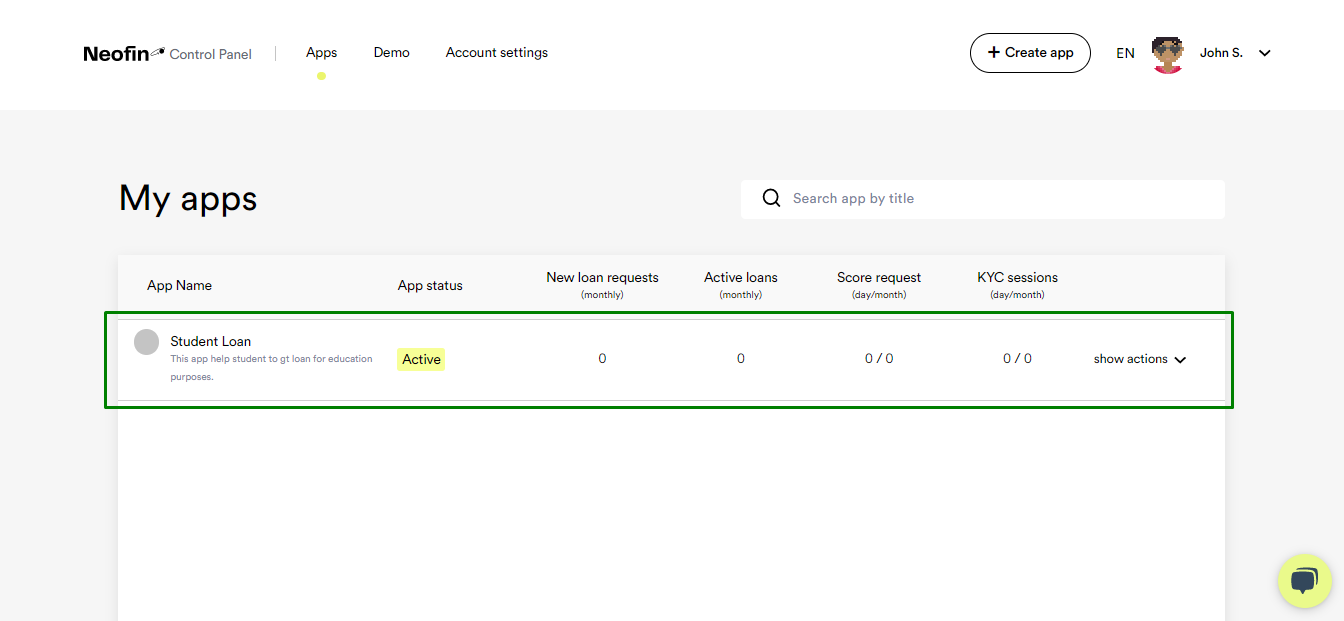
Once you have created an App, you will see it in the Apps tab in the Control Panel.
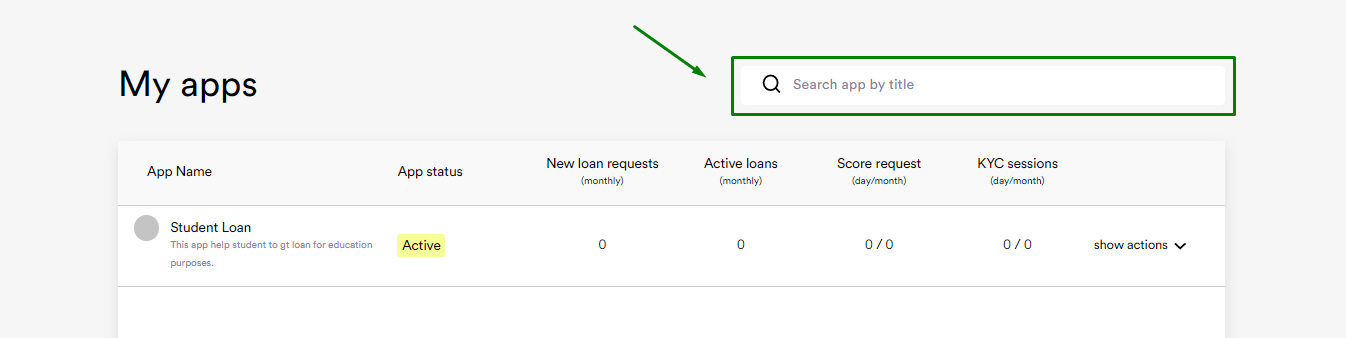
You can create an unlimited number of App.
If you have a lot of Apps, type your App’s name in the search bar for convenience.
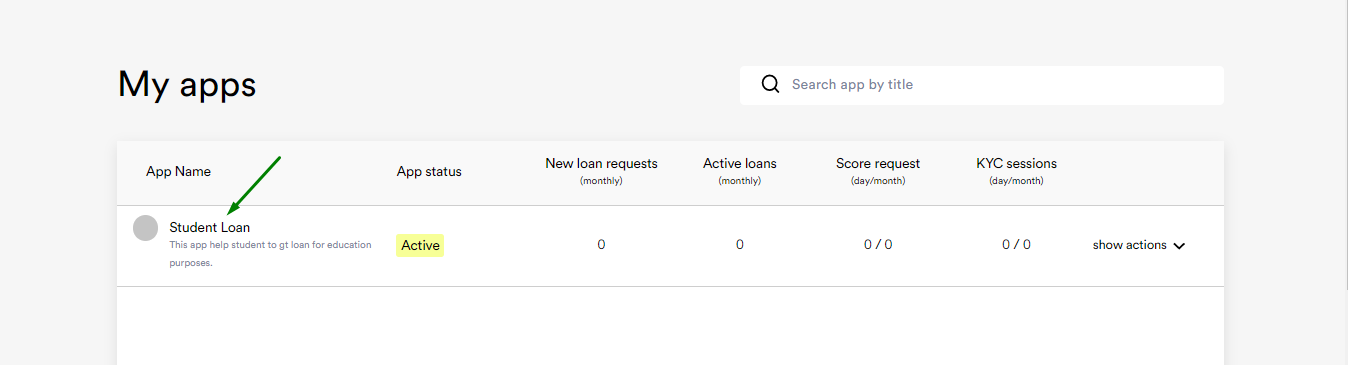
Click on the name of your App to go to its settings.
You will see 2 buttons at the top of the settings page.
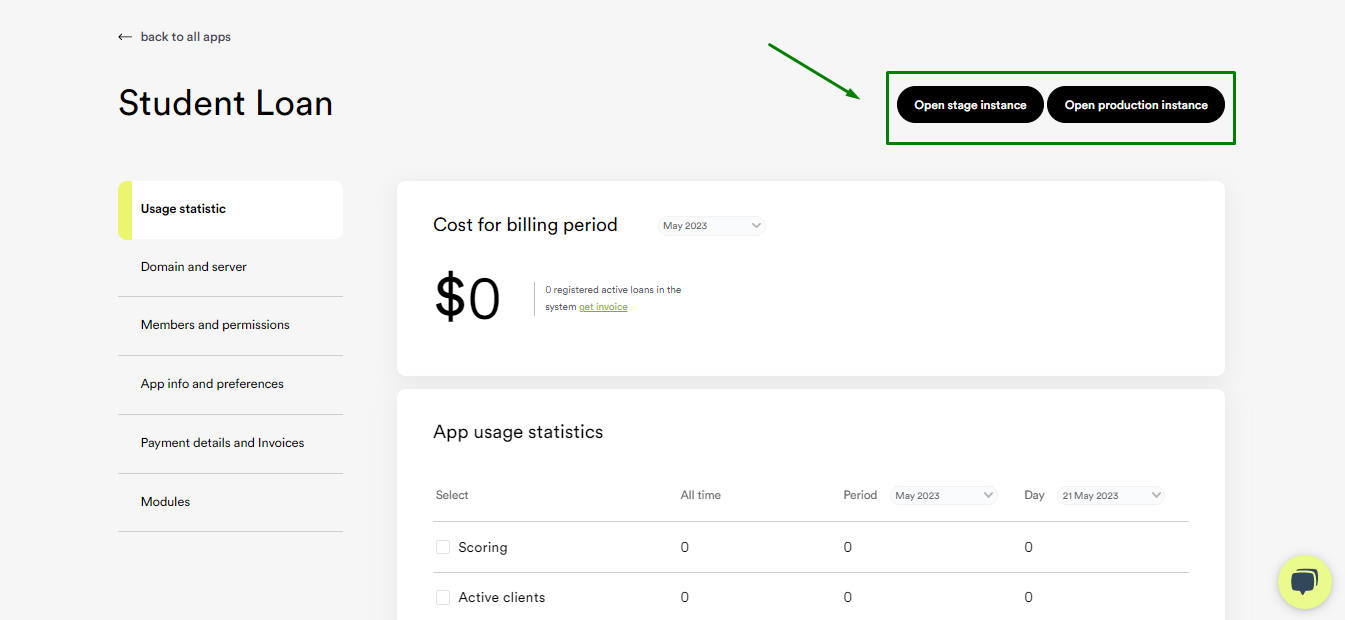
● Stage instance – a test environment where you can tweak the functionality of your App, test how it works before modifying the actual App for your clients.
● Production instance – a workspace where you configure the functionality of your App.
The stage instance and production instance interfaces are identical.
In fact, a stage instance is a draft of your App where you can test everything without any risk. The Production instance is a clean copy, where all changes are immediately displayed for your client.
Please note, that for security reasons, Neofin does not host stage / production instances of different clients on the same servers.
Stage instance is a separate server of a specific client, and production instance is also a separate server of a specific client.
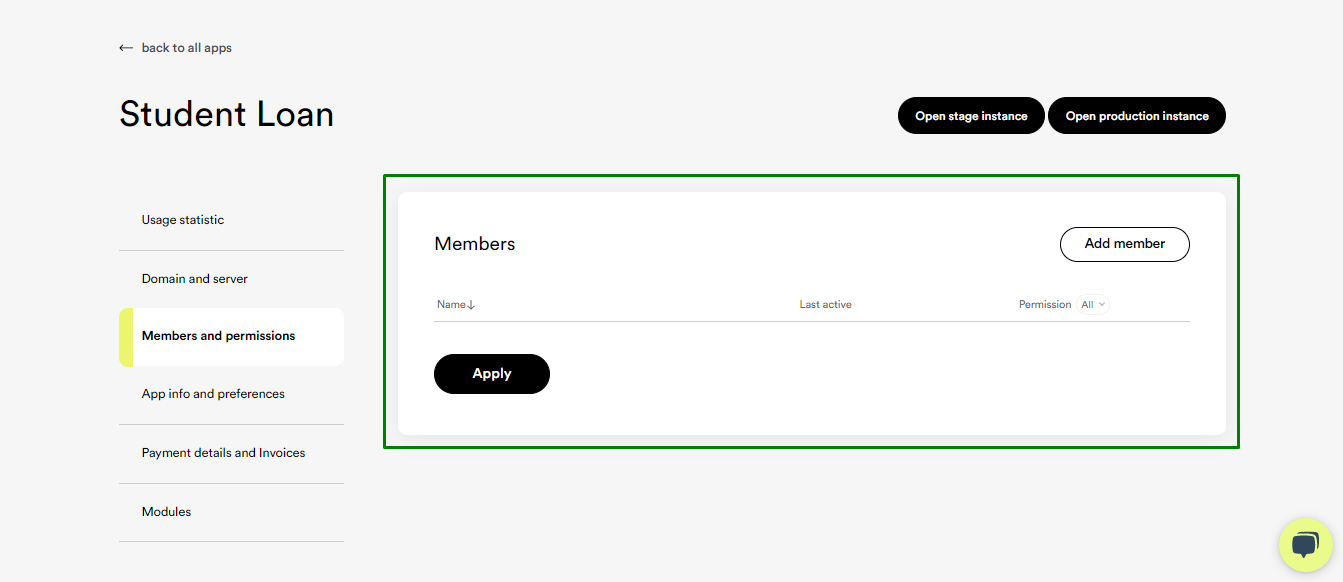
The page with the basic settings of each App contains the following sections:
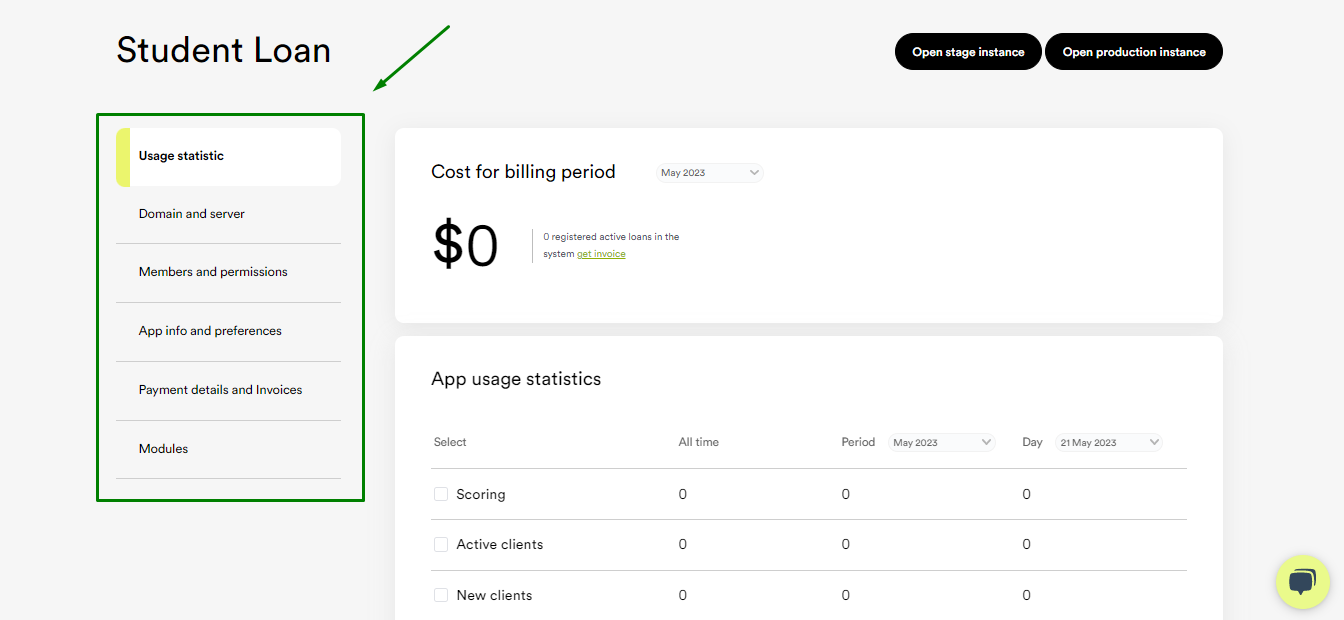
● Usage statistic
● Domain and server
● Members and permissions
● App info and preferences
● Payment details and Invoices
● Modules
In the Domain and server section, you can send a request to Neofin tech support if you need:
● To change the domain
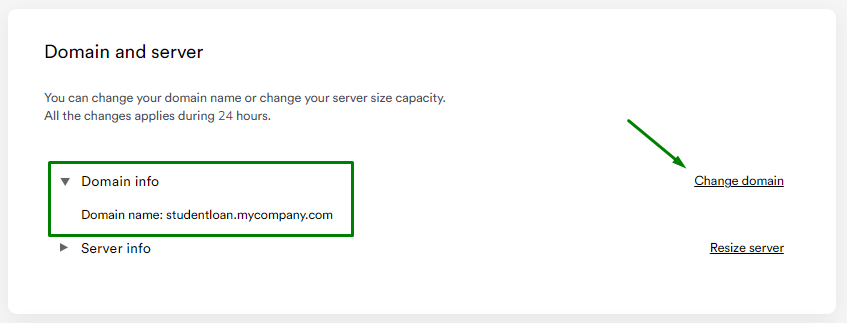
● To change the capacity of RAM on the server (for example, if the load on the server has increased and it has started to work slower).
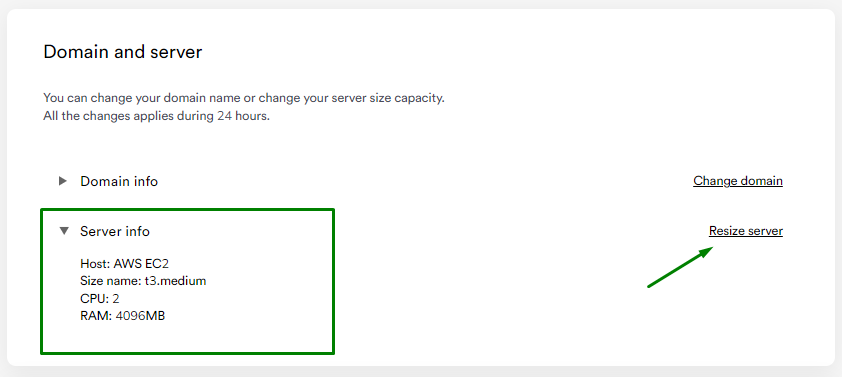
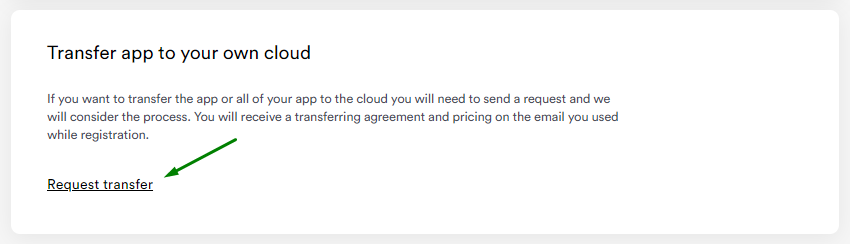
● To move App to your cloud server
In the Members section, you can invite new users to work with your App.
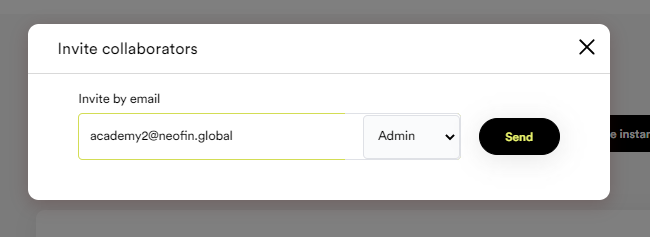
Click Add member, enter email address, give access rights for the user (Owner, Admin, Can edit, Can view) and then click Send.
In the App info and preferences section, you will see the general information about your App specified during its creation step.

If required, you can edit the App info and the color scheme of the interface.
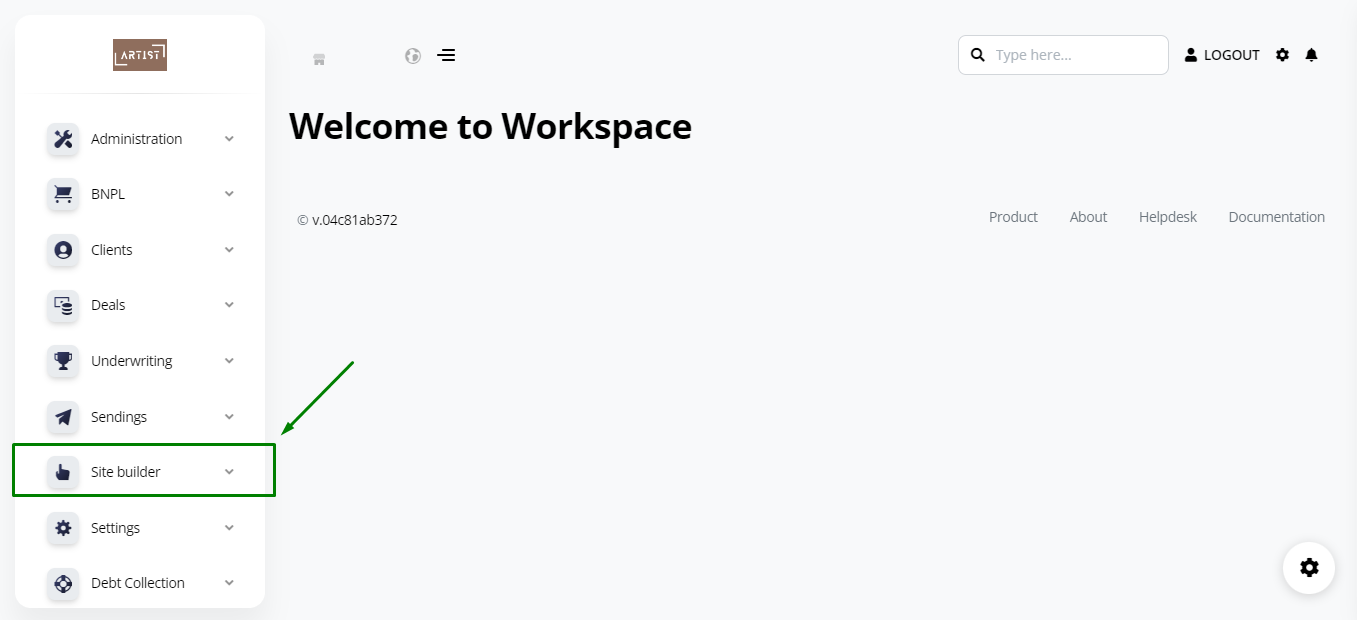
In the Modules section you will see a list of available modules to be used in the stage / production instance workspace.
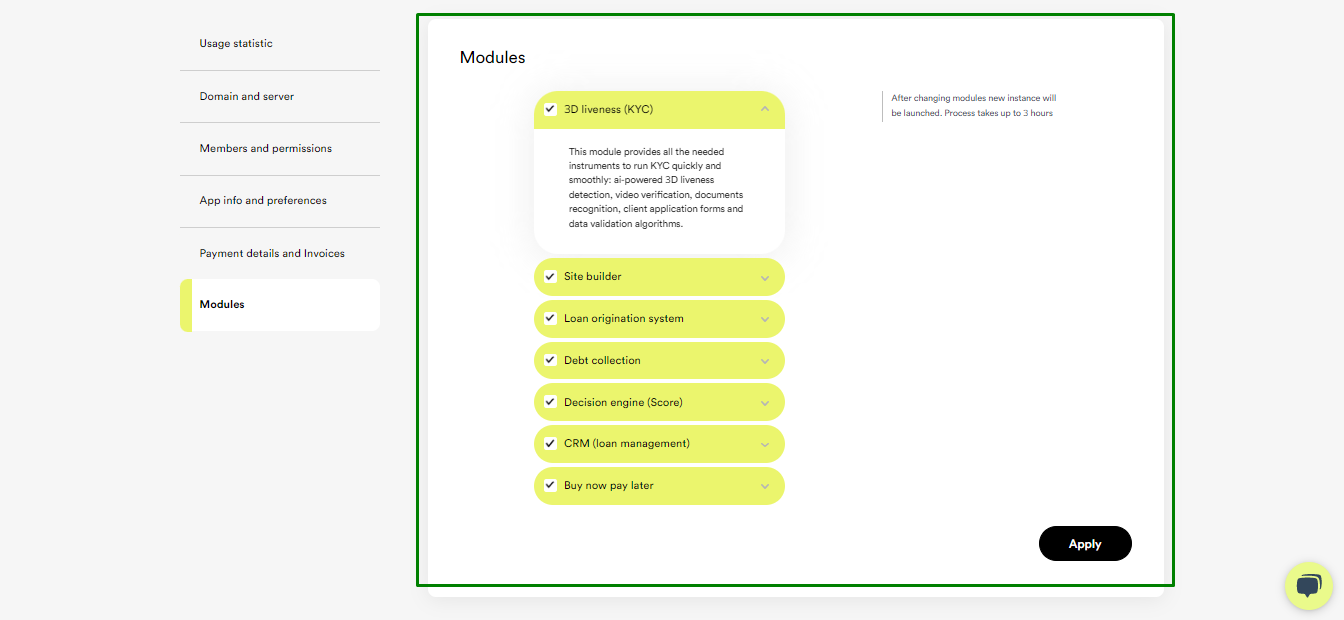
For example, the Site Builder module, that appears on this page in the list of modules, is shown in the stage / production instance on the left side of the interface.