Template Types
There are the following types of templates:
- Base
- Include page
- Flat page
- Override page
- Pop-up
- Input

We’ll take a closer look at each type of template.
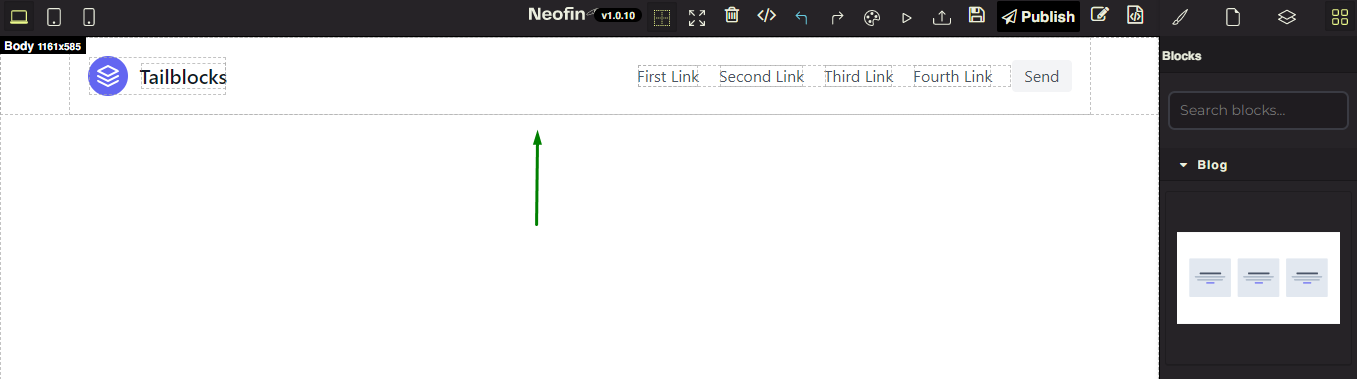
Base – is a template that acts as a base template from which other pages can be inherited.
As an example, you need to create a base template with a header, so that when creating other pages, you don’t have to repeatedly put in the same elements (header).
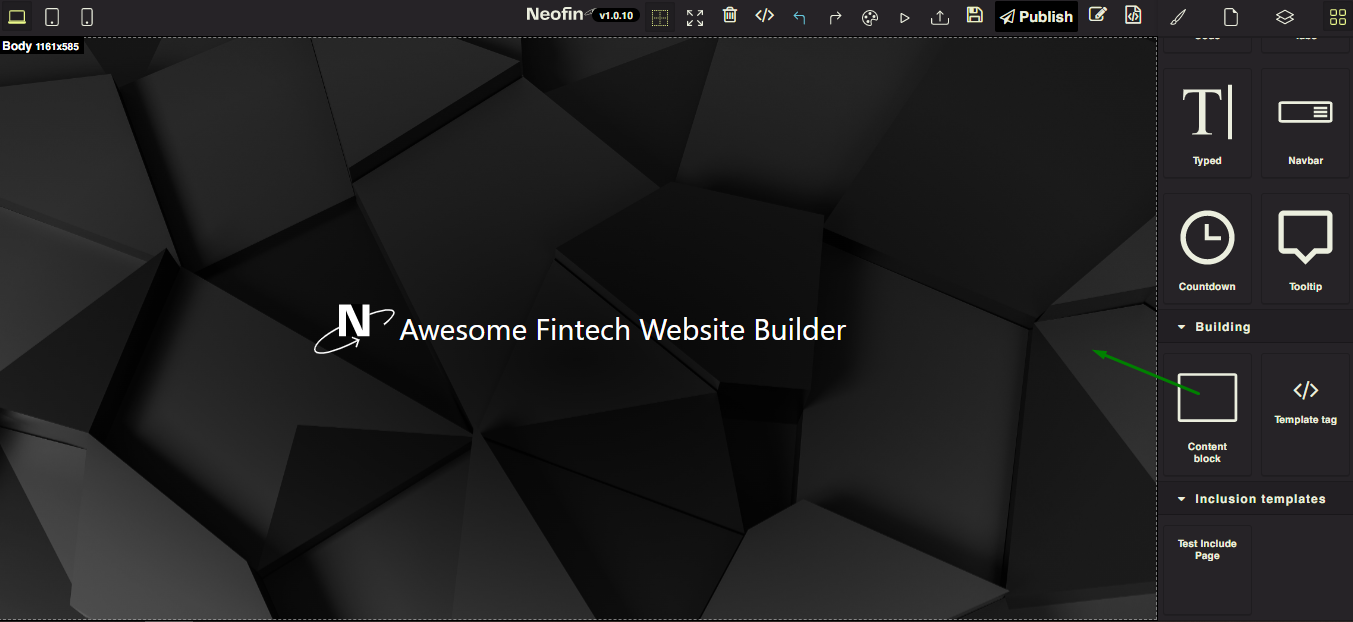
The way it works is as follows. The base template is augmented with an element, that will be replicated on other pages. Next, add a Content block and assign a unique name to it.
Afterwards, create another page, add Content block to it and fill it with the content. In the page view mode, you will also see the content (e.g. the header) from the base template.
Let’s look at how it works.
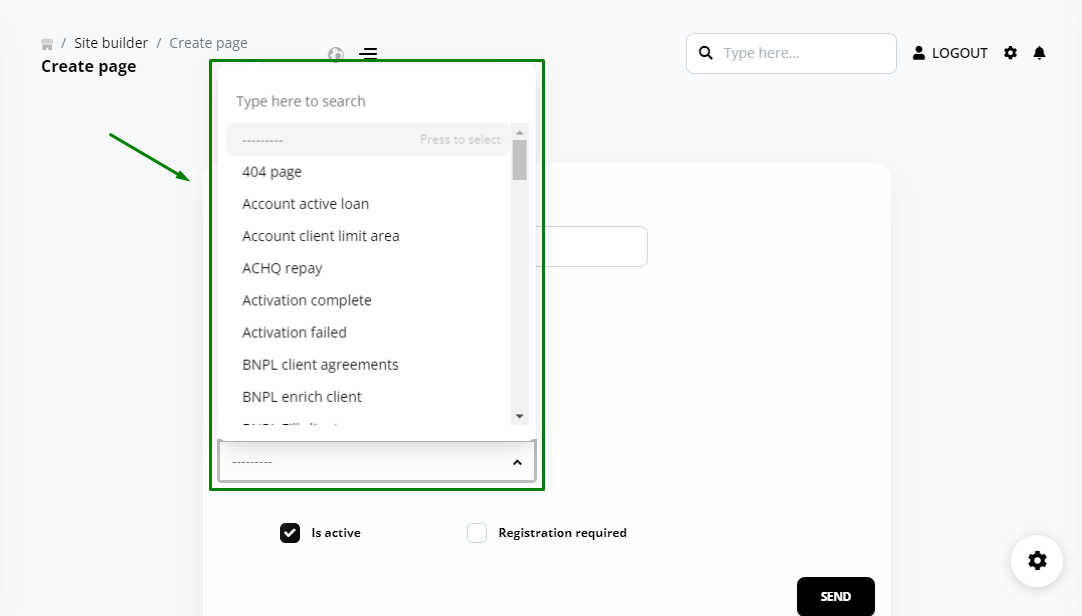
1. Select Template Type Base and click Send

2. Click Edit.

3. Add an element that should be replicated on other pages. For example, a header.
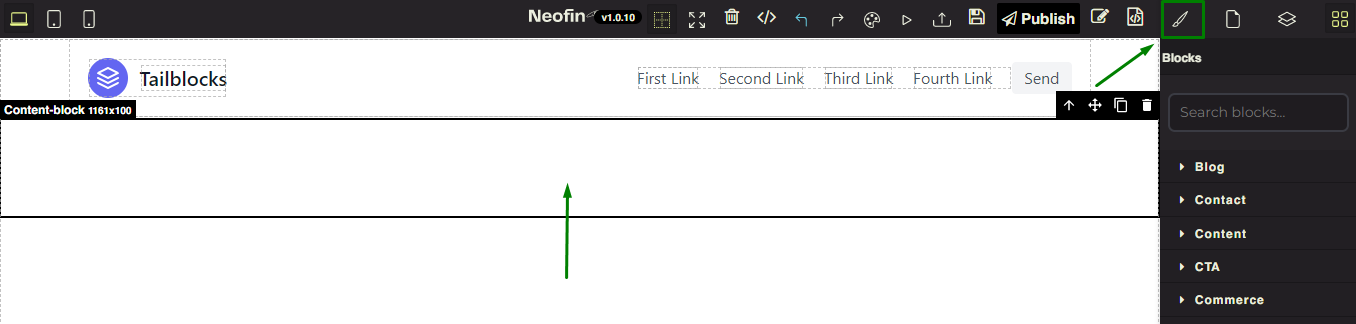
4. Then add Content block.
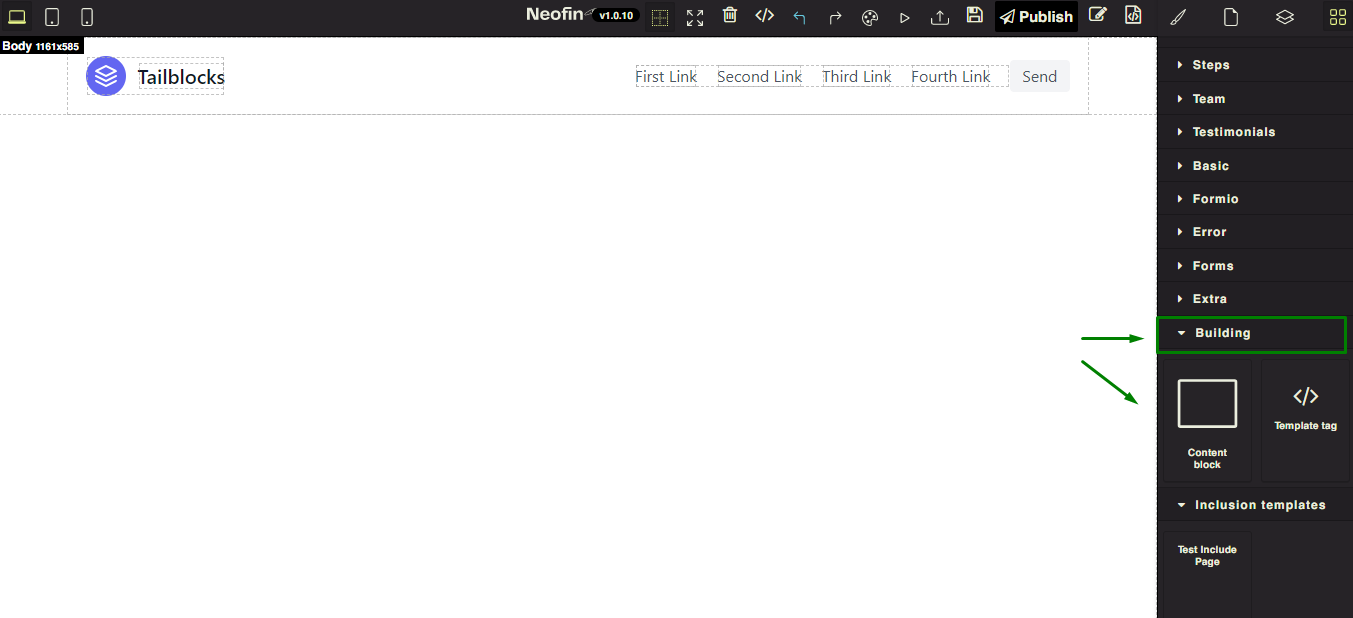
5. Click Content block, and then choose Open Style Manager.
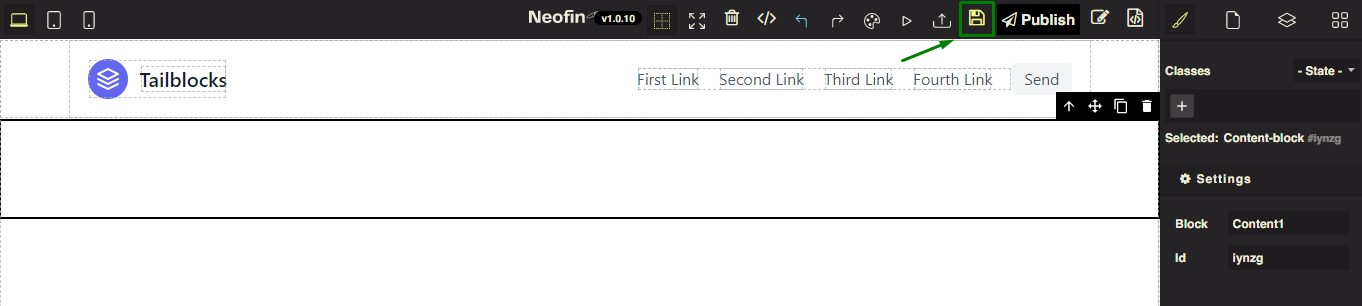
6. Next, click Settings and enter a unique name for this block in the field. For example, Content1

7. Click Save.
8. Then create another page where you want the header to be displayed. In the Extend template field, specify the name of the Base page. In other words, you specify template from which this page will be inherited.

9. Click Edit and add a Content block.
10. Click Content block, and then choose Open Style Manager.

11. Click Settings and in the Name field enter a unique name for the Content block that you specified in the Base template (in our case – Content1).
12. Click Save.
Great! Now this page is blank, but in the view mode, you will see the header.

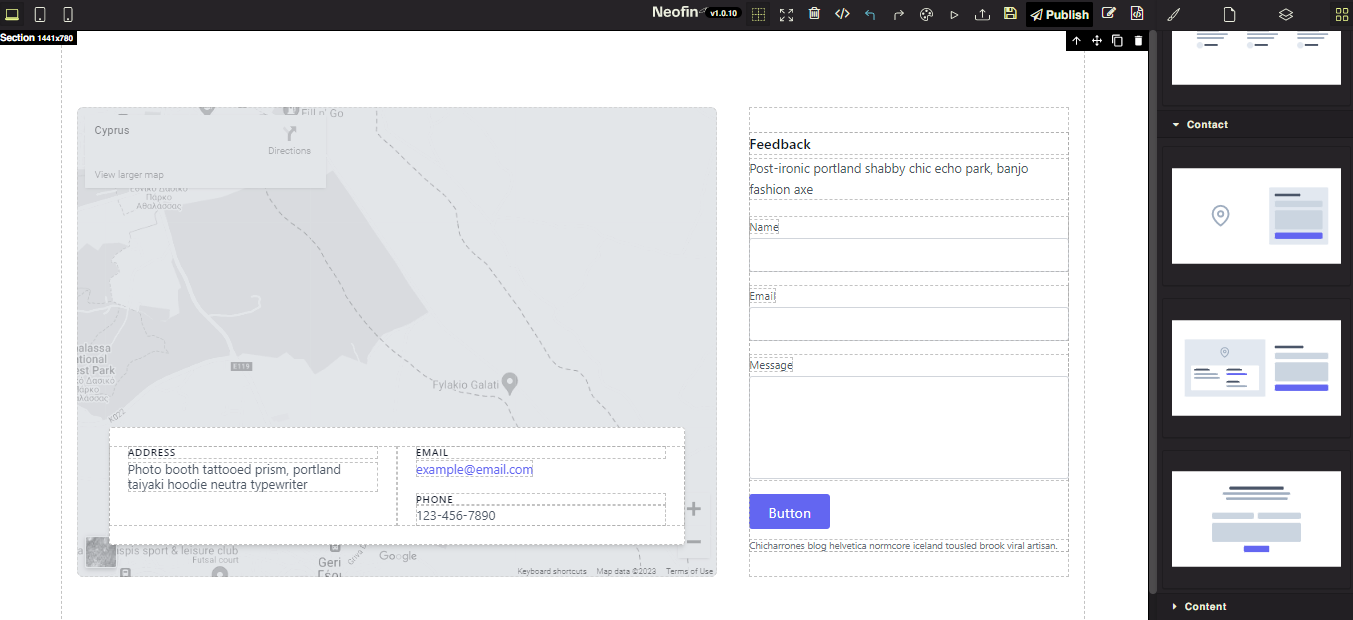
Include page – used when you need the same content to be replicated in multiple places.
For example, if company contact information or registration form is applied on multiple pages, you can use Include page to facilitate the management of this content.
Let’s look at how it works in practice.
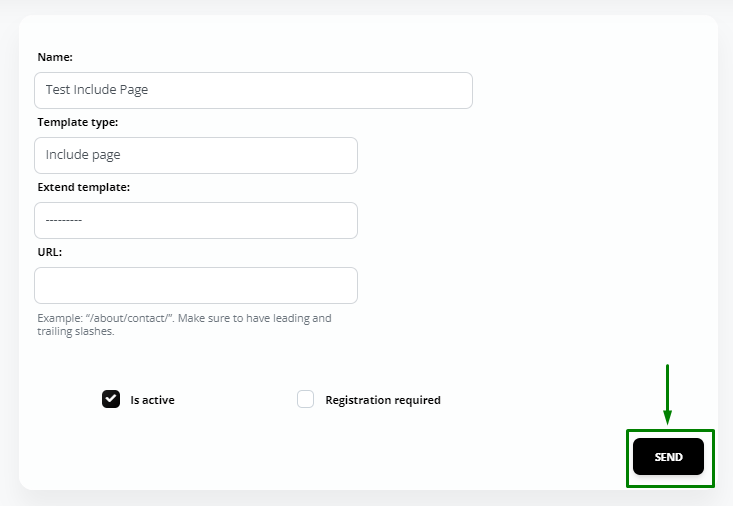
1. Select Include page and click Send.
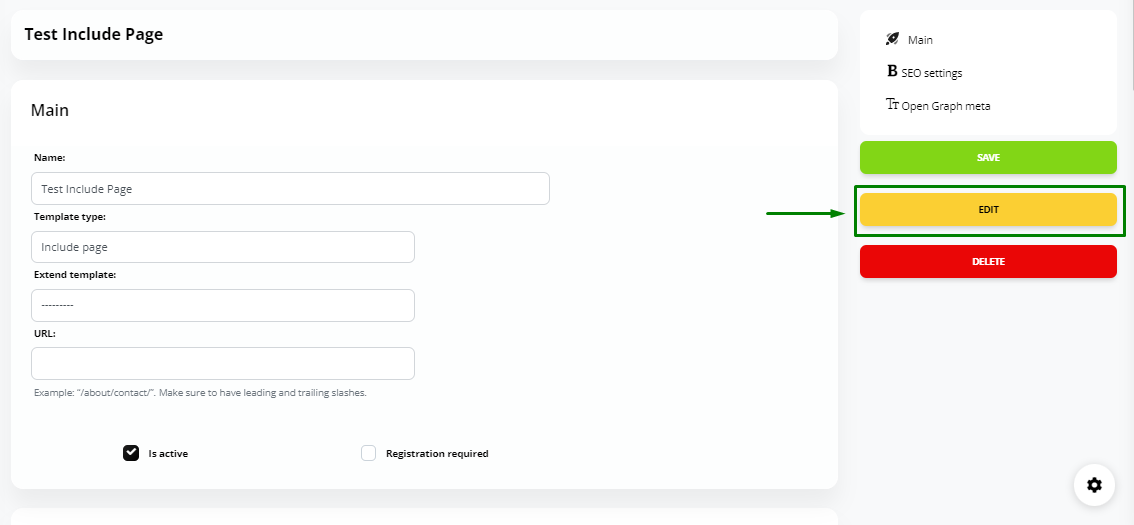
2. Then click Edit
3. Add information that will be used in many places. For example, it can be a feedback form, allowing clients to send you a message, and a map with your company contacts.
4. Click Save.

5. Next, open the page on which you want to display a block with a map and a feedback form.
6. Scroll down the area with blocks to the bottom. You will see the Inclusion templates section.

7. Drag the block into the workspace.
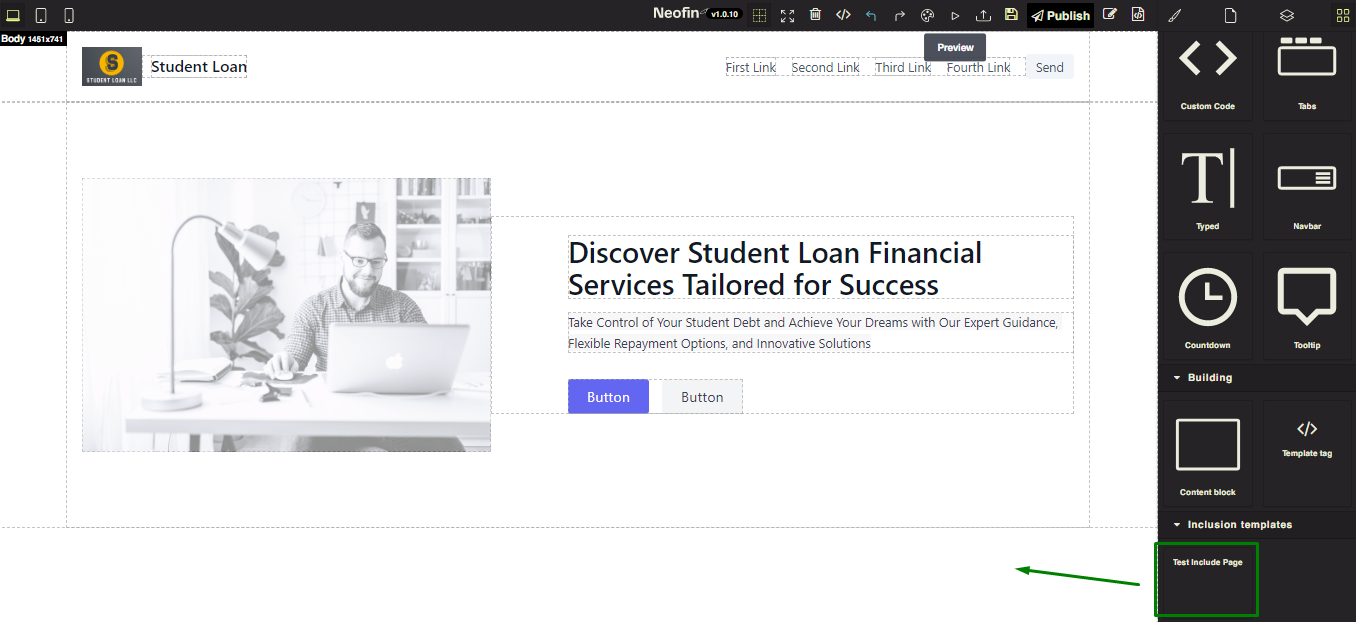
8. Now this block will appear here.
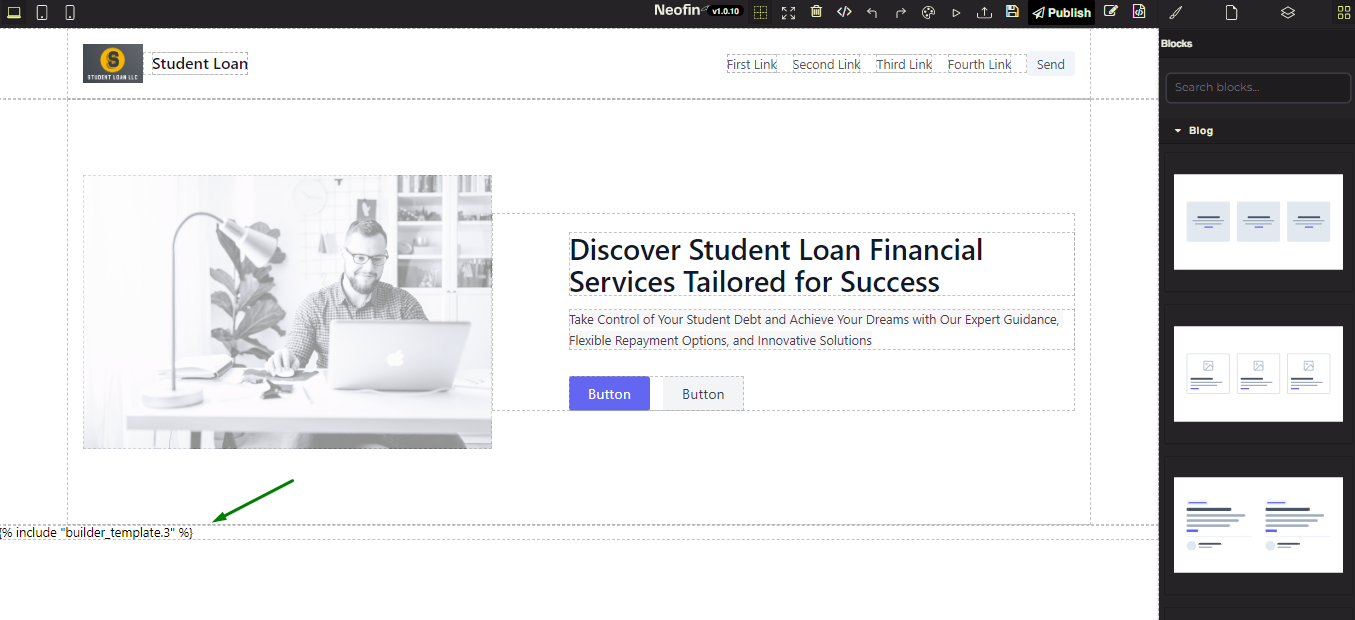
In View mode, you will see the map and form instead of the code line.

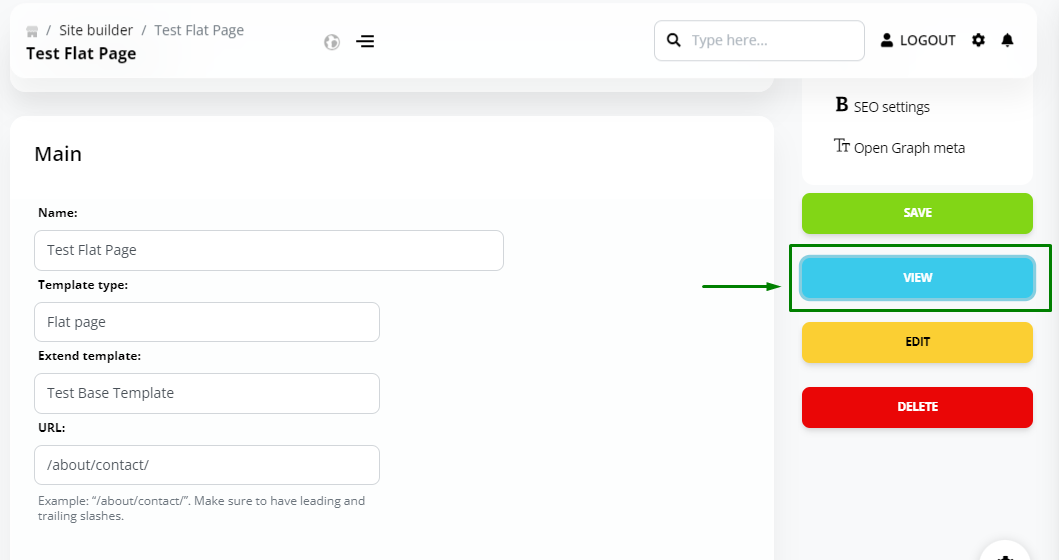
Flat page – a static page that does not contain any logic. In other words, such a page does not participate in the User Flow regarding the loan.
Override page – a template of ready-made pages, each page has its own logic and performs its function. For example:
- Index – base template for creating any web page
- Login – template for a page with a form for logging into your account / system
Pop-up – a pop-up window that appears according to a preset scenario in predefined places. For example, if a client submits a loan application and receives (approval / refusal), then he/she will see a popup on the relevant page.

Input – unified form template (registration, login, etc.) with the visual display settings that you need.
This type of template is a great time-saver when working with a large number of forms on different pages. Of course, you can use the default forms available in the Site Builder editor. However, if you need to use your forms, you can create a unified form template, so you won’t have to edit the form on a new page every time.