Content Management System
Working with the editor is quite easy: just select the required block, drag it to the workspace and customize it (e.g. change the text, image, etc.).
For example, you need to add a header on a web page. Find it in the list of blocks and drag it to the workspace.
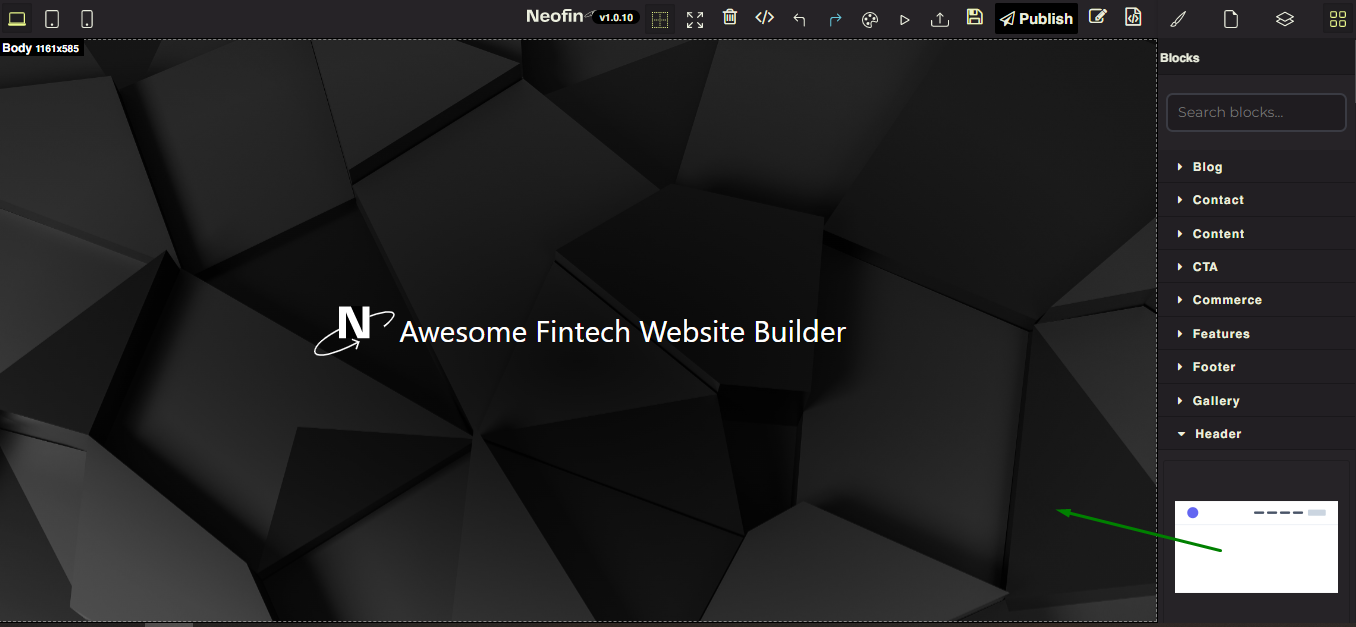
This is what it looks like:
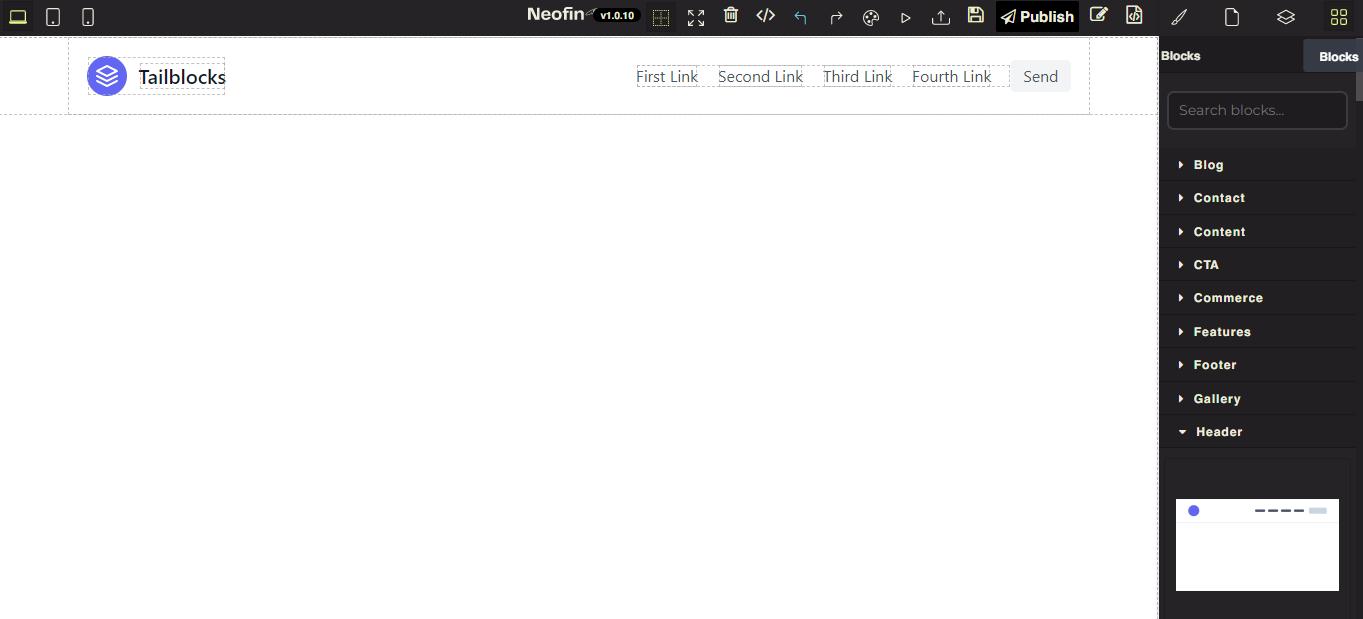
Next, you can edit each element. Double click the text and write what you want. If required, you can turn the text into an active link.
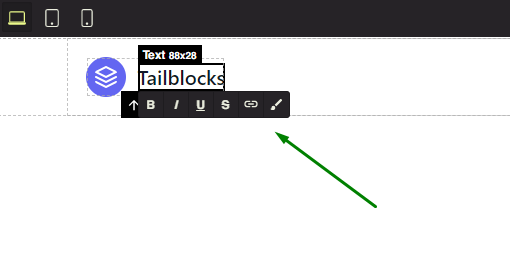
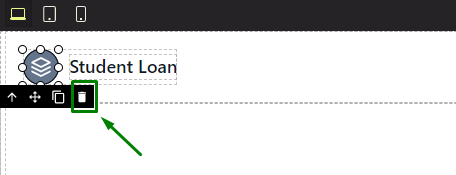
To replace the logo, first delete the current one. Double-click the logo image, and then select the rightmost icon.
In the list of blocks, find the Basic tab, select Image and drag it into the header.
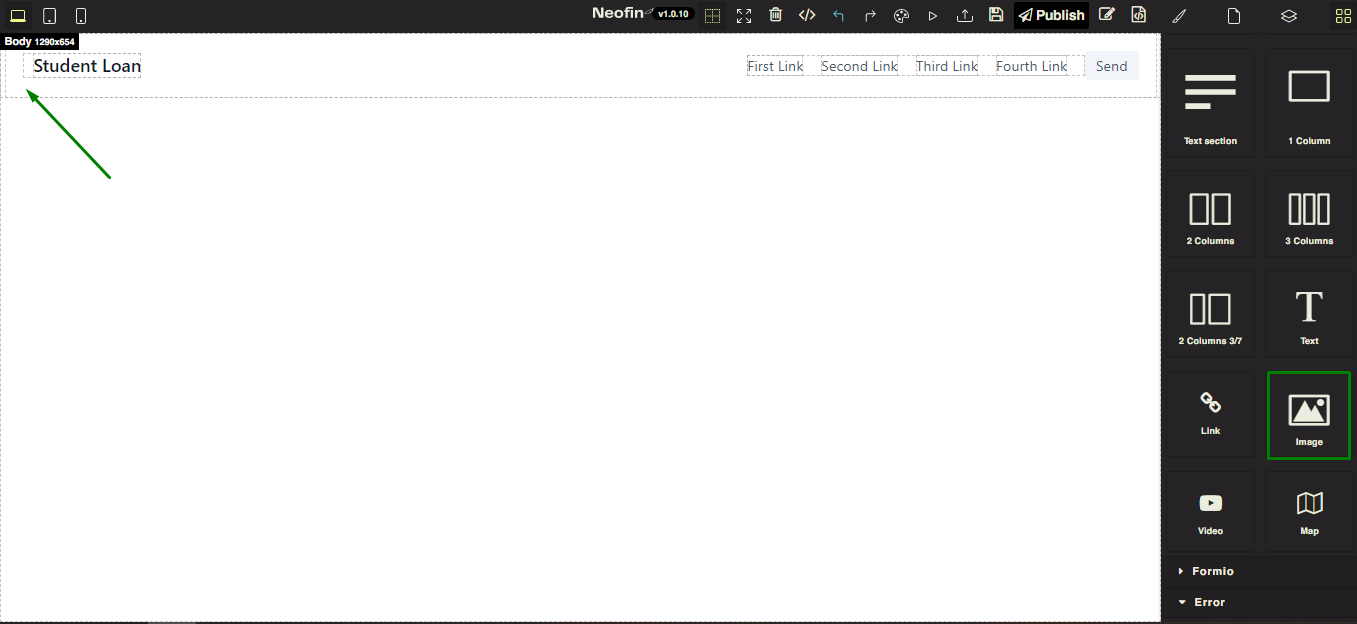
Add an image of the logo.
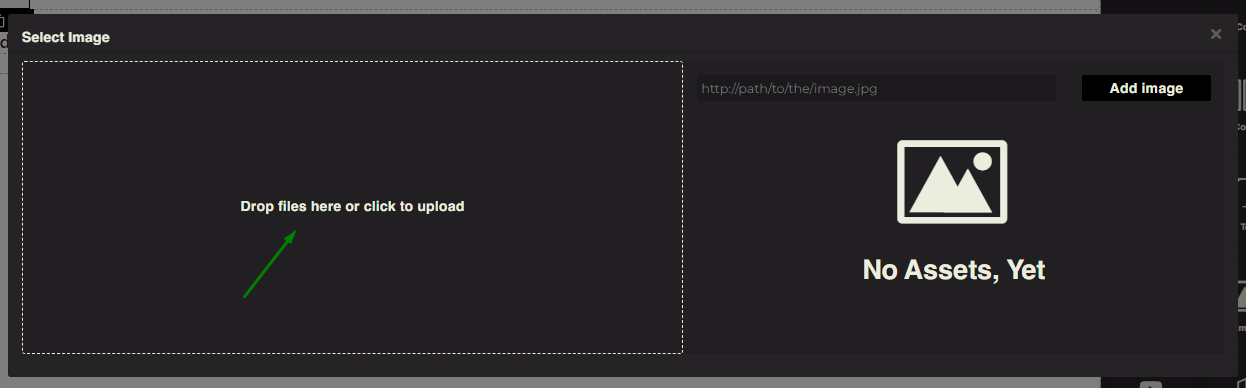
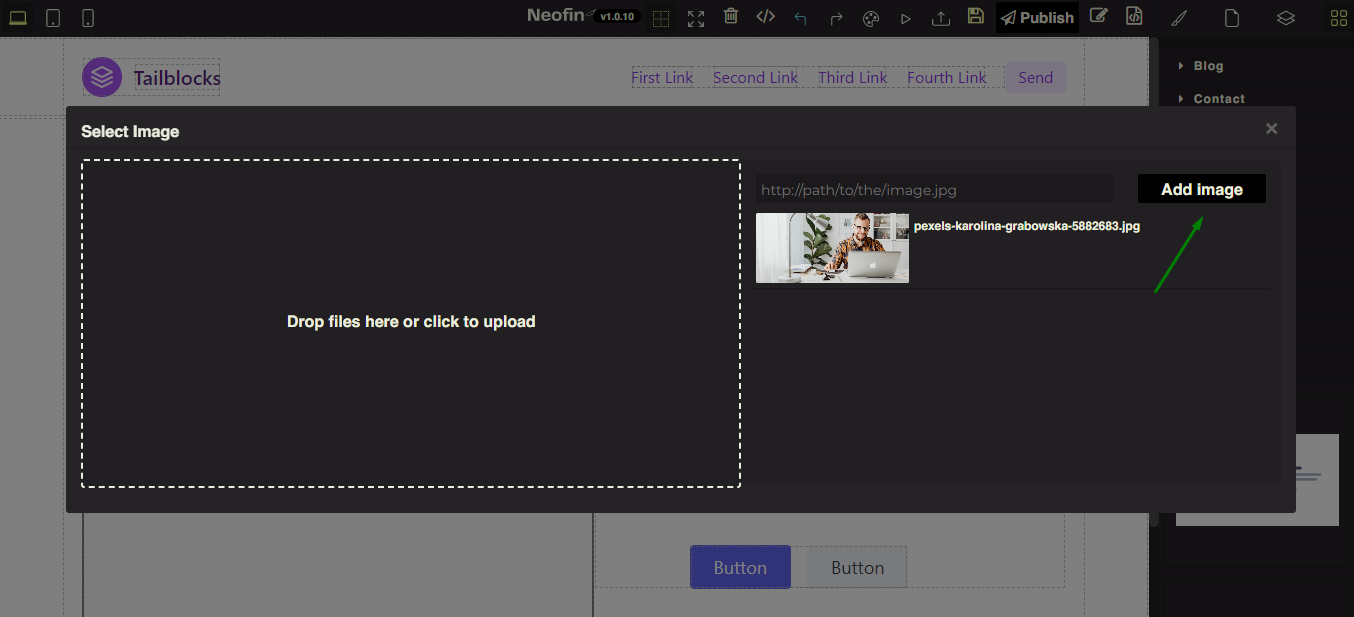
Click Add image.

To change the color scheme of the links and button, click Open Theme in the menu, select the required color and click Update.

To continue filling the web page with content, select the next block and drag it to the workspace.
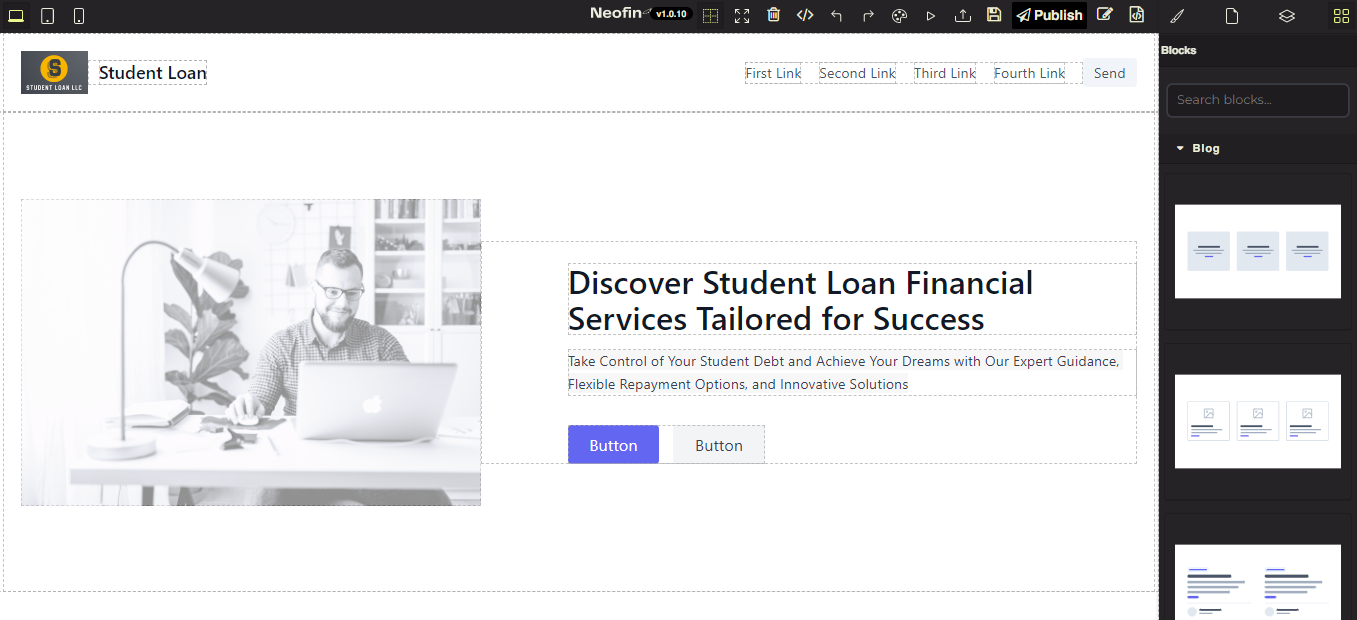
For example, you want to add an image, title, text and a button on the first screen (Hero block). After dragging it to the workspace, it looks like this:

Double-click an area to add an image. Select the required file and click Add image.
Double-click the title and write your own title. Follow the same procedure for the text below the title.
For example, the first screen of a Landing page might look like this:
Similarly, you can fill the Landing Page with other blocks according to your page layout / structure.