Loan Page Overview
The loan page looks like this.
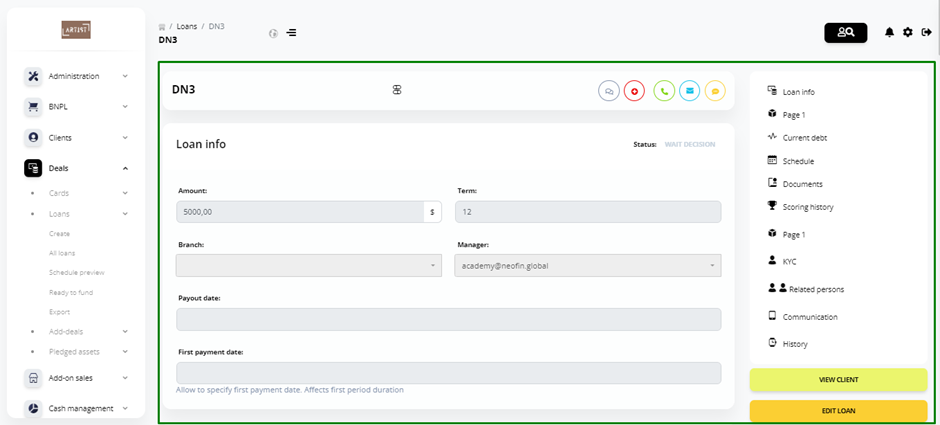
On the loan page, you will see:
● information left by the client in the application
● loan repayment schedule, automatically generated by the Loan Management System
● additional data about the client from the third-party services (e.g., Bureau of Credit Histories)
● Signed documents block, where you can upload signed documents
● Printing Forms block, where you can view and download the agreement for this loan product
● Underwriting history
● history of interaction with the client in the system
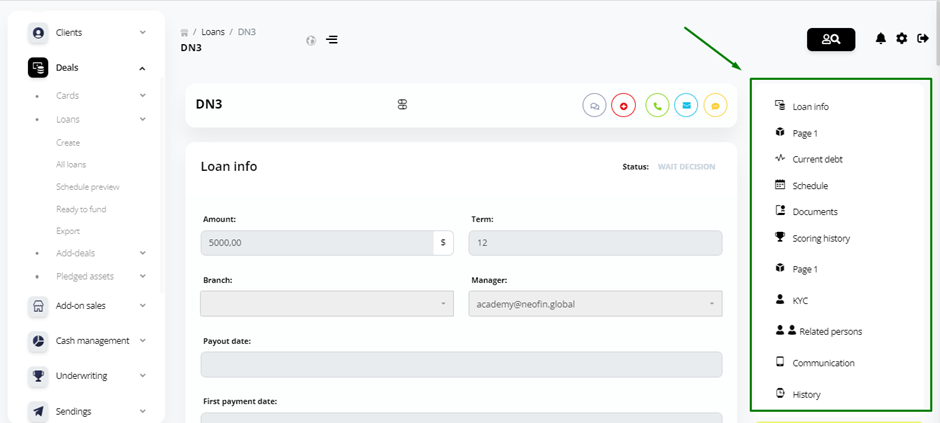
For convenience and quick transition to the desired section, you can use the menu on the right side of the page.
Also, if required, you can go to the client’s profile from this page and view the loan product.
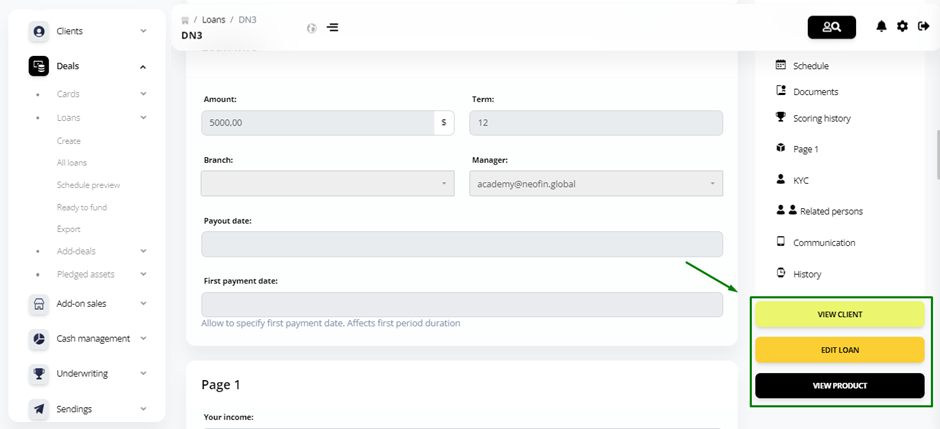
To view key loan data, click Loan Summary.
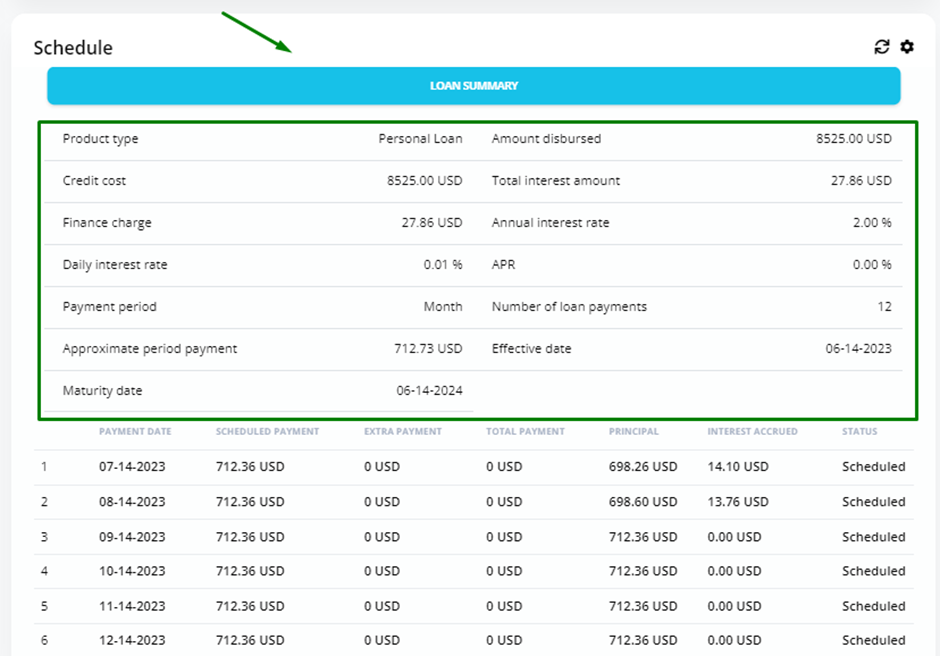
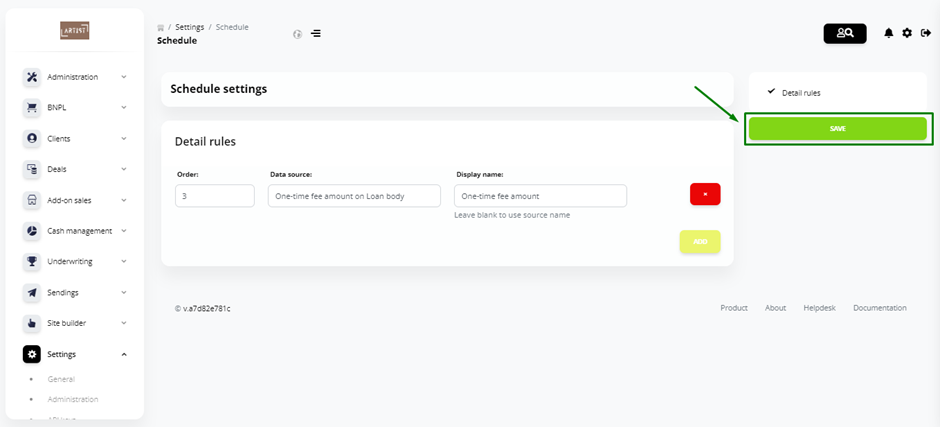
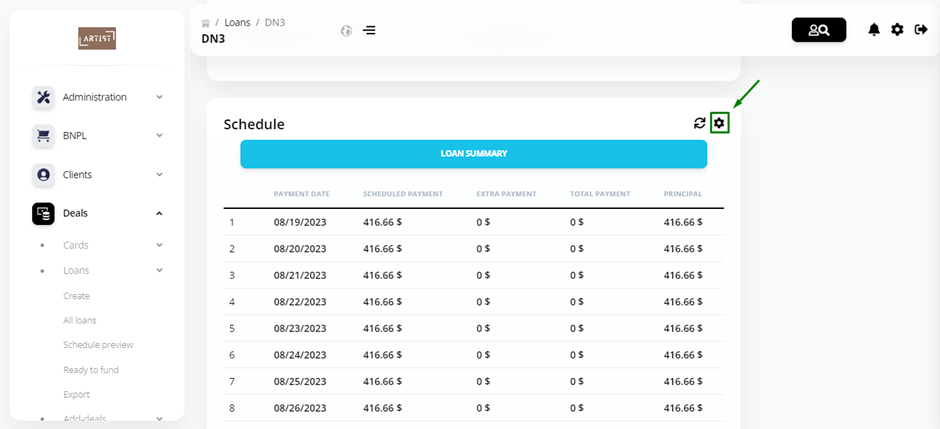
If required, you can configure the information to be displayed in Loan Summary.
Click the Settings icon in the upper right corner of the Schedule block.
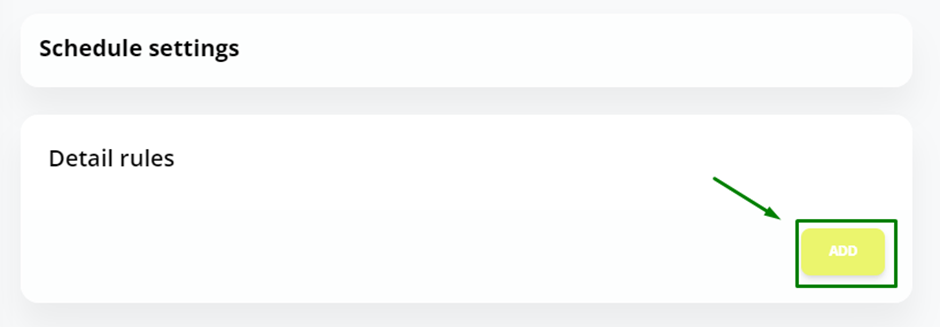
Next, click Add.
In the Order field, specify the order in which to display a custom field.
In the Data source field, select the parameter you want to be displayed in the chart.
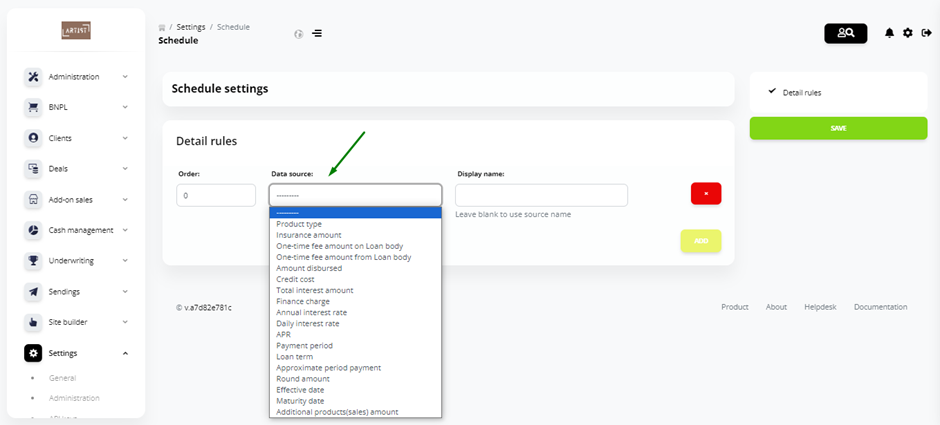
In the Display name field, specify the name you want to be displayed in the column name of the chart.
Add as many fields as you need and then click Save.