Underwriting studio: Product routing
Underwriting studio is a tool that allows you to automate the assessment of the borrower’s creditworthiness when issuing a loan. You can use it to configure the rules for scoring, according to which it will be decided automatically, whether to issue a loan on this application, reject it or hand it over to the manager for manual processing.
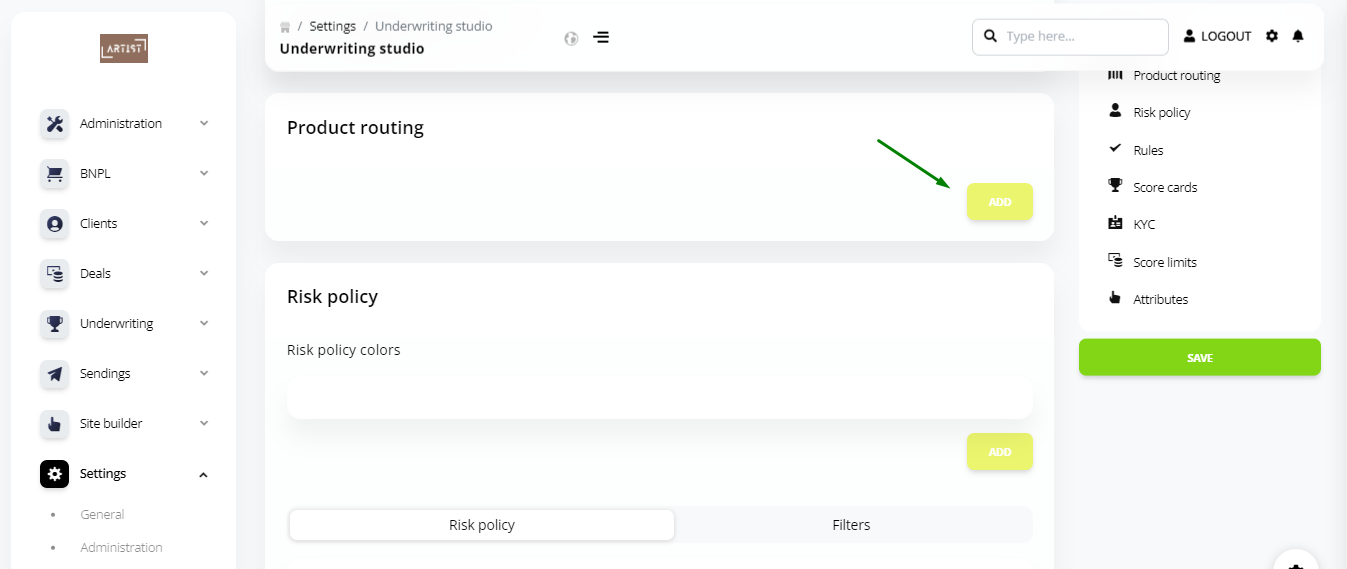
Underwriting studio is located in the Settings section and looks like this:

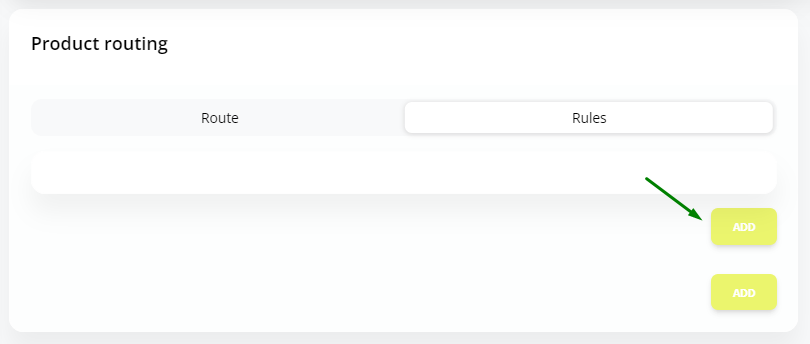
The Product routing tab is used to create and configure the rules according to which the system determines the loan product to be offered to the client upon specific application.
Let’s take a look at how to configure a simple Product routing.
1. Click Add.
2. Specify a name for this Product routing and in the list, select a loan product to which it will be applied.

3. In the list, select Working scoring group for rules.
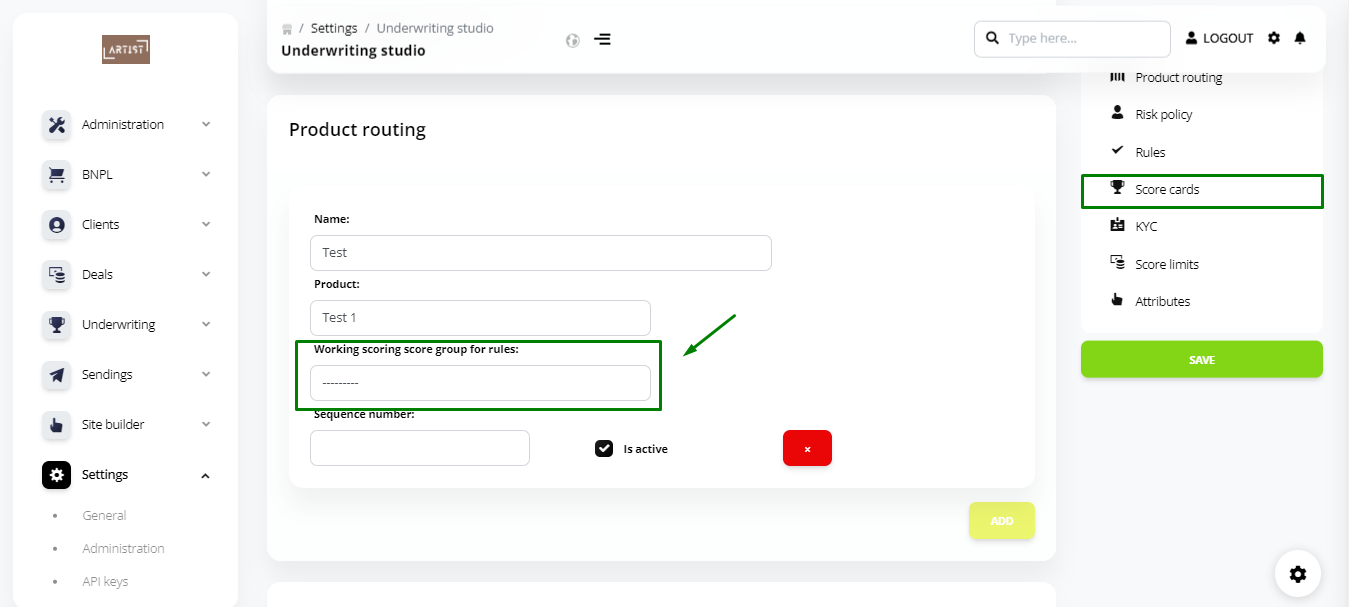
This is a group of rules for Score (created in the Score cards tab).
A system may contain more groups of rules, and if in this case you choose a specific group of rules, it will be used to calculate the scoring.
Next, we’ll take a closer look at how to create a group of rules for Score.
4. Specify Sequence number.
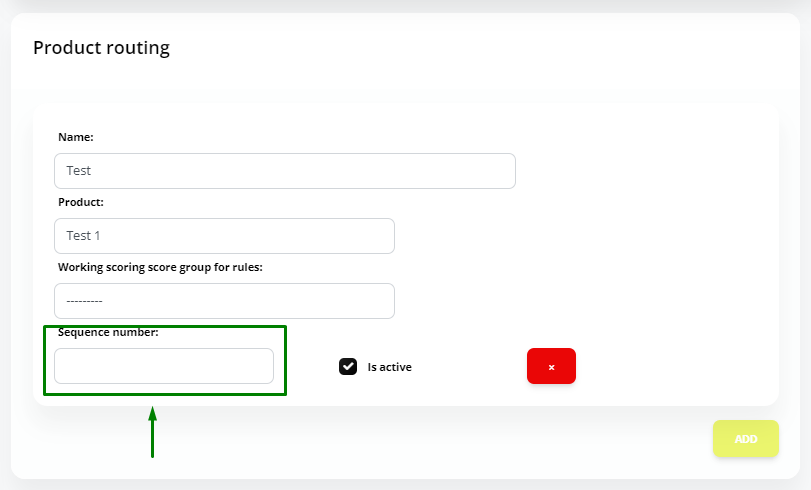
Sequence number – the order of using a group of rules for this Product routing.
Product routing may contain multiple groups of rules, and Sequence number determines the order in which each group of rules is used.
For example, if 2 groups of rules are configured in Product routing, and the first group of rules fails to trigger during the verification, the system will switch to the second group of rules.
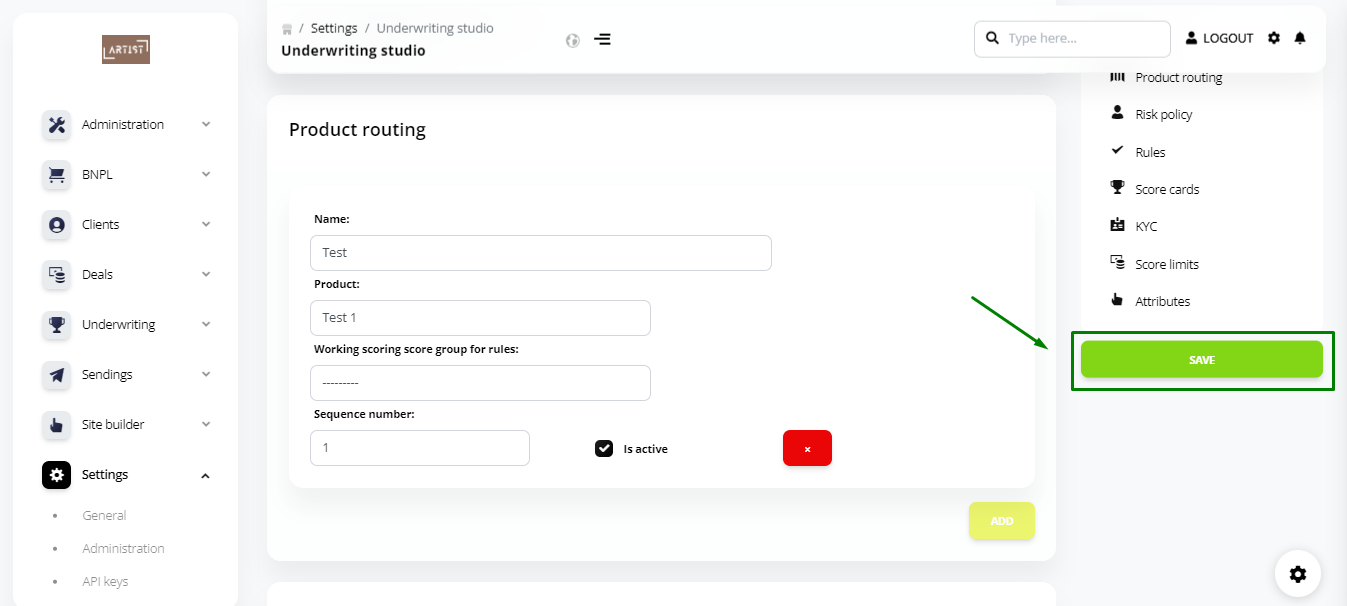
5. Once you have filled out the fields, click Save, and then select Yes and Ok.
6. Scroll down the screen a little bit to go to the Product routing that you created. You will see the Rules tab in it. Click it.

7. Click Add to add the rule.
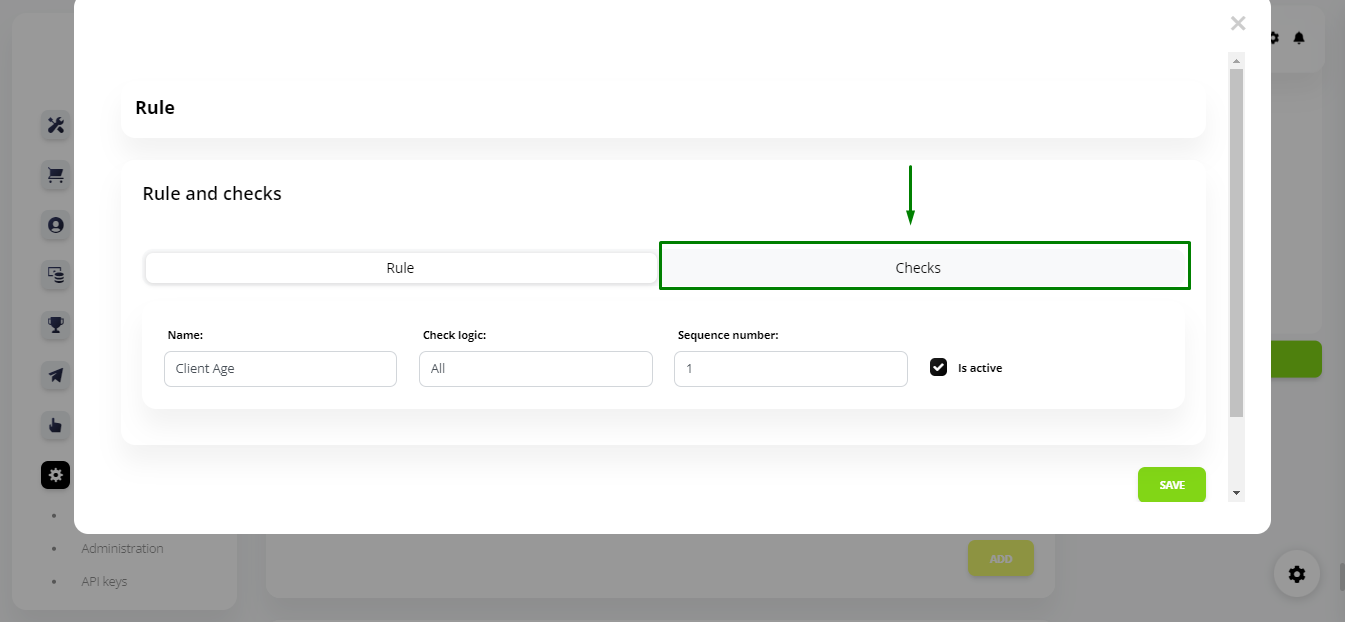
8. Fill out the fields in the Rule tab.

Name – the name of the rule.
Check logic – the Checks triggering logic.
- All – if this rule contains more than one Checks, then it will trigger, provided that all Checks are performed.
- At least one – the rule will trigger if at least 1 Checks is performed.
Sequence number – a sequence of rules performed in a given group of rules.
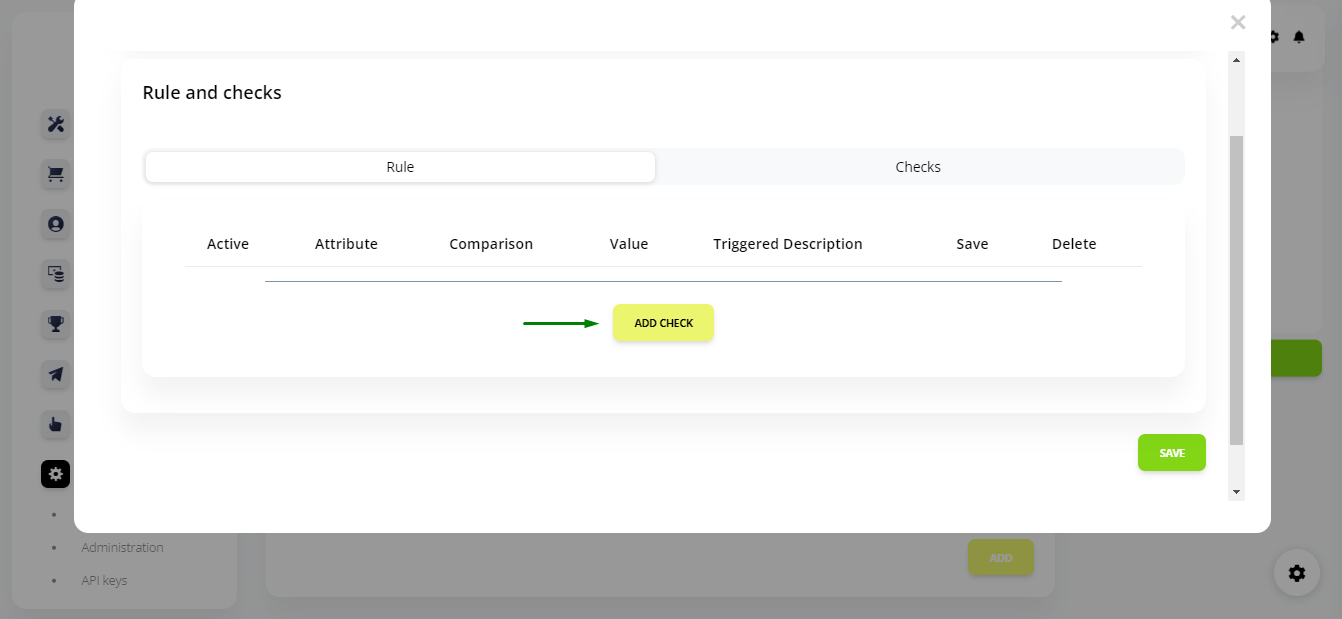
9. Go to the Checks tab.
10. Click Add check.
11. In the list, select the attribute you need to check. This could be the client’s address, phone number, outstanding loans, etc.
Here you choose what logically applies to the rule that you created. For example, if you created a rule to check the age of a client, you should select Client age in this list.
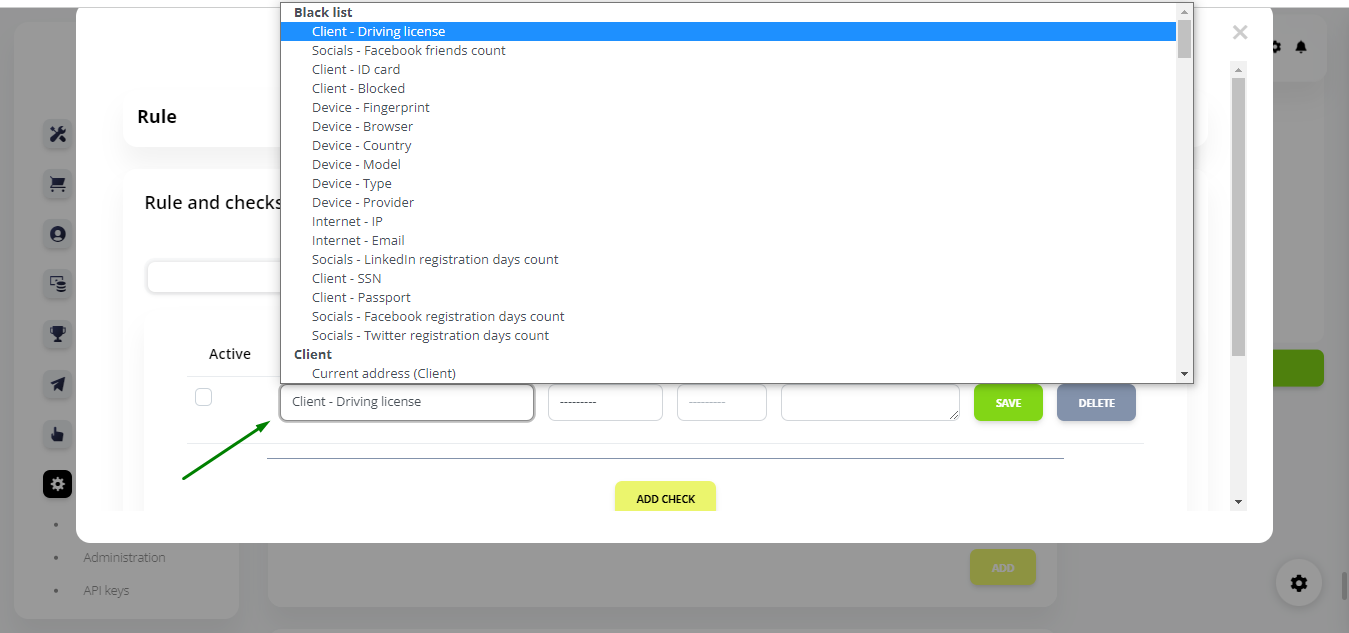
If the list of ready-made attributes does not contain the one you need, you can add your own attribute. For more information, refer to the instructions.
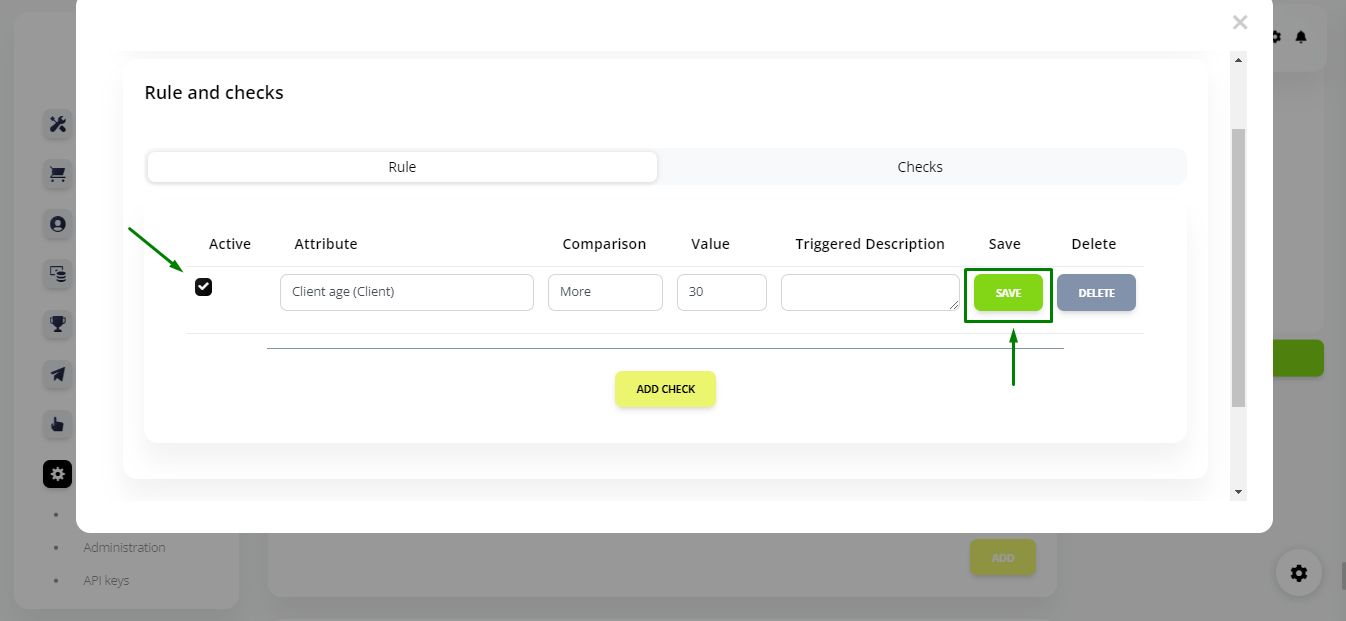
12. Select in the Comparison field how the system will compare the attribute value. For example, if you want to set a rule according to which the loan product will be offered to the client if he/she is over 30 years old, then you should select More.
13. In the Value field, select the value to be compared with the attribute. In our example, it is 30.
14. Fill out the field Triggered description. This is an explanatory text that explains the reason for application rejection.
15. Check the box next to Active, and then click Save.
If required, you can add more Checks for this rule. Click Add.

16. Once you have added all the required Checks, click Save.

Please note that you also have an option to set the rule for accruing interest on the loan.

If you have nothing to add here, then the interest accrual rule set in the loan product will be applied by default.
You can also configure the loan product to be offered to the client by default if no rule triggers in Product routing.
Go to the Settings – Loan tab, and in the Default credit product field, select the required loan product.

So, we looked at how to configure the simplest Product routing. Next, we will look at how to configure the Risk policy.