Underwriting studio: Risk policy
Risk policy – a tab used to enforce the risk policy on clients. For example, you can configure a separate risk policy for new clients, a separate risk policy for existing clients, etc. Each risk policy will have its own group of rules that determine whether to approve or reject a loan application.
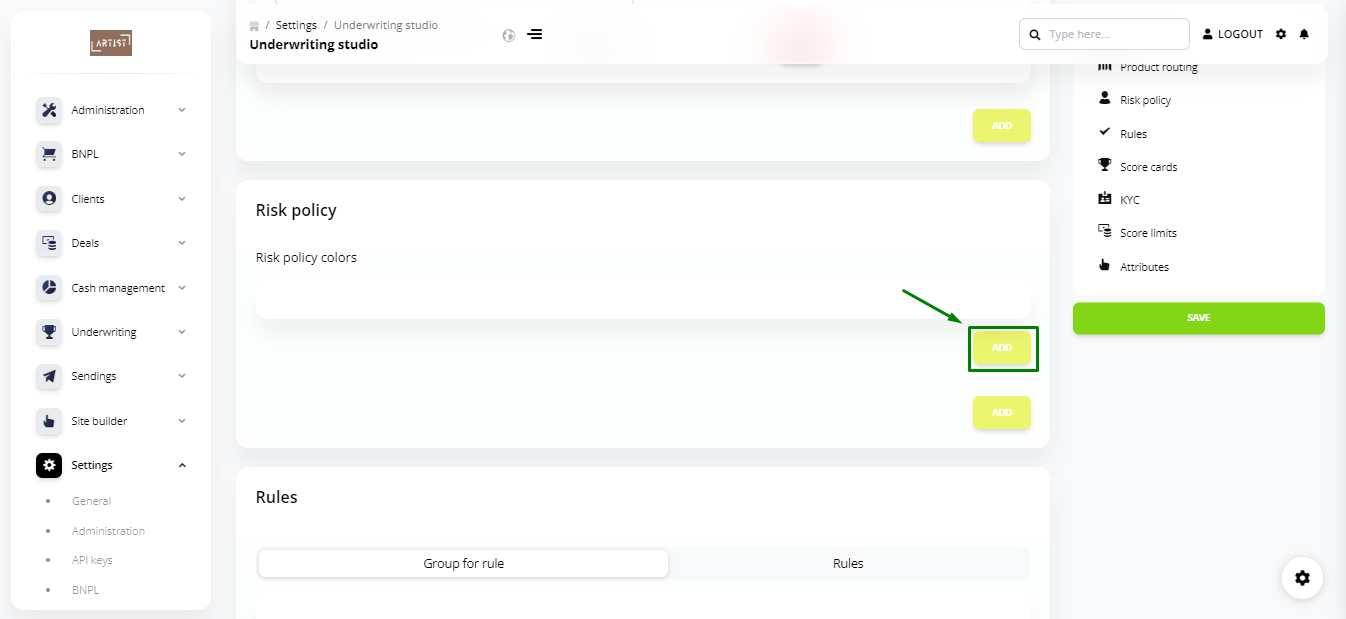
To configure the risk policy, follow these steps:
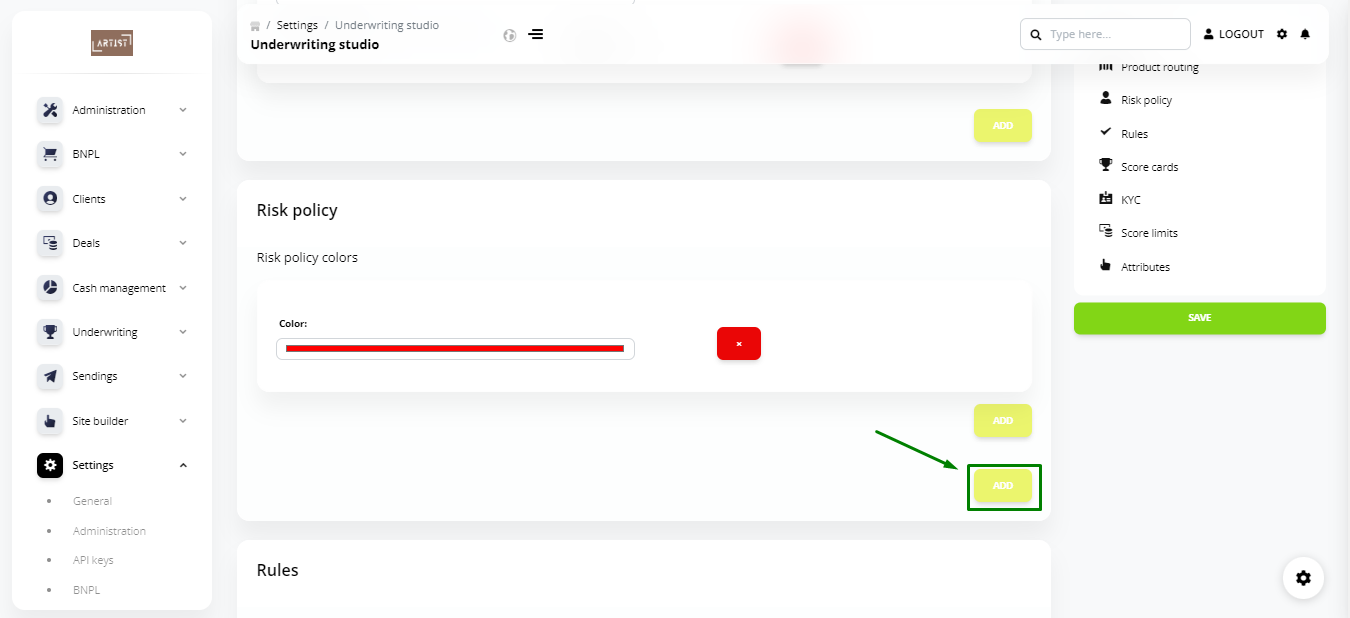
1. Click Add to select a color for the risk policy.
2. Choose the desired color.

3. Click Add to add the risk policy.
4. Fill out the required fields.

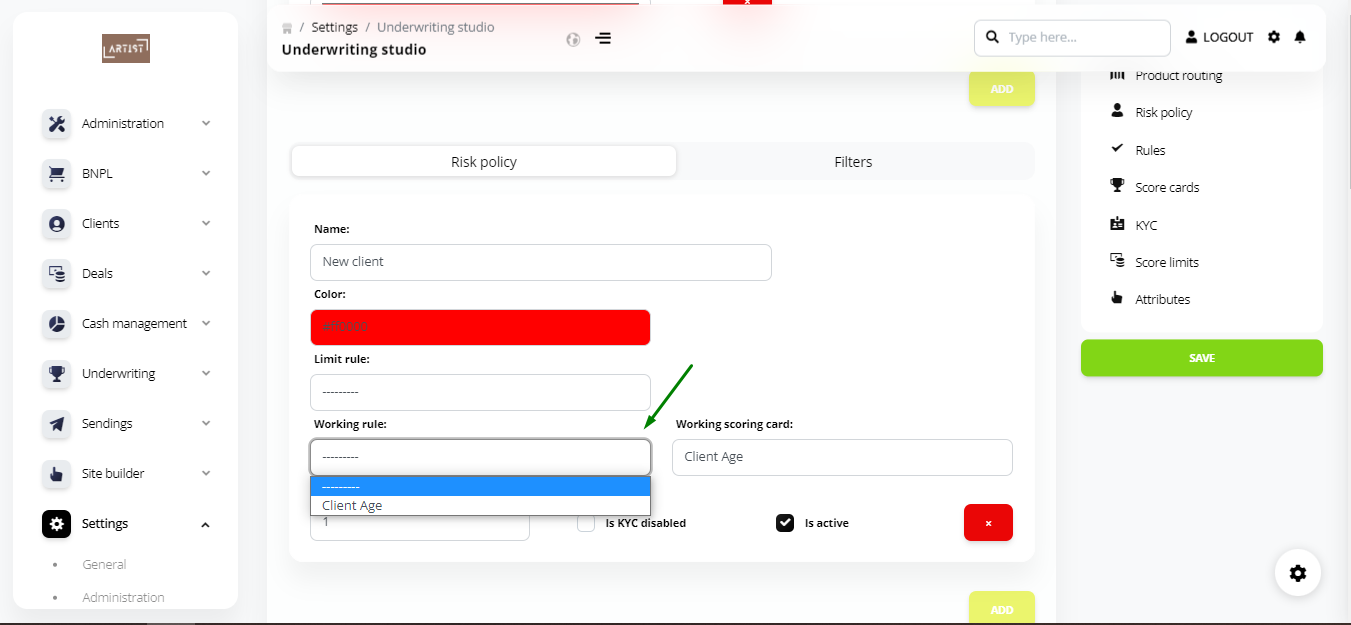
Name – the name of the risk policy.
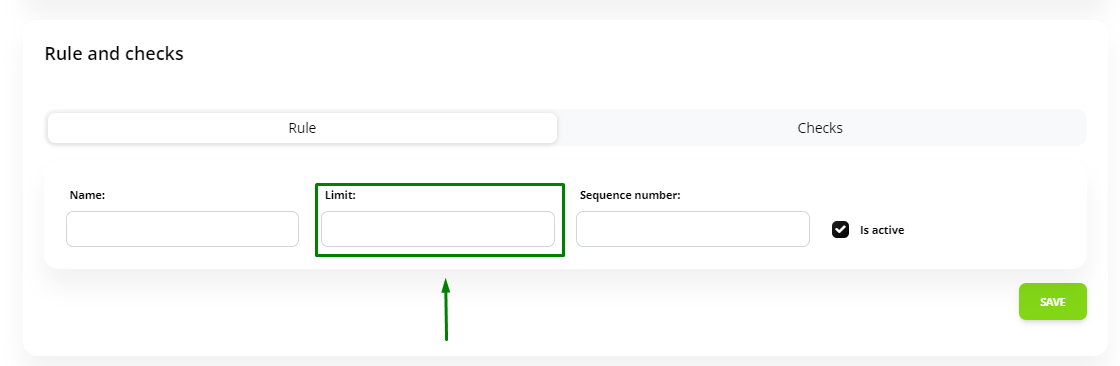
Limit rule – a rule that allows to set an upper limit on the loan amount based on the specified Score limit in the same titled tab. Score limit is defined based on Score.
For example, we can set the Score limit at $5000, if the client’s Score is between 10 and 20. In such a case, if this rule triggers and the client requests a loan in the amount of $7000, we will offer him/her $5000.
Working rules – a group of rules that will determine whether to approve or reject a loan application (set in the Rules tab).
Working scoring card – a group of rules for Score (set in the Score cards tab).
Sequence number – a sequence of rules performed in a given group of rules.
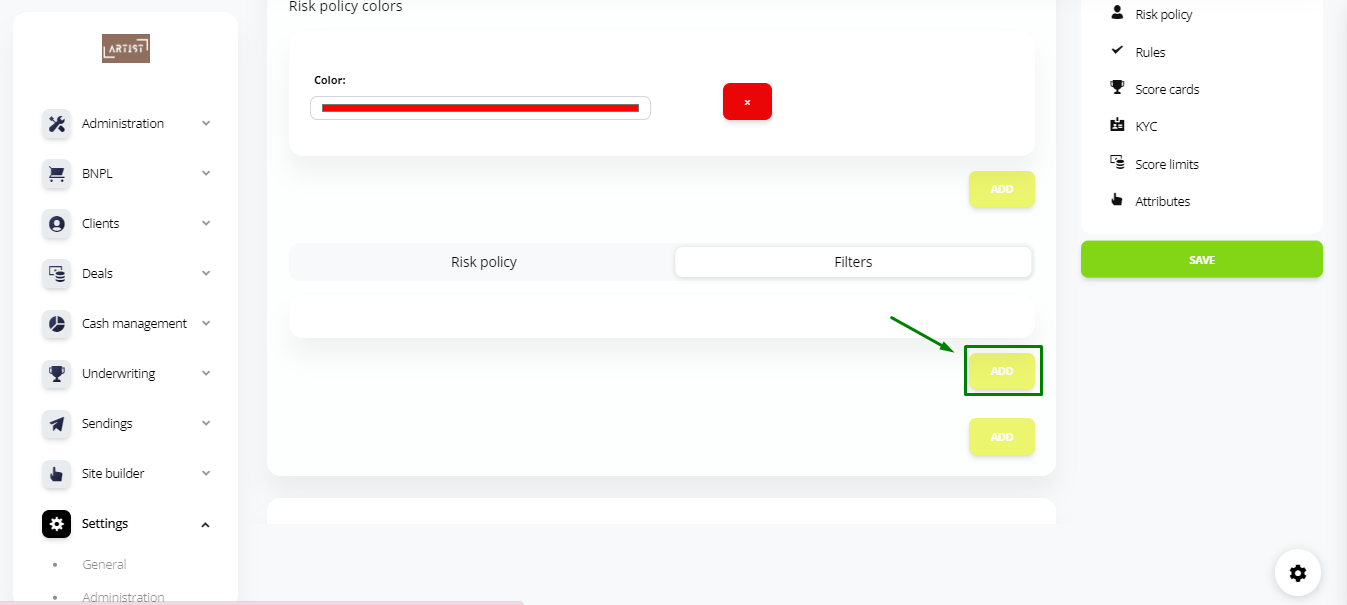
5. Once you have filled out all the fields, click Save.
6. Go to the Filters tab.

7. Click Add.
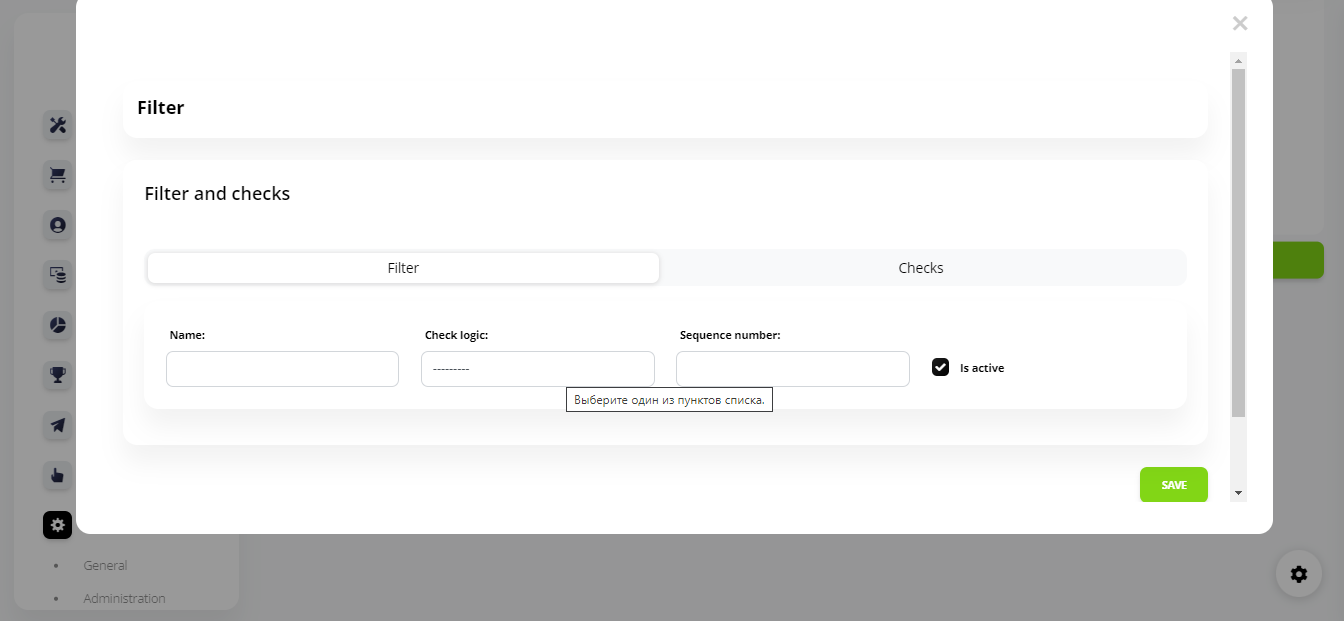
8. Add Filters and Checks. The addition logic and fields are exactly the same as when creating rules for Product routing.
Great: risk policies are mostly ready. The only thing you need to do is to add:
- Working rule
- Working scoring card
Working scoring card
To add a Working scoring card to the risk policy:
1. First, go to the Score card and click Add.
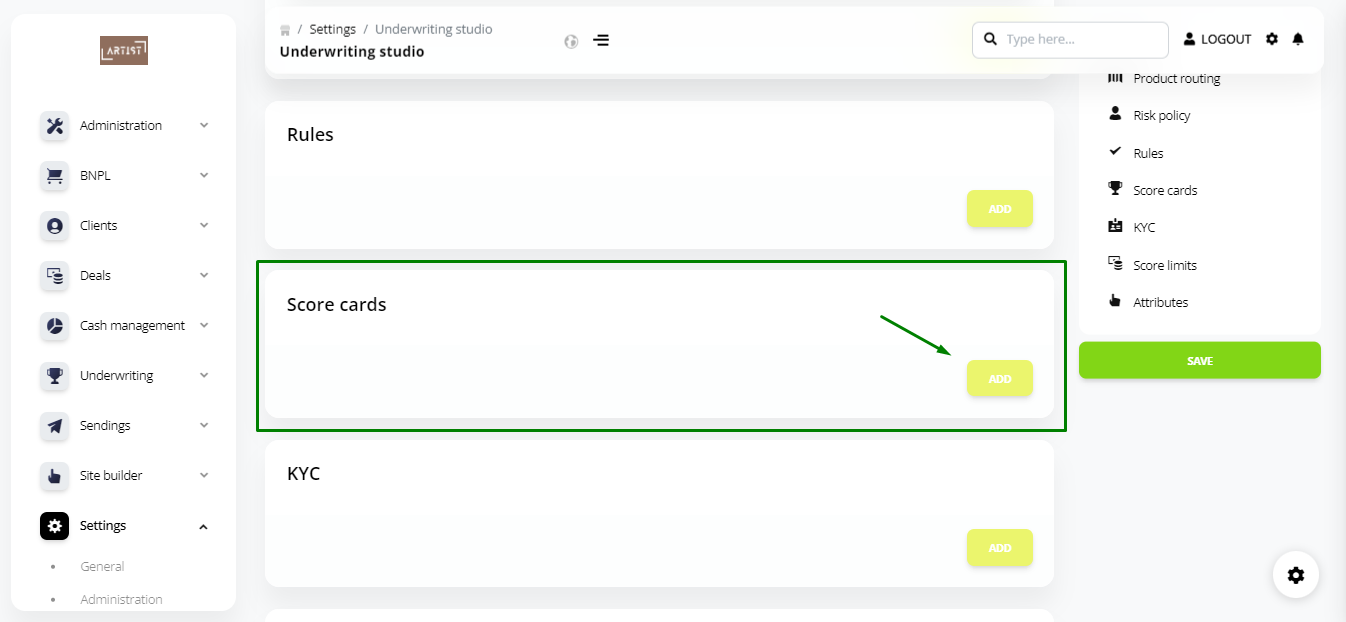
2. Fill out the Name and Sequence number fields.
3. Click Save.
4. Go to the Rules tab and click Add.

5. Specify the required Rule and Checks. In general, the logic here is the same as in Product routing.
The only difference is the Limit field. If the total number of scores assigned in Checks is less than the Limit value, then the application is rejected.
The number of scores assigned in Checks is configured in the Assigned Score field:
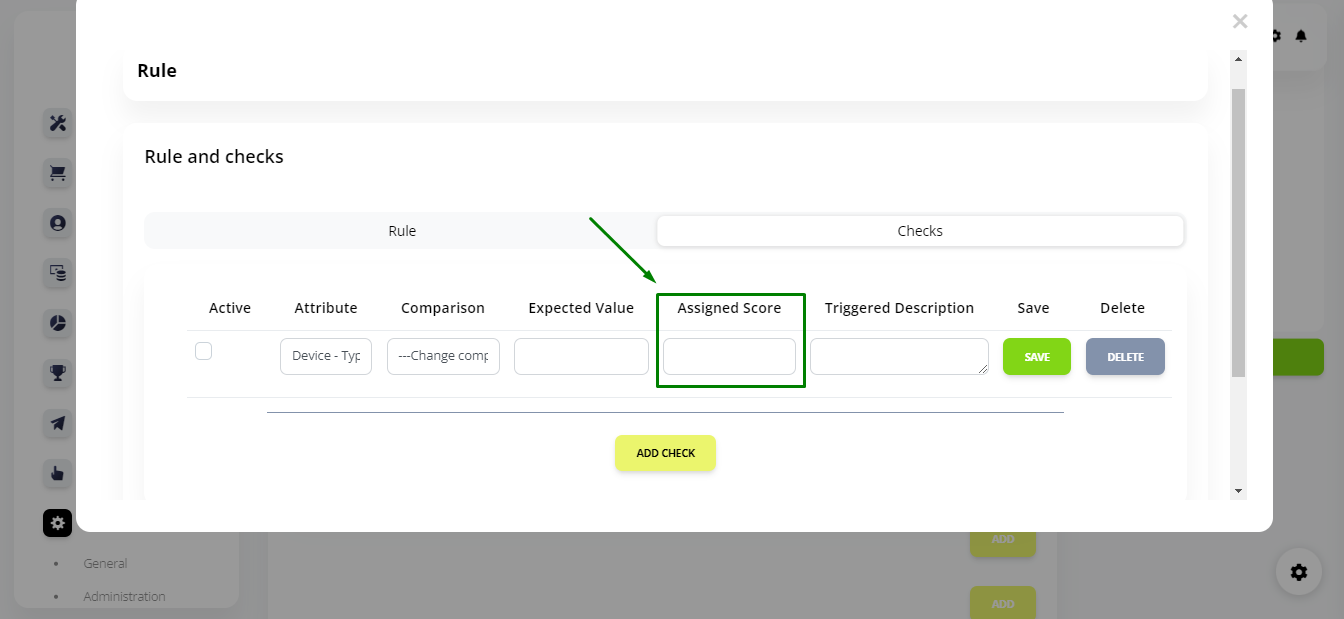
For example, we set Limit to 20, and two checks resulted in 15 and 5 scores being assigned respectively. If one check is successful, and the second is not, the total score will be less than 20 and the application will be automatically rejected.
Once you have specified the rules and checks for Score cards, return to the Risk policy tab, and select the rule that you created from the drop-down list.
Working rule
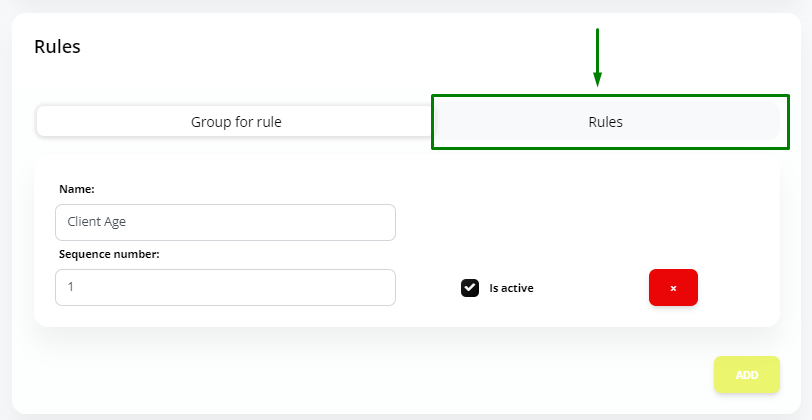
To add a rule that determines whether an application will be approved or not, follow these steps:
1. Go to the Rules tab and click Add.
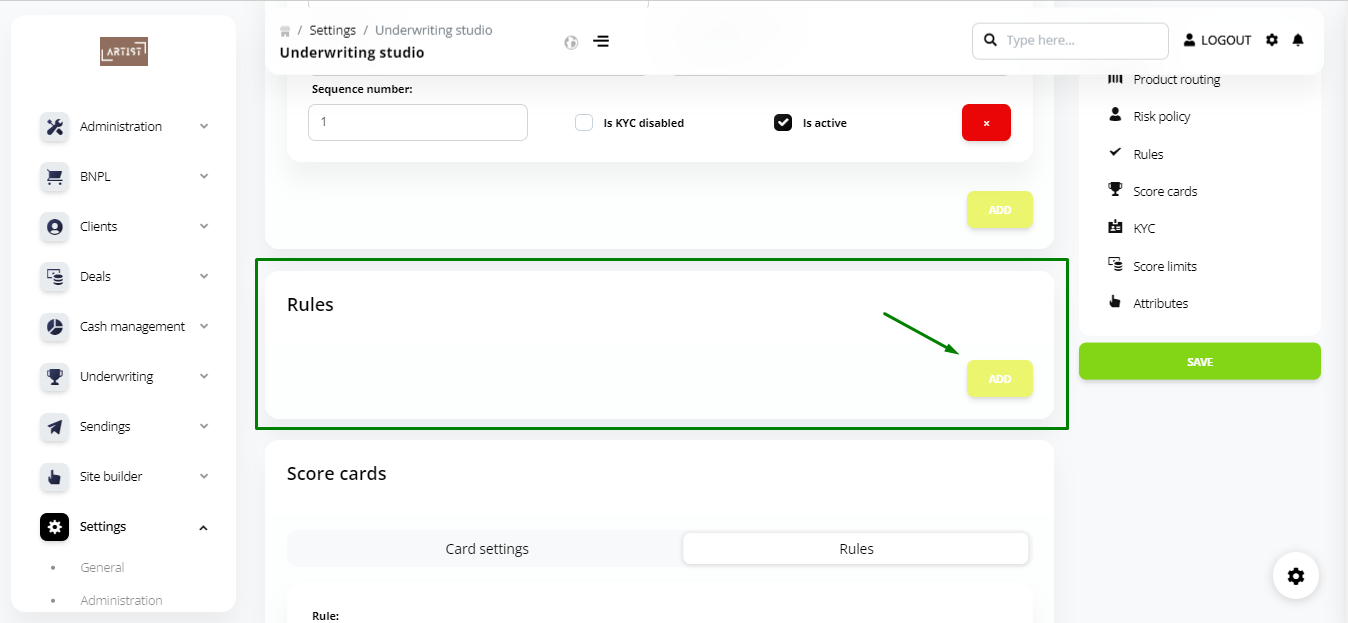
2. Fill out the Name and Sequence number fields.
3. Then click Save and go to the Rules tab.
4. Click Add and fill out the fields in the Rule and Checks tabs.
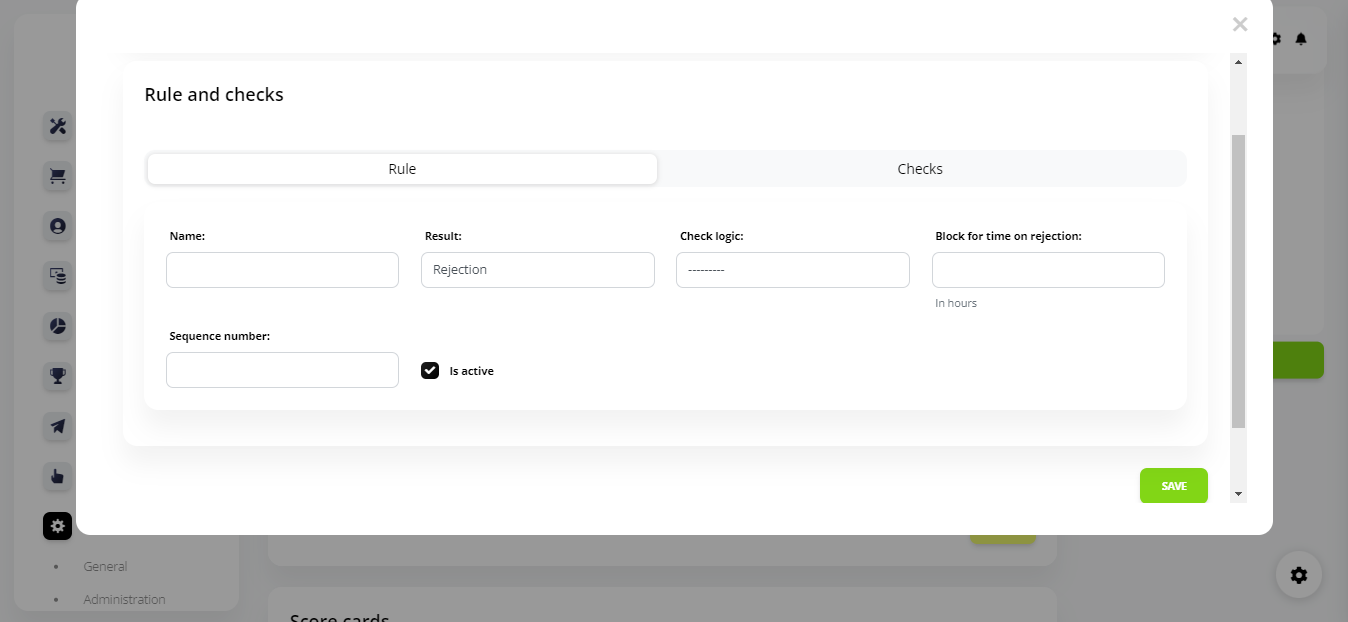
5. Once you have added all the required Rules and Checks, click Save and return to the general Risk policy tab. From the drop-down list, select the rule that you created.
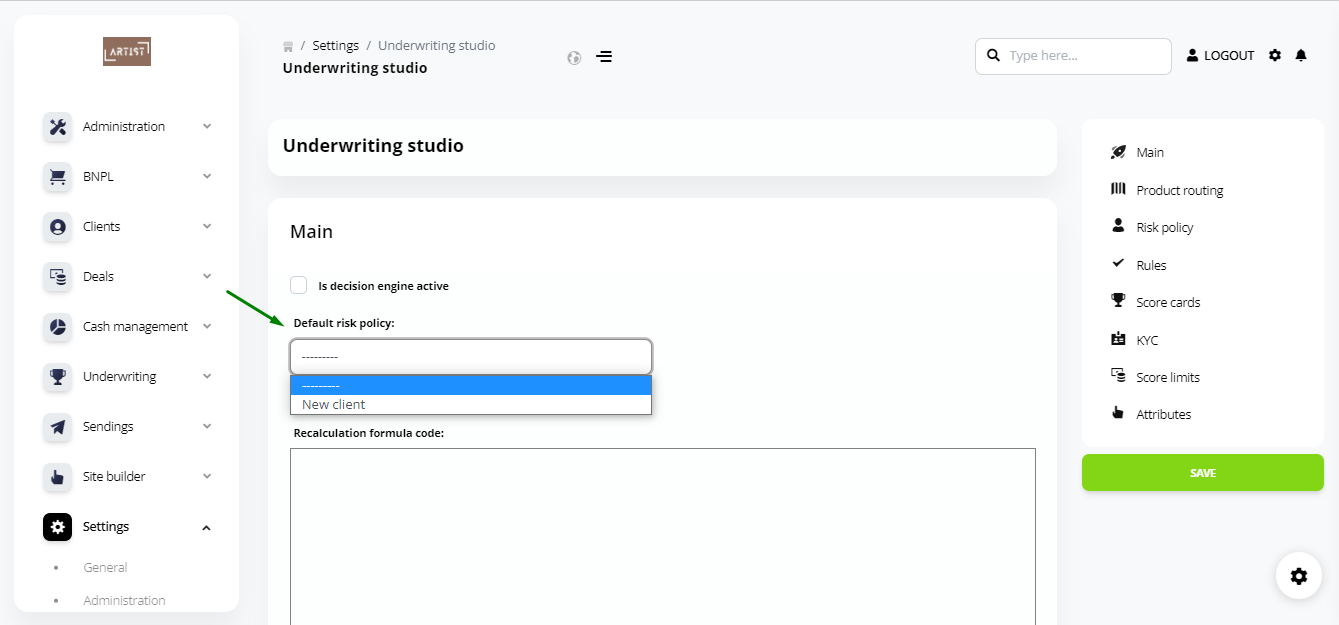
You can also set a risk policy to be applied by default. In the Main tab, select the required risk policy from the drop-down list.
Thus, we have looked at how to configure a risk policy and set the necessary rules for it.