User Flow Overview
Once you have configured the Client Form and Loan Form, let us look at how this works.
1. Type your company’s domain into the address bar and add /loans. For example, https://student-loan.aws.neofin.global/loans/
In this case, you ended up on the previously created Override page – Loan request.
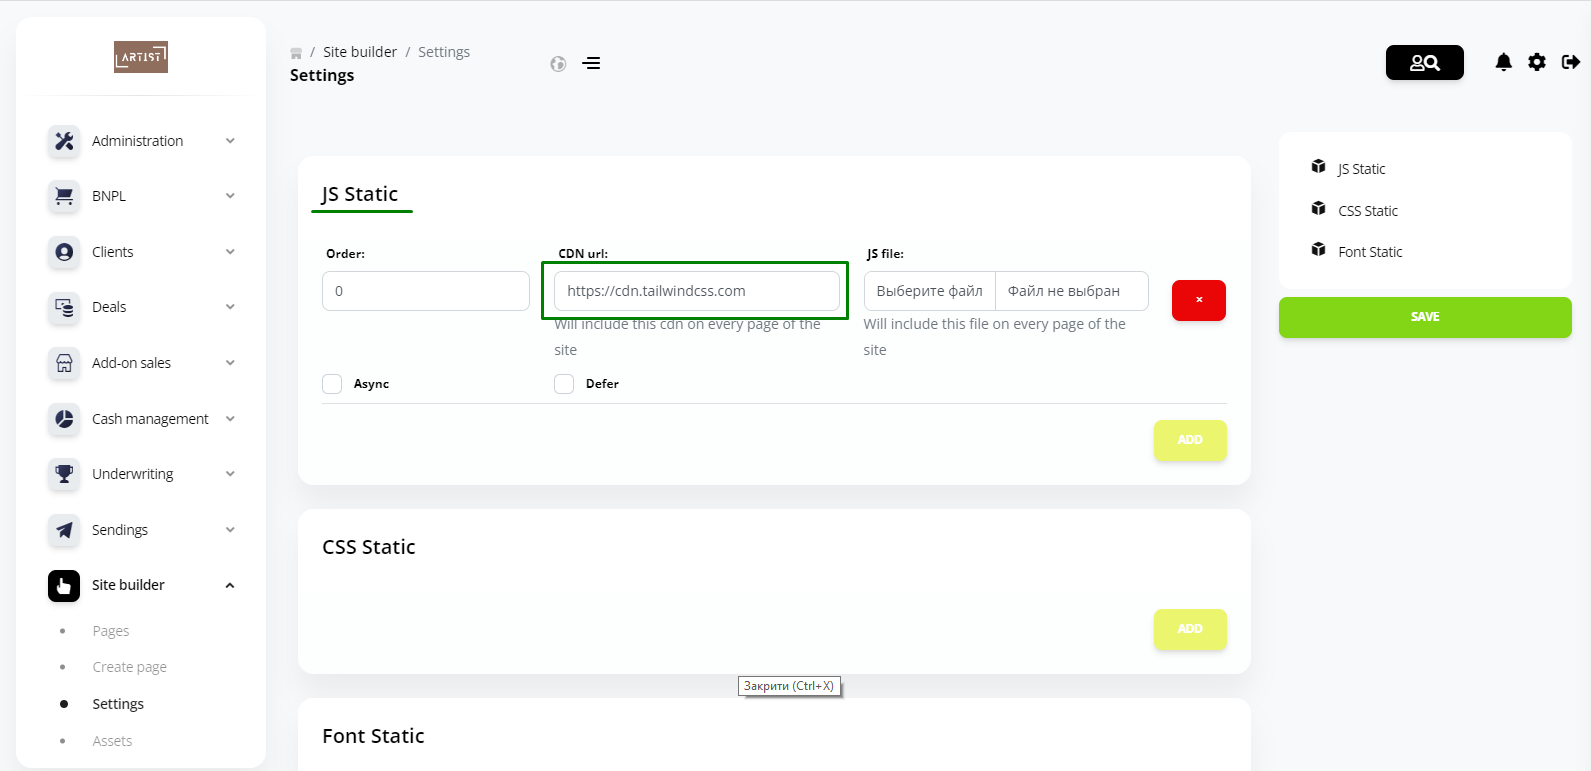
If your page styles are not displayed correctly, add CDN url https://cdn.tailwindcss.com in the JS Static block under Site Builder – Settings and save the changes.
Now let’s go back to our page https://student-loan.aws.neofin.global/loans/
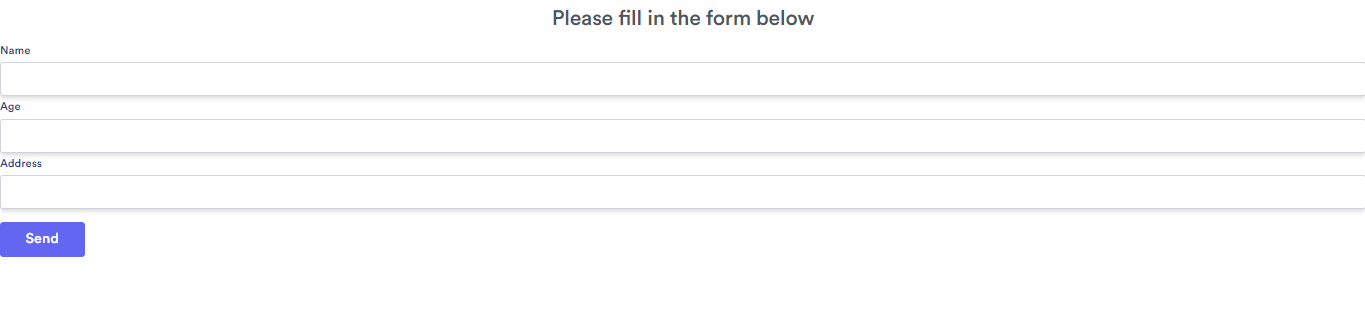
Here you will see the Loan Form. Fill out it and click Send.

2. This will open the Client Form page. Fill out the fields and click Send.
3. And then you will see the Select card page. It allows users to send you their billing information for repaying the loan. By default, it looks like this:
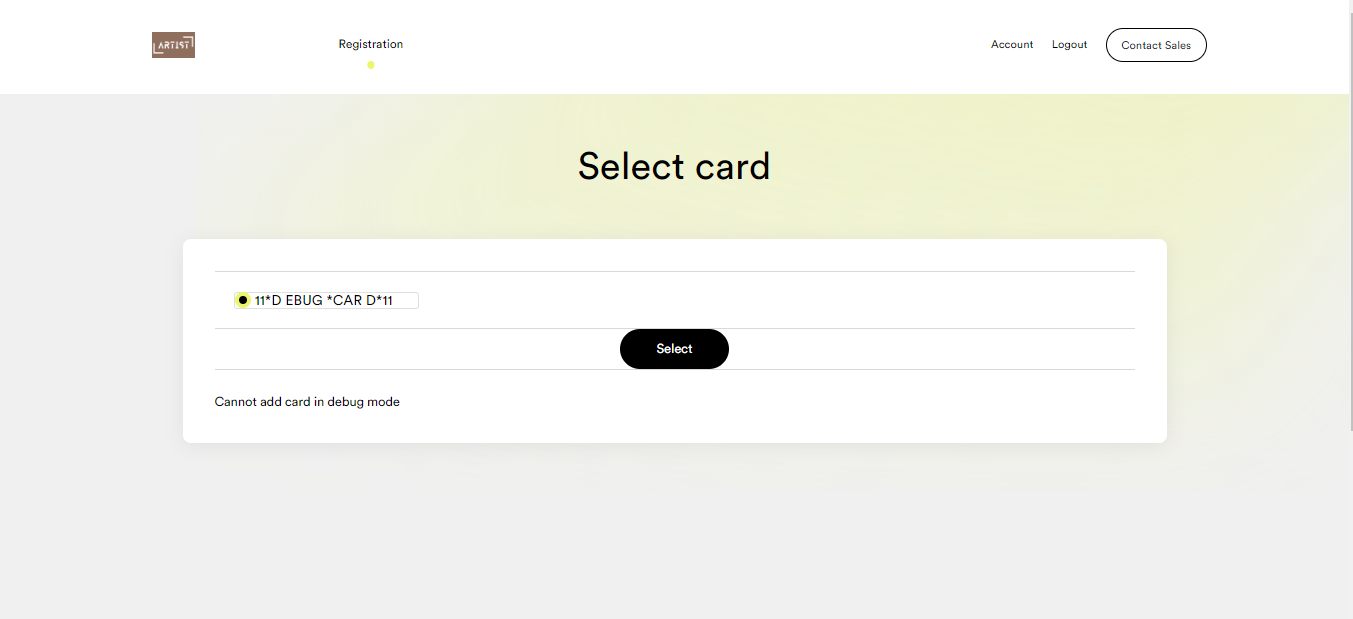
To change the visual display and content of this page, you need to create an Override page – Select payout card under Site Builder.

Next, click Edit to enter the editor mode. On the right side under Blocks, scroll down to the bottom and you will see the Predefined tab with the ACHQ button block. This is a button for the ACHQ provider, that has some logic already built in.

So, you can use different blocks as well as the ACHQ button to customize the content of the Select card page.
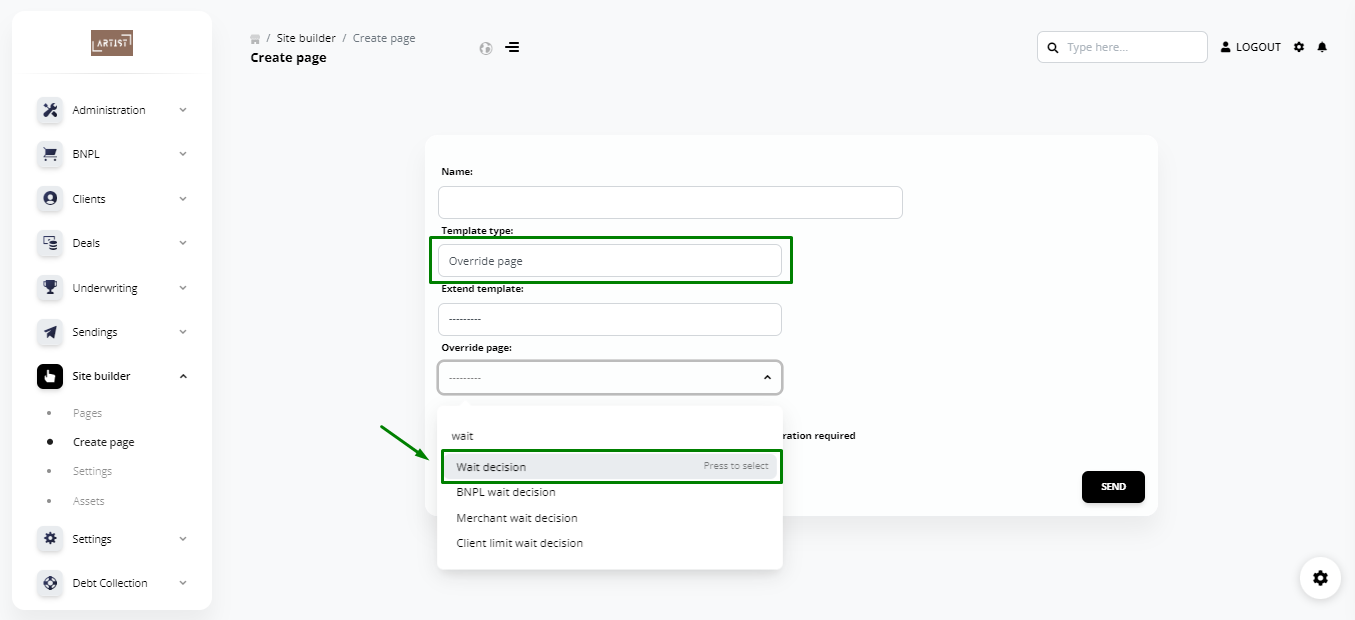
4. After clicking Select, you will see Wait decision page. This page is required to decide whether to issue a loan to a client (approve a loan application) or reject it.
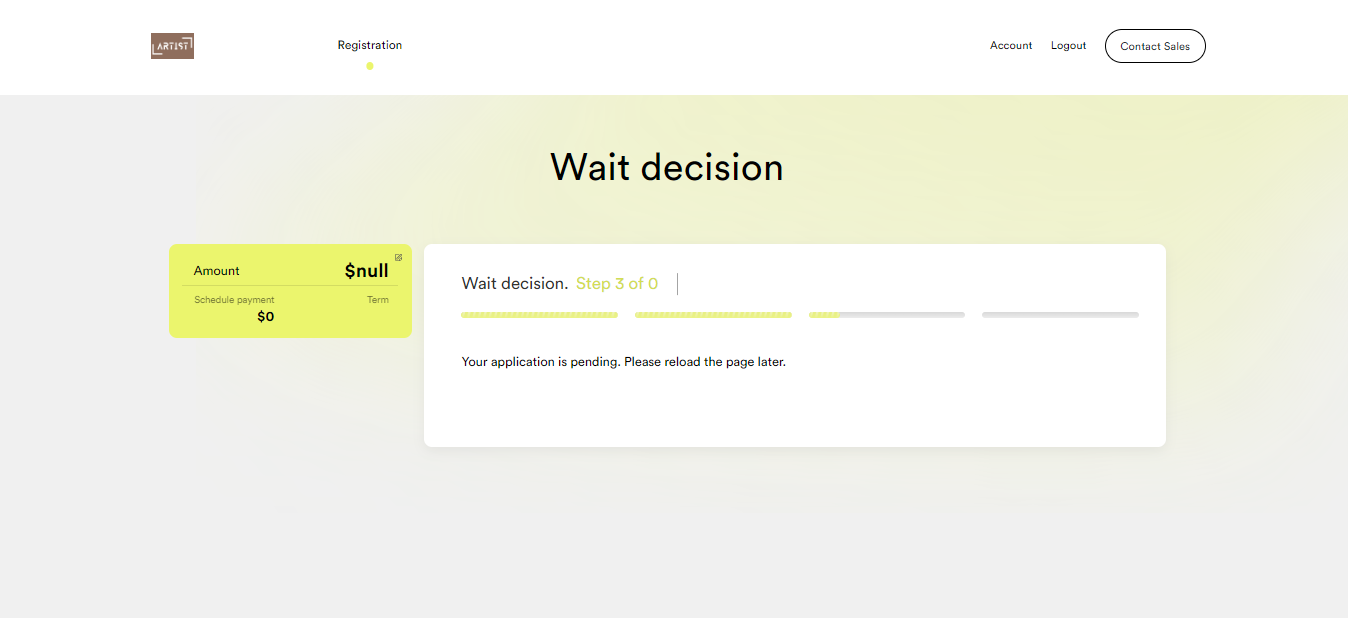
To change the visual display and content of this page, you need to create an Override page – Wait decision under Site Builder.
Then click Edit, and in the editor mode, use the blocks to customize the page content.
5. You can configure the system to make decisions automatically. We will discuss this in more detail in the Origination section.
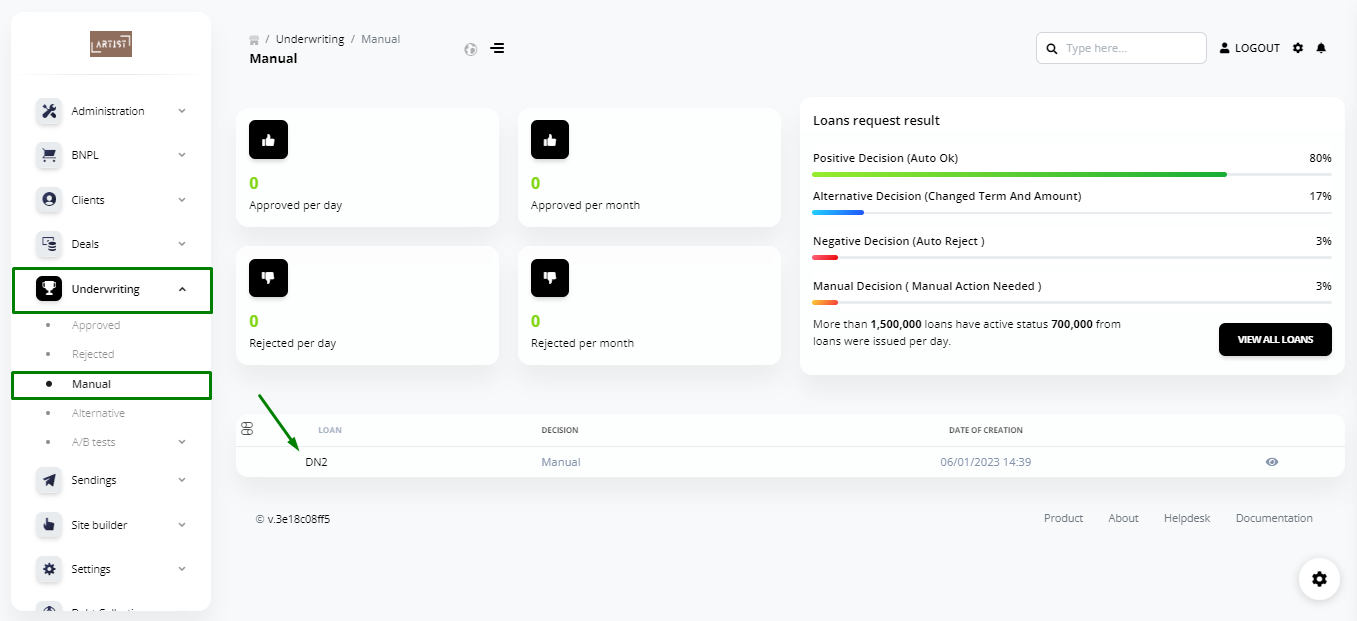
You can also manually approve or reject an application. Go to Underwriting – Manual and click the application.
6. Next, click Decision.

7. Select Approve and click Confirm

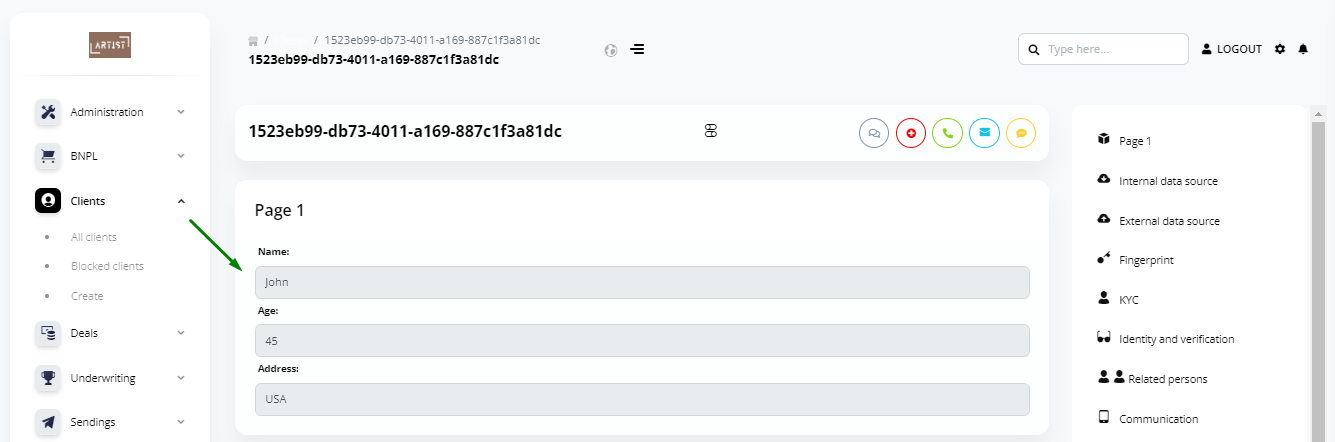
In the Clients tab, you can also view the data on the client who submitted a loan application.

If you refresh the decision page for an application that has been approved, you will see the following by default:

That is all. We have looked at the basic scenarios of creating and configuring Loan Form and Client Form. Next, we’ll get into how to create a printed form of a document, how to send it for signature and how to create a loan product.