Loan Form Editing
To configure the loan form, follow these steps:
1. In the Stage instance of your App, go to Settings – Payments – Payout.
This block is required to select a loan payment provider. For example, the loan will be paid on a plastic card or bank account without using a card.
If you want to test how it will work, select Debug from the drop-down list.
Select your desired Payment Provider and click Save.

2. Then go to Settings – Form Editor – Loan.

3. You will see the form editor. Here you can add fields to be used in the form. Drag the required field into the blue area.
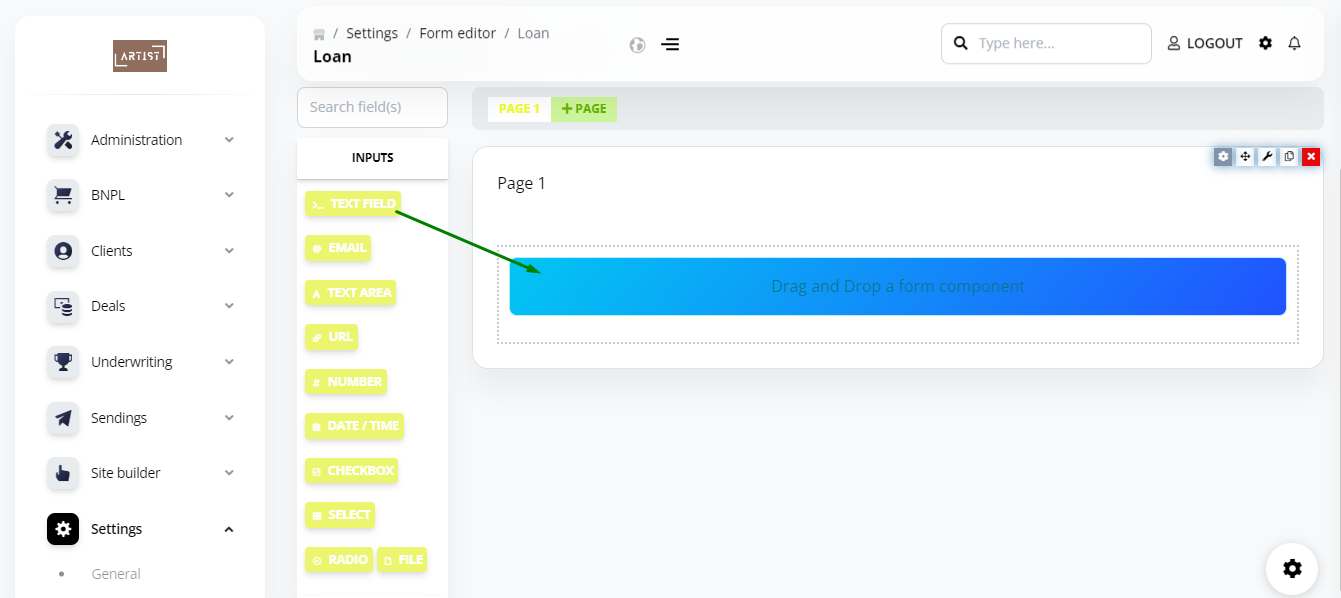
For example, you need to add a field in which the user will specify the amount of his/her income. Drag the Number field.
In the window that appears, in the Label field, specify the name of the field, in our case – Your income.
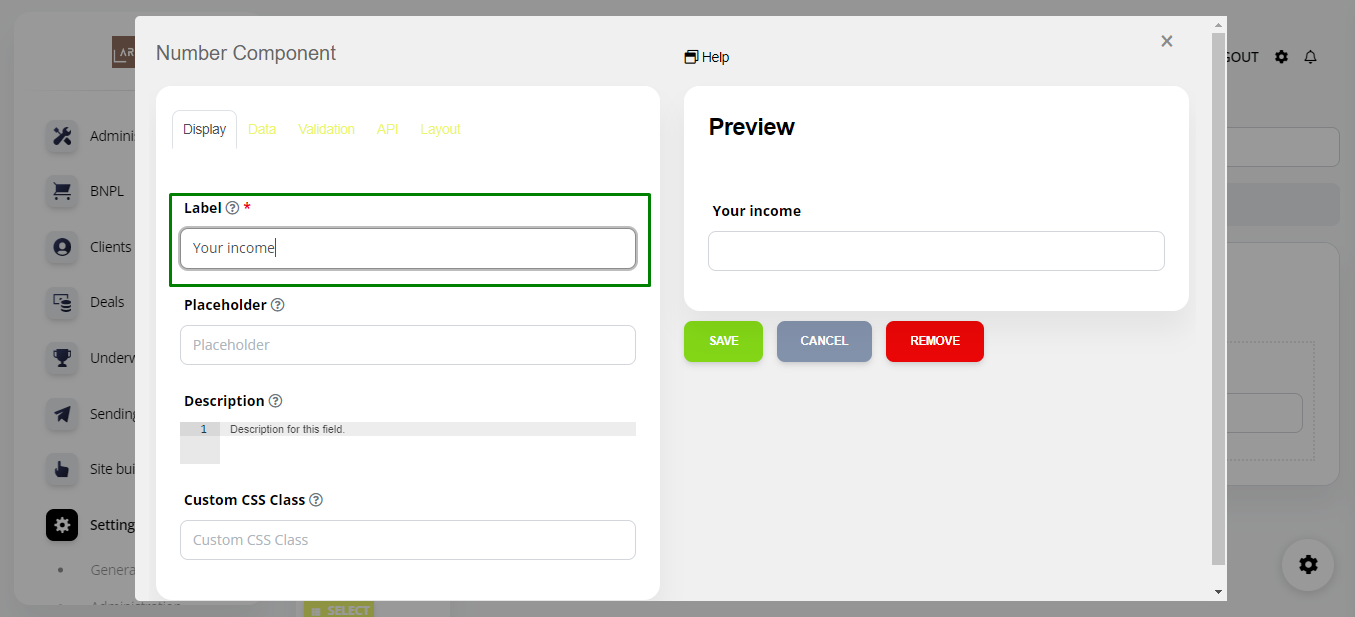
If you need to make this field mandatory, go to the Validation tab and check the box next to Required.

If required, you can set your own field names. Go to the API tab and specify the name of the field that you need.
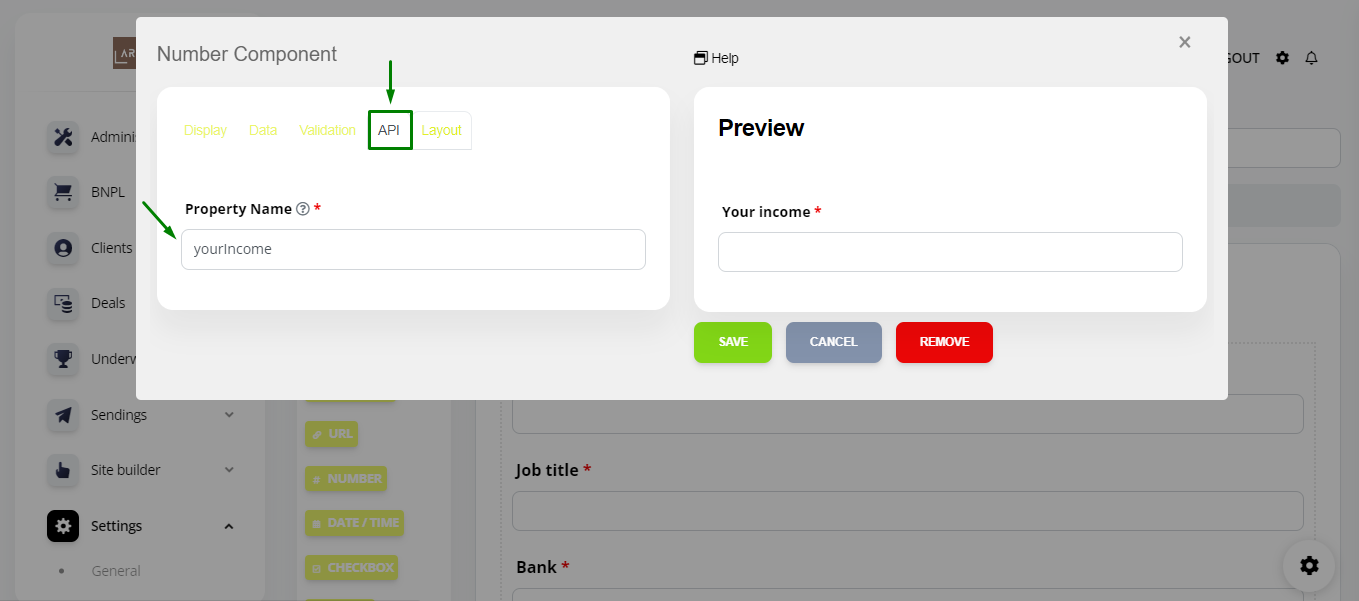
Next, click Save.

Add the rest of the required fields in the same way.
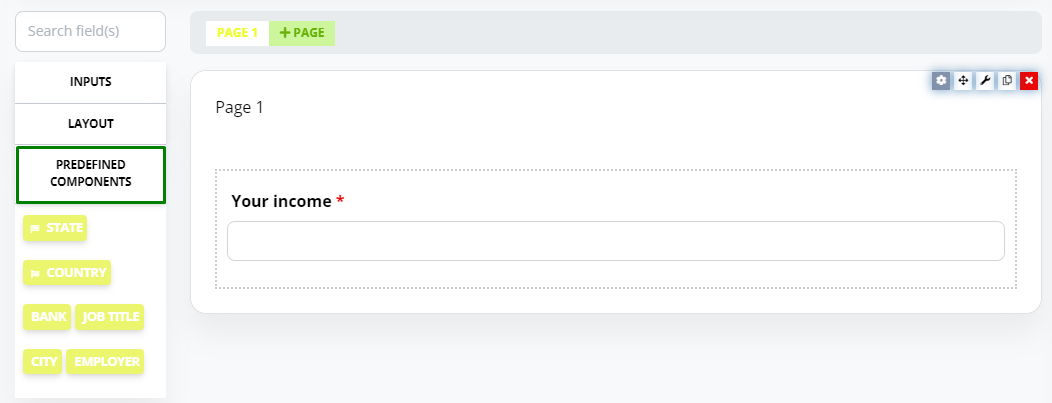
The form can be configured in such a way that it has multiple pages. Click Page and add the required fields to it.

You can also use fields from the Predefined components tab.
4. Once you have added all the required fields, click Save.

5. Next, go to Site Builder and create Override page – Loan request (or go to the existing page if you have previously created one).

6. Click Edit to enter the Site Builder editor mode.
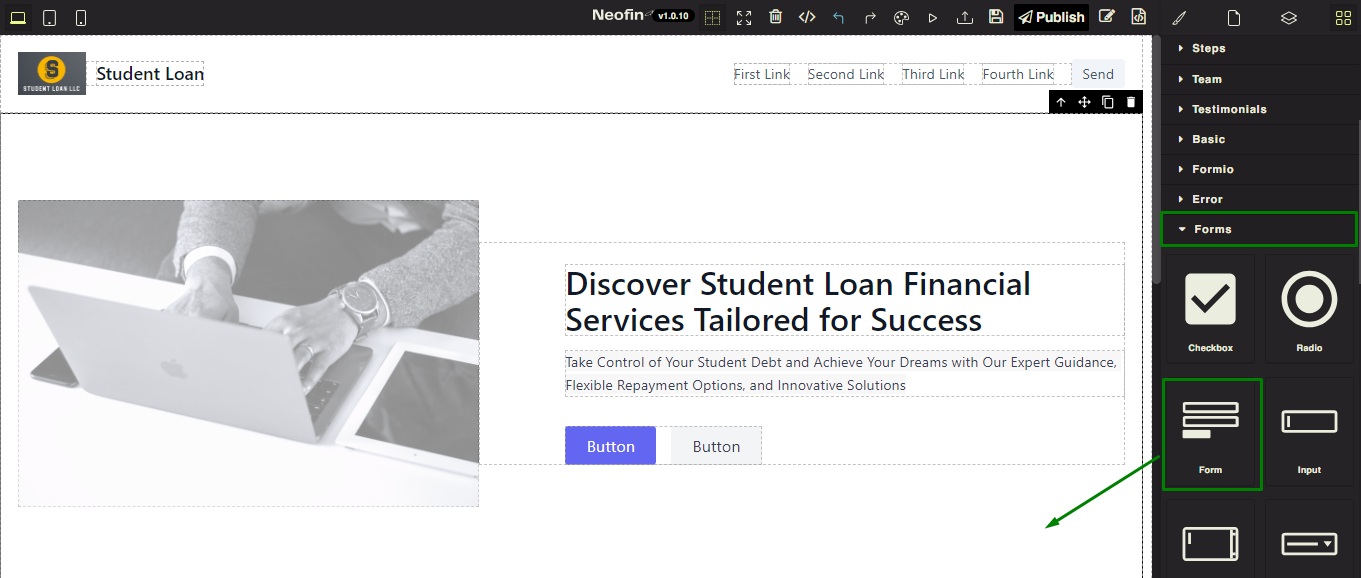
7. In the Blocks tab, find the Forms section and drag the Form block to the area of the Landing page where the form should appear.
8. The default fields are initially displayed in the form.
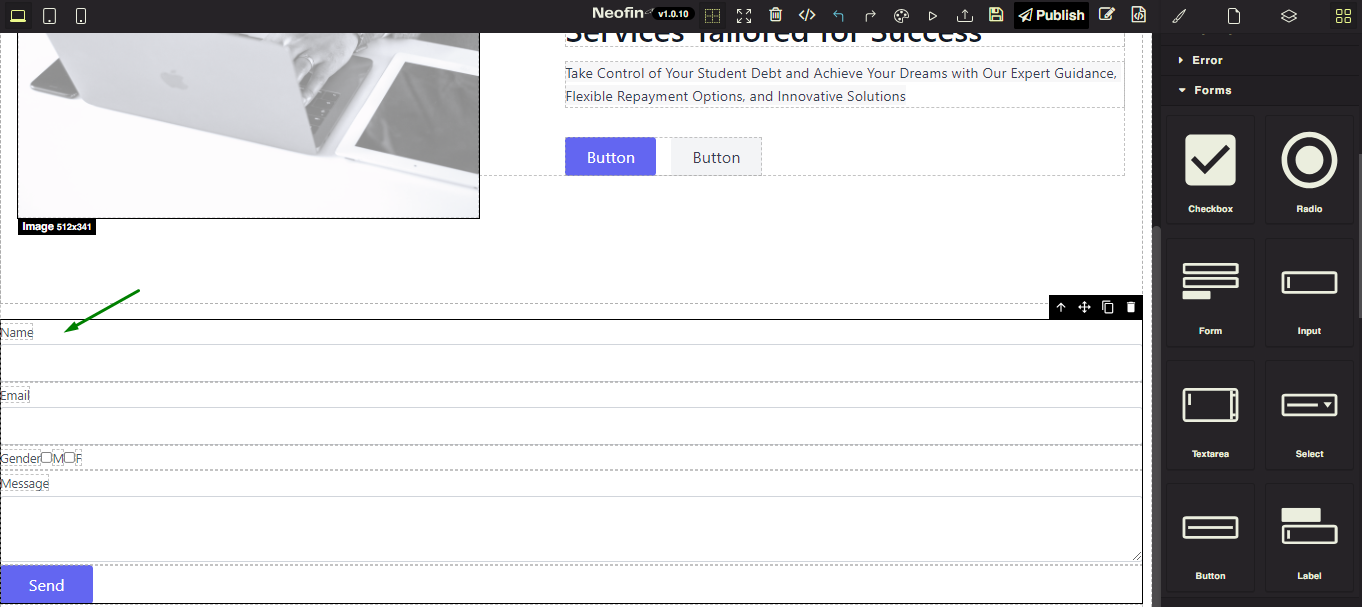
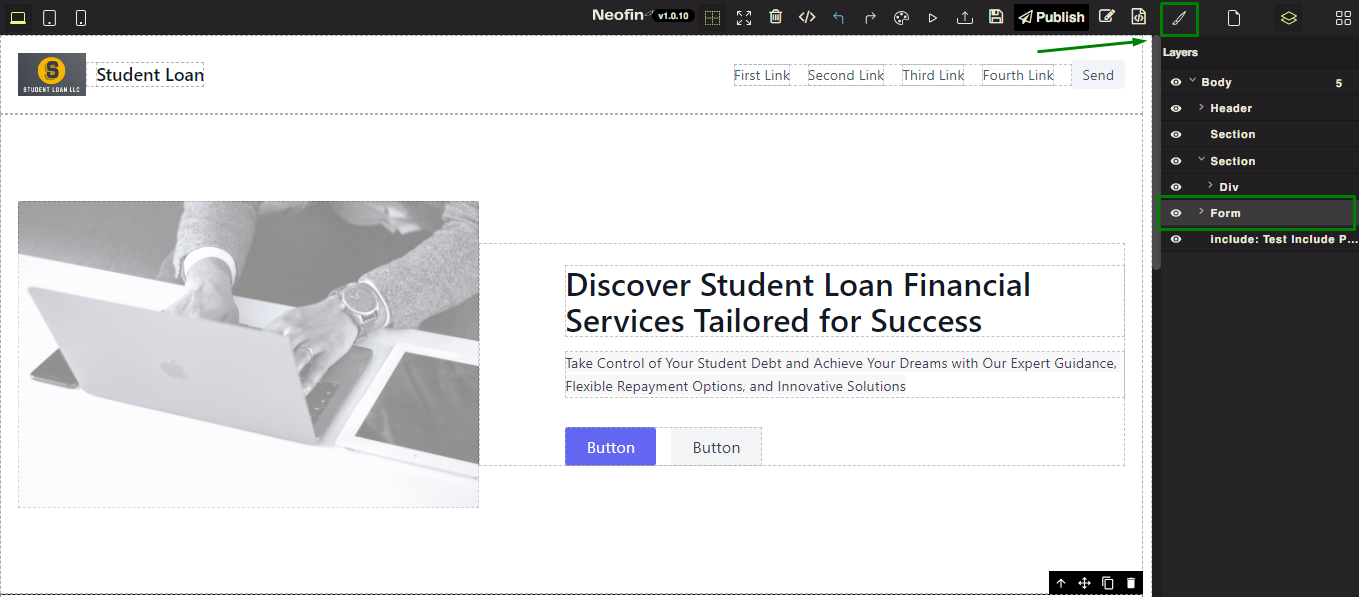
These fields should be deleted. Click the Layers icon.

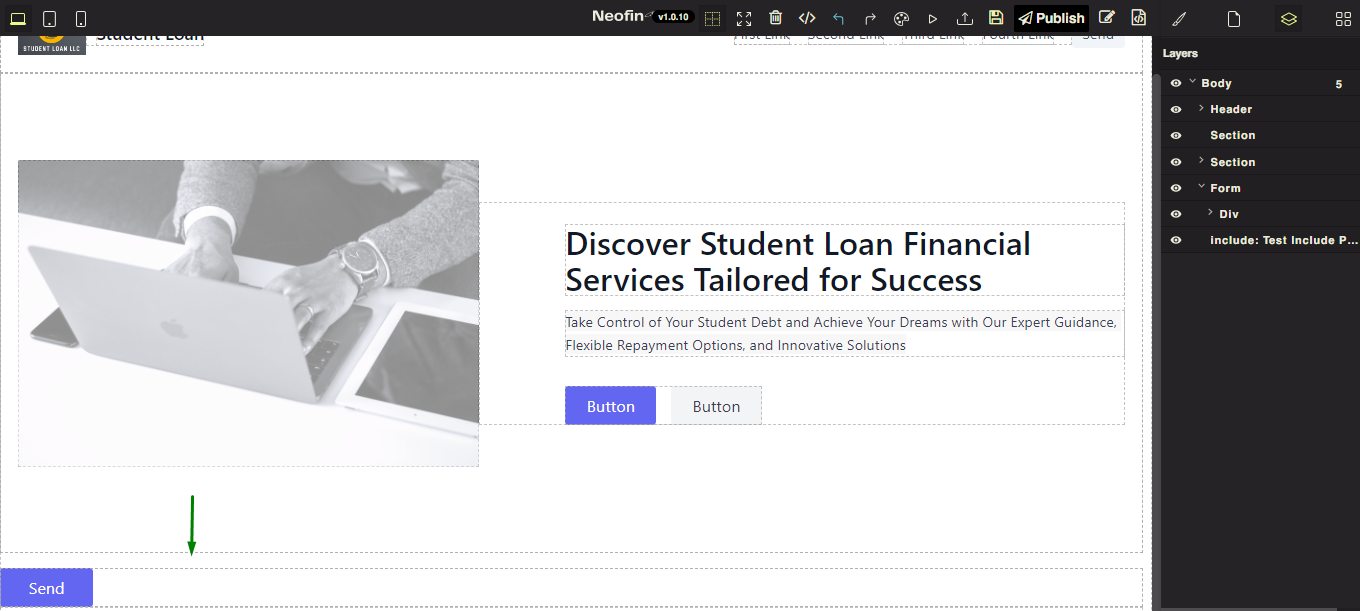
Click Form in the layer list. In the drop-down list, you will see all the elements contained in the form. Click on one of the elements and you will see the element that is currently highlighted.

Click Delete. So, delete all elements except the button. You can see the following:
9. Then go to the Blocks tab, scroll down to the bottom and under Predefined you will see the previously created fields: Your income, Job title, Bank. Also, you can see Amount and Term fields here.
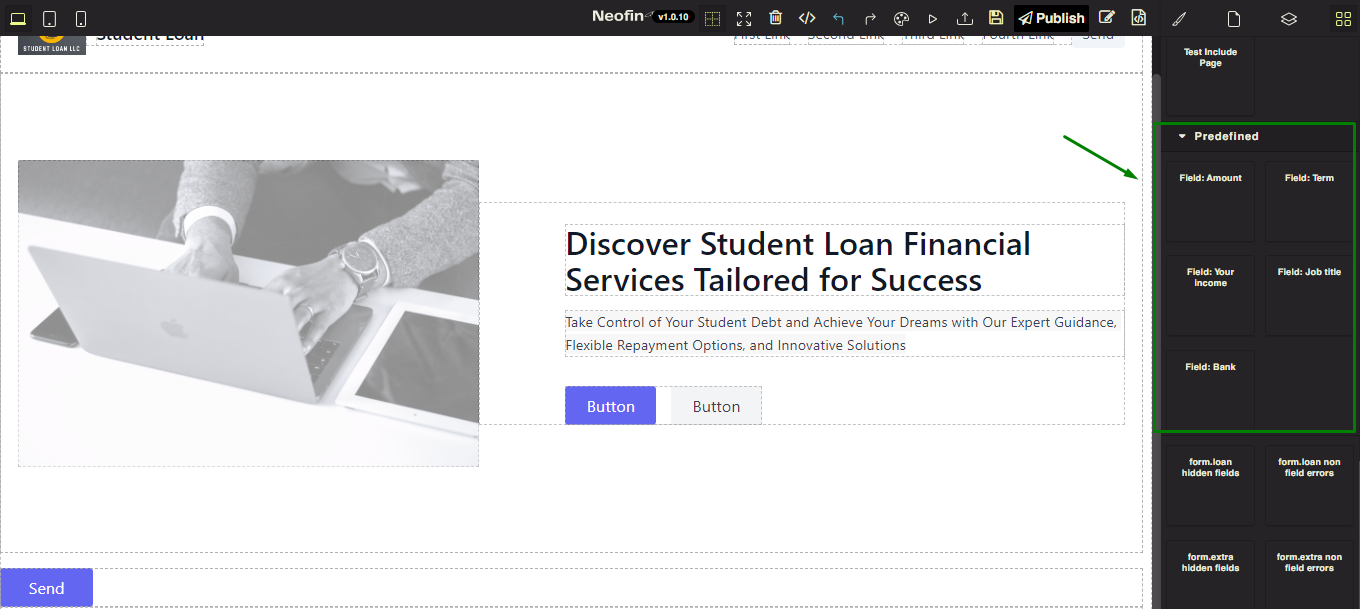
10. Drag each field into the form area. Please note that if the field is not in the form, the data entered by the user will not be recorded to the loan card.
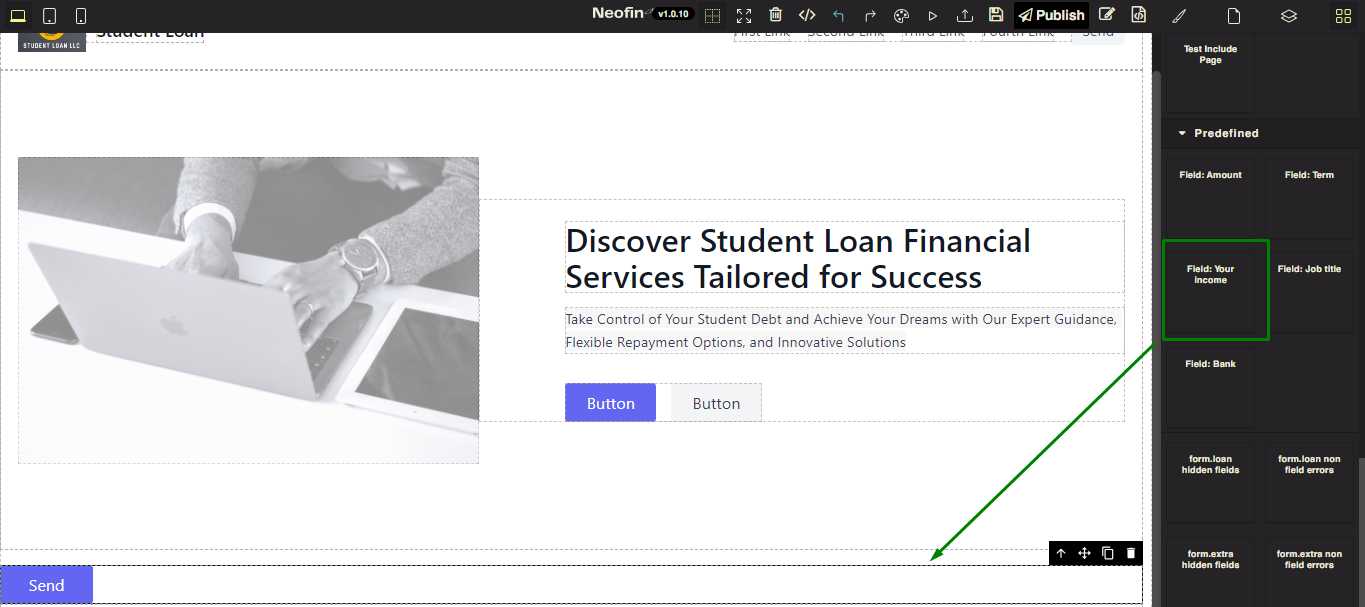
This is what it looks like:

11. Go to the Layers tab, click the form and then select Open Style Manager.
12. Click Settings and select Post in Method. Click Save.

13. Click the button in the form, select Type – Submit in the Layers tab under Settings. Click Save.
